Winter is coming… (though not here in Israel), and that inevitably means lots of time indoors.
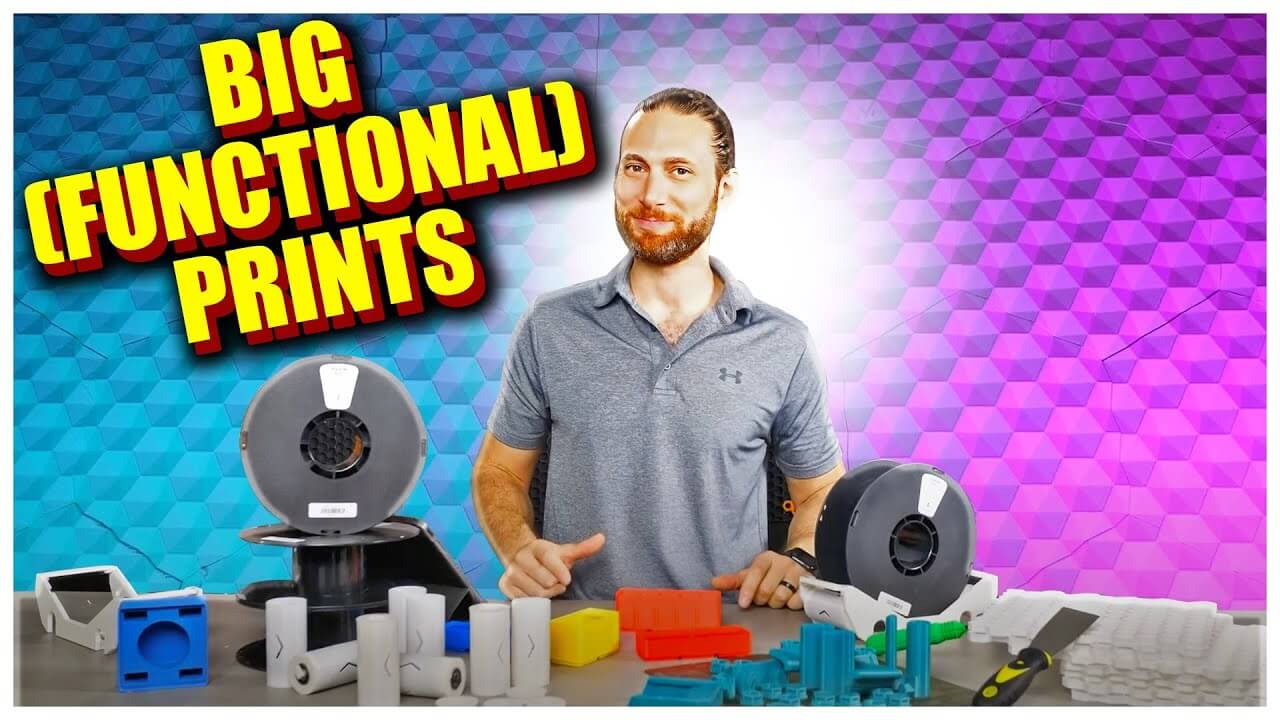
But fear not, because in this article, I’m going to share some exciting, BIG “functional 3D printing” projects that YOU can do to stay busy, get organized, and scratch your maker itch all winter long.
My List of Big 3D Printing Projects
We’ll cover a handful of larger 3D printing projects, each functional in a different way, to level up your home office, workspace, or work flow, and we’ll even revisit some of my favorite project ideas, where I’ll share some new tips and tricks I’ve learned since we last spoke about them.
Let’s get after it!
3D Printed Acoustic Panels + Sound Diffusion Panels by Widgets
I don’t know about you guys, but I hate an echoey room.
Even if I’m not recording video, who likes the sound of their own voice echoing during zoom calls? That’s why the first project on our list is going to be to cover my walls with some 3D Printed sound treatment. As you might know, there are really two elements to improving the acoustics of a room: diffusion and absorption.
The first is about scattering the sound waves, and the second is about… well… absorbing them. Fortunately, 3D printing can help us with both of those objectives.
First, let’s talk about these 3D Printed Diffusion Panels by Widgets. A couple of months ago, I saw the square diffusion panels he’d uploaded, and I was really impressed. This design cleverly takes advantage of vase mode, printing up-right, to save on both filament and print time.
I loved this idea, but I also am a firm believer in the indisputable fact that hexagons are the bestagons. I tried to model up my own versions of these panels, but I wasn’t really happy with anything I came up with. It was at this point that I reached out to DaveMakesStuff, who was kind enough to begin generating a bunch of really cool designs of his own, and I commented on the original design by Widgets.
Dave’s designs turned out really incredible, and I’m going to link to them below. Unfortunately they didn’t meet some of my specific needs, as I’ll get into in a second. Fortunately for me, though, Widgets was kind enough to oblige by creating some really cool hexagonal designs… and we were off to the races.
To cover my wall, I needed a LOT of these tiles. About 4 and a half kilos worth. It’s at this point that I need to thank the folks over at Kexcelled, who sent over about 20 kilos of their fantastic matte filaments, both for this project, and for a bunch of other, upcoming projects you’ll see if you subscribe. I had a great experience with this filament, and kexcelled also makes a ton of very advanced, professional-grade filaments like the ones I covered in my previous advanced filaments article.
Now, let me be clear here: I have no doubt that either the original, jagged design or Dave’s more intricate designs would be much more effective than these ones at actually diffusing sound… but because I’m going to be using these as a background for recording videos, I didn’t want to have so many shadows and sharp angles.
Additionally, because I was going to be doing a rather large wall, I really wanted to choose a design that was economical, both in terms of filament and in terms of print time. And that is the genius of Widgets’ designs: they actually print in VASE MODE – but because the dimples touch the back, they’re actually pretty strong. So, aesthetically and economically, they fit the bill… But will they actually diffuse sound?
We’re going to find out in a second. But before we do, we need to deal with absorption. In my space, I decided to create a couple of absorption panels out of scrap wood and some mineral wool. But if you’re following along and want to 3D print some of your own, you’re in luck, because I also have designed and uploaded some designs for modular, hexagonal acoustic panels.
Simply print them out, fill them up with insulation, or old clothes, and then wrap them in the fabric of your choice. I’ve printed and put half a dozen of these throughout my own studio with unused scraps of insulation… but for this specific set, I decided to use large panels on the inside wall and ceiling, since you won’t see either on camera.
But now, the moment of truth. These panels look good… but are they actually functional?
Here’s the before an after. I’ll let you be the judge.
Personally, whether or not these are as functional as professional-grade solutions, I love the look of these panels, and I can’t wait to record a bunch of timelapses with them in the background. But let me know in the comments below what YOU think.
RepRack by RepKord
Up next, let’s let’s look at a functional 3D printed solution for a very common 3D printing problem: Filament storage.
You’ve might remember that during my previous functional 3D Printing challenge, I printed and installed a massive, 4-row RepRack filament storage system by Pooch over at RepKord, and I’ve been loving it. It is, without a doubt, the most cost effective and convenient way to store filament out there…
So if you’re still storing your filament in stacks, or even on shelves that take up floor space, I highly recommend you start by printing out the RepRack.
You have a lot of options, from using wood for french cleats and laser-cut brackets, to fully 3D printing both the brackets and the wall-mounted cleats. Whereas last time, I used wood for both the mounting and the brackets, this time around, I wanted everything behind me to be white in order to absorb colored lights, so I went with 3D printed cleats and brackets. I also chose to use IKEA curtain rods, though I still need to clean them off, instead of cheap conduit tube, so I wouldn’t have glare in my background.
RepRackAuto-Rewinder by Jerrari
I think this RepRack turned out amazing… but we’re not done. You see, one of the things I don’t like about my primary RepRack is that I can’t print directly from it – which means a lot of taking filament down and hanging it on rollers next to my printers. But most of you don’t have 160+ rolls of filament and 20+ printers… meaning that your setup might look more like this one… one or two printers, plus a handful of rolls of filament.
When it comes to printing from this rack, you have a variety of options. If you want to keep it simple, you can install the original “slip rods” on there to 3D print directly from the rack. As the name suggests, these rods take advantage of the slippery nature of PETG to create “slip.”
The downside with this route is that you’re going to end up spending a lot of time reaching up and manually rewinding filament spools. That might be OK if you’re only printing with one color at a time… but if you’re running a multimaterial system, such as the new Prusa MMU3, or this FYSETC Enraged Rabbit Carrot Feeder that I’ve been working on, you’re going to need a solution to rewind your filament rolls and avoid tangles.
(Side note, I considered adding a whole section in this video about the ERCF, because it’s a really fun project to do on a rainy day or two, but I’m not sure how interested you guys are in adding open-source multimaterial capability to your own 3D printers… so let me know in the comments below if I should do a full video about this thing or not). In the past, when using these types of MultiMaterial systems people have used intricate filament buffer systems like the Enraged Rabbit Carrot Patch… but today, there are better, simpler, and more aesthetically pleasing solutions out there.
One such solution is the RepRack Auto-Rewinder by Jerrari. The idea is that you have a bracket, which sits on either the Reprack or a table, and holds two rollers. Inside, these rollers have a series of coils, which wind up, one after the other, to store rotational energy and create tension on the filament. Then, when the filament is released or unloaded, the rollers spring backwards, rewinding your filament spool. Actually, this is the same exact principle that allows the new Bambu Lab AMS Lite to rewind spools without separate motors in the spool holder…
I’ve been in close contact with Jerrari as he improves his designs, and I have to say, these rollers are really promising. He and I are both testing a bunch of different tweaks. For example, the original version takes advantage of the “slipperiness” of PETG to allow the spool to slide on the roller once it’s fully wound. Another version, however, makes use of a clutch at the end of the coils, and then increases the friction on the roller itself by a dding plasti-dip sprayable rubber to the roller… thus allowing the coils to fully wind up, and relying on the clutch to allow continued rotation.
So far, I think I prefer the version without the clutch… but fortunately, if your tolerances are right, you can swap back and forth by simply removing the coils and replacing the first segment.
As you can see, I haven’t yet had the time to complete the programming of my ERCF, so I can’t tell you how well it works with that setup just yet. But I can definitely say that if you want to print directly from your Reprack, whether or not you have a multi-material unit, this is a welcome improvement over the standard slip-rods. I love how it automatically rewinds my filament and prevents it from getting caught on the edge of my printer… so it might be worth printing one or two out to use with your reprack for just that reason. Just be warned: if you’re going to do as I am and print out 10-15 of them… it takes a LOT of time to assemble, paint, and install all the pieces! Like… many, many hours. More hours than I want to admit. Plus, it uses quite a few M3 nuts and screws – so gear up before embarking on this project.
Gridfinity
My love for Zach Freedman’s Gridfinity system is well-documented… and we’ve covered it on this channel many times before. In fact, my first ever video on this channel was a list of gridfinity pro-tips… so check that one out if you haven’t already.
But I bring up Gridfinity for a few reasons. First, it is the ultimate “stuck indoors” project, requiring no outside hardware except for the optional magnets – which personally, I never use. But beyond that, because Gridfinity is a fully open source project, there have been a LOT of updates and improvements since my last video.
Gridfinity has moved out of the workshop, with models for organizing your kitchen, makeup drawer, writing desk, and more. I even used the highly economical “gridfinity lite” bins to organize my perennially disorganized bathroom drawer, and… I mean.. just look at it.
Additionally, now that the “cut” feature is available on all major slicers, you no longer have to deal with hand-trimming or gluing baseplates down in your drawers to keep them from rattling around… You can just cut them to the exact dimensions you need… plus, you can find half-width bins to use up the extra space, too!
I love gridfinity so much that I literally built this custom drawer in my workspace just to house gridfinity, because these puny drawers in my rolling tool cart were NOT cutting it. And at some point, I’m probably going to cave in and tackle my disastrous kitchen drawers, too… Though that’s going to have to be an entire rainy week
Honeycomb Storage Wall
Speaking of 3D printed organization systems that I’ve talked about ad nauseam on this channel, let’s revisit the honeycomb storage wall… because I have some hard-won lessons to share with all of you.
For those of you who haven’t seen the 2 or 3 videos where I talk about this setup, the idea is simple: it’s fully open source, 100% 3D printable except for the screws to mount it to the wall, and has thousands of readily-available models for pretty much anything you could wish to mount on your wall. Sounds good, right? It is… and as you can see, I’ve kind of let this stuff take over my life. It’s here. It’s in my other set. It’s in my home office. It’s like Visa: everywhere I want to be.
But when I put up the massive, 3 x 2 meter wall on my main set, I learned a few very painful lessons that I want to share with all of you.
You might have noticed that the wall isn’t exactly straight. And in certain areas, I’ve had to force pieces in, meaning they’re under constant tension. I’m sorry if you didn’t notice it, because now, you’ll never be able to unsee it… I certainly can’t. This isn’t because I don’t know how to use a bubble level. It’s because drilling into concrete isn’t an exact science, and there is a certain amount of imprecision in mounting these, either due to give, or due to small gaps when mounting. The bottom line is, even though I caught this mistake as the wall was going up, I couldn’t do much to fix it, short of re-drilling dozens of holes into reinforced concrete, which would inevitably be only 1-2mm off, meaning they would merge with the existing holes… Ugh, I don’t want to talk about it, ok?
So how can you prevent being a dummy like me? It’s actually really simple: assemble the pieces in advance. Instead of mounting one piece at a time, hoping that your holes are accurate, and having 0 flexibility when they aren’t, I suggest assembling at least the center pieces of your grid in advance, on a table or on the floor. Then, position it exactly as you want it, using a bubble or laser lever, and mark your holes. This makes it incredibly easy to get the entire thing level, with no annoying tension between the segments.
Additionally, I want to point out that you don’t need to waste kilos of filament printing the entire thing solid, like I did on my other wall. Unless you plan on putting tons of weight on, it’s fine to have a little infill… just make sure that if you’re going to print them in a stack, such as on your Bambu Lab printer, you fill in the top faces of the thick side, or you’ll end up with this effect. Or, you could just print only 1 or 2 at a time to ensure you have filled in top faces.
Also, on the topic of stacking, I’ve done extensive testing comparing Bambu PLA Support vs. PETG, and hands down, it’s better to use PETG. Whereas I’m STILL picking away little pieces of Support material that are stuck to my panels, PETG generally comes off easily as one piece.
