It’s been a few months since the lovably bizarre YouTuber Zach Freedman released his Gridfinity organization system, and I don’t know about you, but I have been hard at work gridfinitifying my entire life.
In this article, I want to share with you some of the tips, tricks, and words of wisdom I’ve come up with after hundreds of hours – and kilos of filament – devoted to this lofty project.
What is Gridfinity?
First of all, I want to point out that Gridfinity isn’t just a standard for creating organizers – it’s an open-source standard, and one that already has a community around it.
For those of you who aren’t “in the know,” a few months ago, Zach Freedman released the awesomely open-source Gridfinity system, a pretty ballsy move considering he was effectively building upon Alexandre Chappel’s closed-source, pay-to-download system and turning it into an open-source one that anyone can use and build upon for free.
I LOVE Alexandre’s work, and I’m a BIG fan of his videos, but I have to say that within a few hours of Zach releasing his own files open-source, it really became a case study in the benefits of open-sourcing your project.
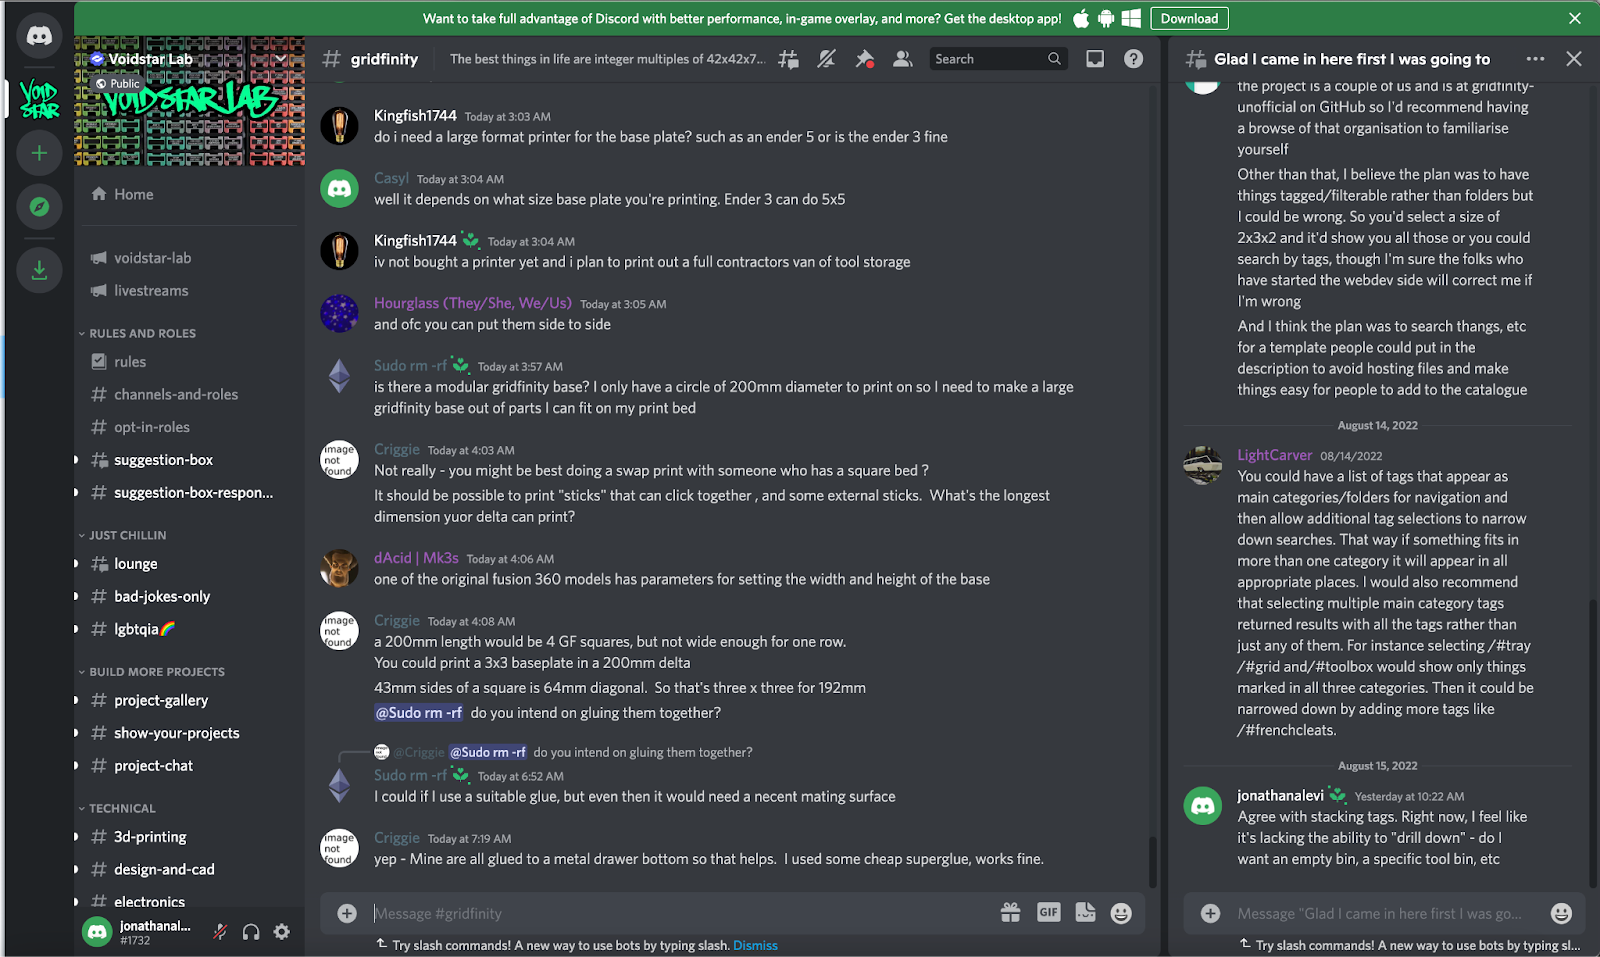
Whereas Alex’s community had to wait patiently for Alex to release even new box sizes, or suffer for months or years with design decisions that Alex made to suit his own workshop such as non-square dimensions, within hours, an entire grassroots community had sprung up around Gridfinity, including a Discord community:
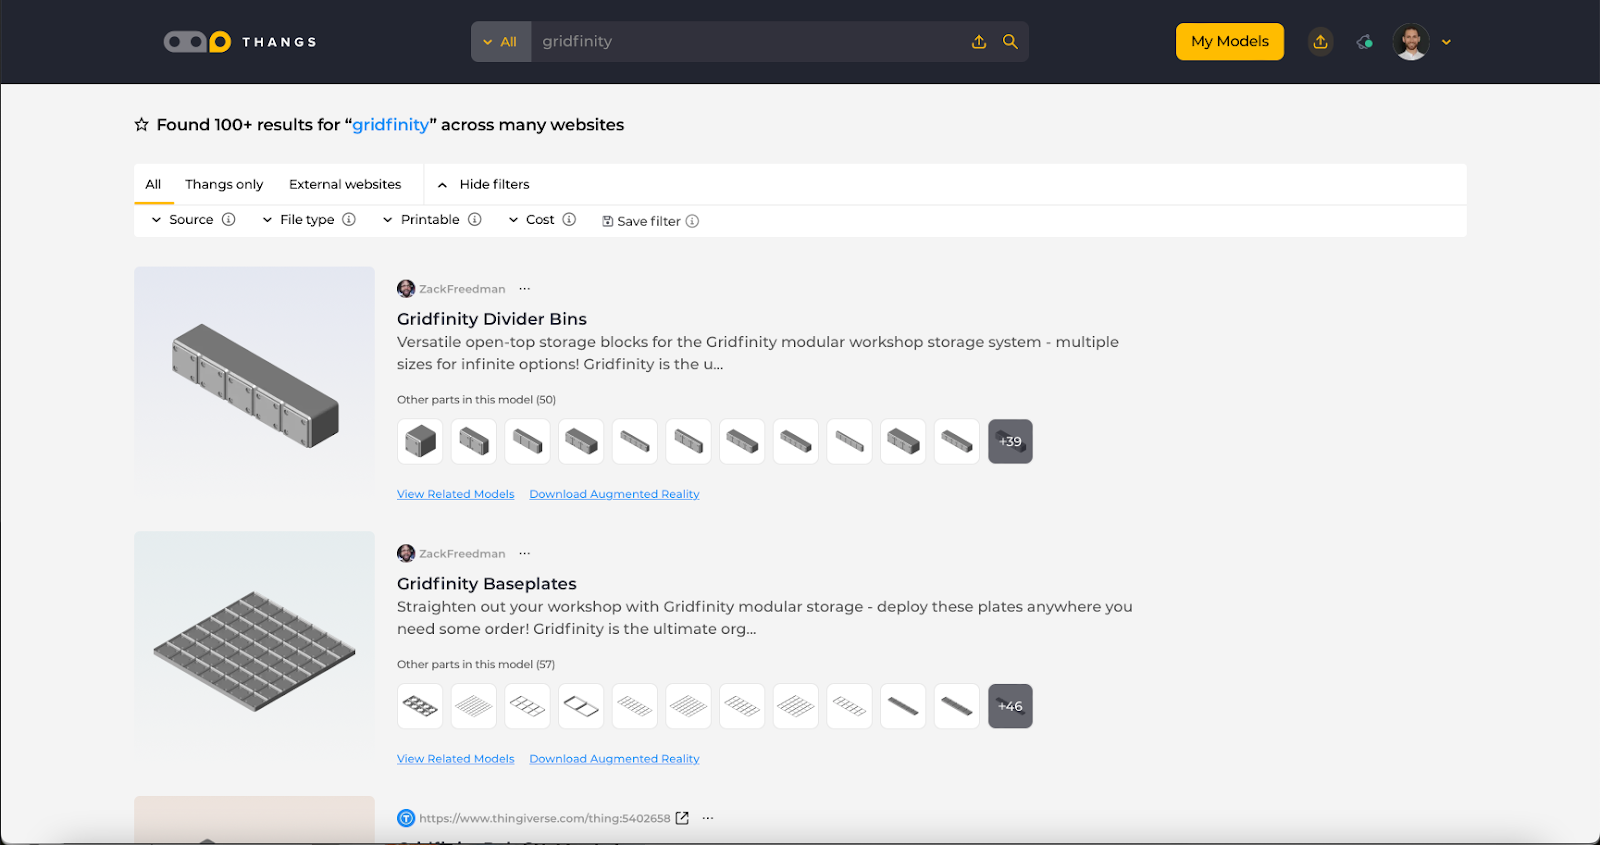
A rich library of items:
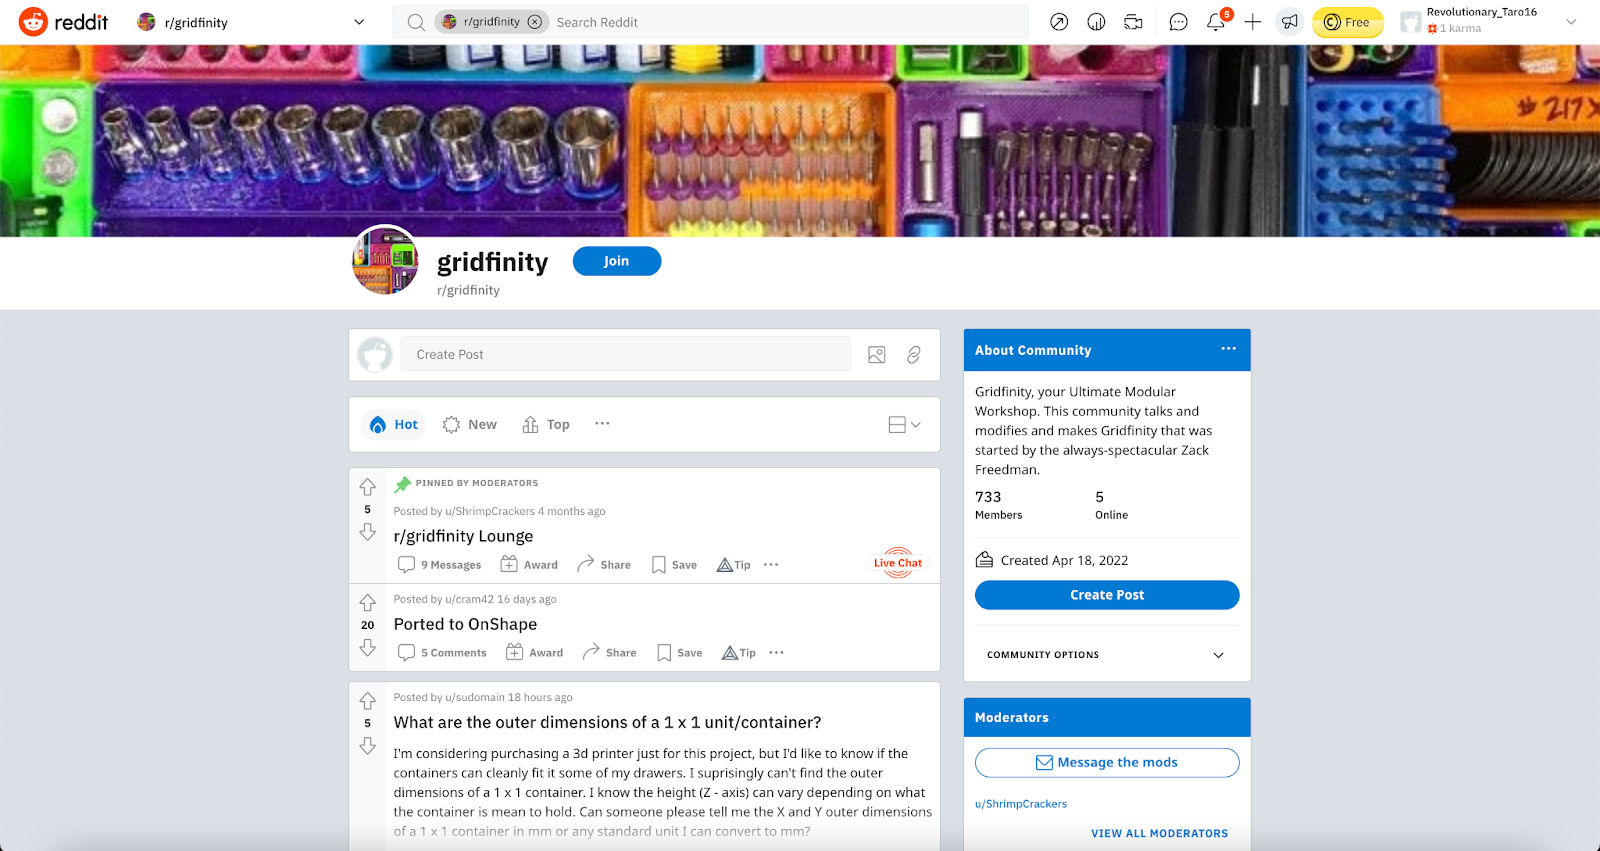
And even a subreddit:
Zach himself even did a follow-up video, showcasing some of the best designs created by the community… including many that far improved upon even his wildly creative imagination.
In short, in just a few hours, this open-source version of Alex’s idea far surpassed 2+ years of Alex’s own innovation – and we’re just getting started.
That’s not an indictment on Alex, who, frankly, is more of a manly man, engineer, maker, and videographer than I’ll ever be – it’s just a simple fact: 1000 brains are better than 1 brain, no matter how charmingly Swiss that brain may be.
So on that note, Tip 0, if you will, is to make sure that you join the community on Reddit and Discord, because there are a lot of folks there who can help you with your own designs, and I’m sure you have a lot to contribute.
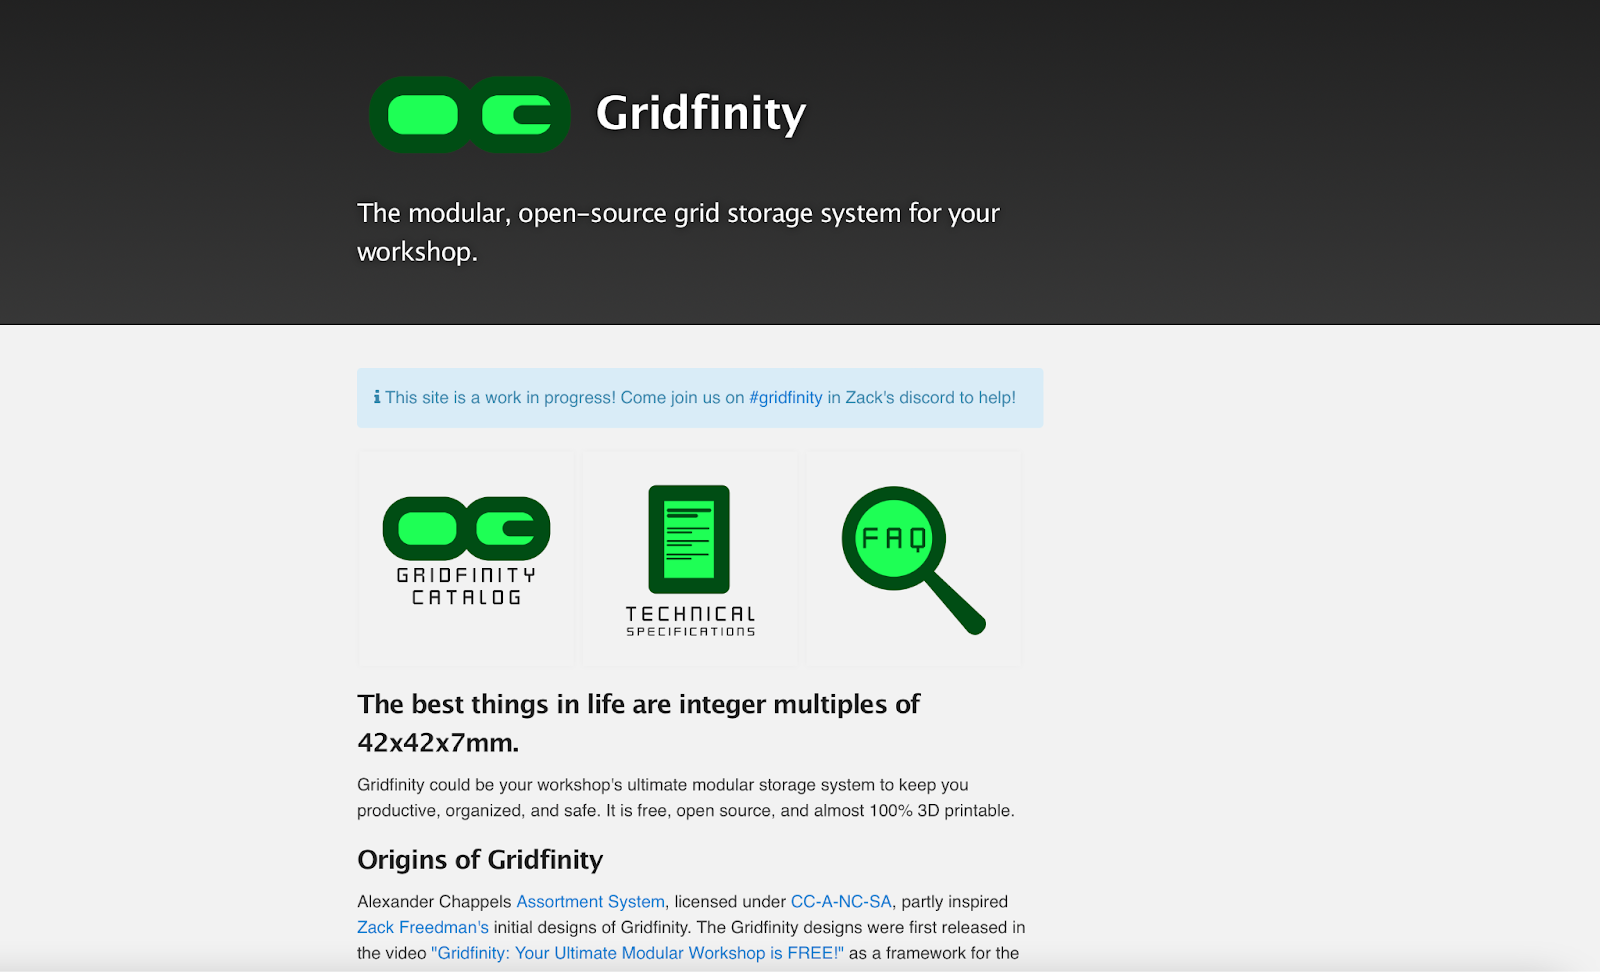
Currently, some of us are planning out a more organized directory for finding Gridfinity parts on the community-lead website Gridfinity.xyz:
Gridfinity Tips & Tricks
Here is my list of tips for all you new Gridfinity users, based on my own experience:
Tip #1: Generate Your Own (Empty) Bins
One of the really cool things about gridfinity being open source is that we don’t have to wait for Alex, Zach, or anyone else to create new designs if we need them.
In fact, we don’t even have to design them ourselves, because believe it or not, there are already multiple different resources and files available for you to generate your own empty bins, even if you no discernible design skills whatsoever!
Of course, even in his original video, Zach pointed out that his designs are fully parametric, and that you can modify them right in Fusion 360, which you can download for free if you’re a maker… and yes, that IS true.
However, I found that the Fusion360 version was lacking some capabilities, such as the ability to remove the label without knowing how to navigate the editing functions of F360…
Fortunately, a user named simply “Jamie” over at Printables went ahead and converted gridfinity into an OpenScad library, allowing you to generate Bins, Baseplates, and MUCH, MUCH more – all within Openscad.
For those of us who aren’t super comfortable with Fusion360, or who are just lazy, this is awesome, because it means you just need to edit a few parameters, and you’re able to generate any kind of box or baseplate your little heart desires – at least, for the basic ones.
Initially, I had some issues with the top layers, but Jamie has been really quick to improve the files and update them on GitHub and Printables, so if you aren’t seeing the size bins you want, make sure to check this resource out.
Tip #2: Create Your Own Custom Bins
That’s cool, but what if you don’t want just another empty bin?
I mean, after all, the magic of Gridfinity lies in the idea that it isn’t about storing more stuff, it’s about displaying your stuff in the most efficient manner possible.
And sure, while there are tons of designs being uploaded every single day for an increasing numbers of tools, glue sticks, doo-dads and thingermajiggers, you’re almost sure to have some tools that nobody else in the gridfinity ecosystem has.
Fortunately, jdegs over at Printables has you covered. Jdegs went ahead and uploaded a library of filled-in gridfinity boxes for your customization needs.
Uhh… what good is a filled-in box, you ask?
Great question.
You see, with a filled-in box, all you need to do to customize it is create a cutout in the shape of whatever you want.
Effectively, you need to draw out the tool you want, and then use a boolean modifier in Blender, or similar functionality in another software, to subtract that shape from the filled-in box.
Heck, you might even get lucky, and find that someone has already created a model of your tool… just remember to beef up the dimensions, because you don’t want it to be too tight of a fit.
By the way, if you want to see an example of this method in action, check out this nifty lie-flat caliper holder I made based on Jdegs’ files!
Unlike the dozen or so caliper bins available, it fits in a drawer, but it stands the caliper on it’s side, taking up half as much space. It also puts the caliper at a gentle angle, making it more convenient to pull out.
Tip #3: Nozzle Diameter
Originally, Zach recommended using any nozzle under 0.6mm:
However, many in the community, myself included, have had great results using as high as 0.8mm nozzles, as long as we use the newer arache perimeter generation feature of Cura or PrusaSlicer Alpha 2.5.
In case you don’t know, Arachne does a better job of dealing with thin perimeters by adapting the extrusion mid-print, making it great for thin-walled prints like this.
And of course, a bigger nozzle means that you can print more gridinity containers faster, especially if you print at 0.4mm layer heights, like I’ve been doing.
Now, while it IS possible to print with a bigger nozzle and a higher layer height, I do want to warn you of a few things.
First, because gridfinity bins have a lot of large, flat surfaces – especially as you get bigger, you need to be particularly careful about your infill and layers.
Initially, I figured that I’d go as low as possible with infill, since the parts don’t need all that much strength, but that was a big, flat, misshapen mistake.
What ended up happening was that my first infill layer would warp and do weird stuff, curling upwards and getting caught on the printhead. That lead to, in the best case, awful surface finishes, and in the worst case, massive step-skipping that caused entire prints to fail.
The fix for this was actually to increase infill to 15%, in order to help that first top-layer lay down buttery smooth.
Which leads me to my second tip.
For the first 70% of the boxes I printed, I was using way too many layers for top and bottom.
I’m so used to printing with 0.2mm layer heights, that I didn’t really think anything of it to see 3 and 4 layer settings for these.
But then, I took the boxes off the printers, and they had HEFT! Like, serious heft. Oh, and I started running out of filaments.
It’s only then that I did the math, and realized that between 4 bottom layers and 4 top layers, I was basically printing with 3.2mm of solid plastic for the part of the boxes that doesn’t need any strength at all.
So, as you’re increasing infill to 15%, I recommend decreasing the top and bottom layers to 2, maximum 3.
Your pocketbook will thank me.
Tip #4: Some Like It Hot. Gridfinity Is One Of Them.
Personally, I’m one of those “don’t print it hotter than you need it” type of guys, and I usually print PLA at 190 degrees in order to keep it from stringing.
However, there is a strong case for printing these bins much hotter than you’re used to.
First, there’s the issue of using a bigger nozzle, which means more filament flowing through in less time, which means you’ll want more heat to ensure that you fully melt the filament.
I found the most success at the top of the range – 220 degrees – and I lost a good few hundred grams of filament to lower temps.
Stefan over at CNC Kitchen has done some awesome experiments to determine the best layer adhesion temperatures for PLA, and he’s found that up to a certain temperature, higher temps – in the range of 215 degrees celsius, do lead to better layer adhesion.
But what about stringing, you ask?
First of all, Gridfinity bins are not that intricate, and for the most part, a bit of stringing is much better than bins that fall apart.
What’s more, you can usually get rid of that stringing with a hair dyer – or just ignore it. It won’t interfere with the usability of the bins, unlike layer separation!
Tip #5: Filament
I don’t know about you guys, but whenever I see a BIG project like Gridinity, where print quality isn’t going to be all that important, I immediately thing to myself “yesss! A chance to use up all the crappy filament I would never use for a paying client.”
Hold your horses, sally.
While gridfinity is not that taxing on your printer, there are a few things that are cause for concern – and which, ultimately, lead to me wasting well over a kilo of filament trying to print and reprint boxes.
First and foremost, there’s the problem I mentioned just a moment ago: layer adhesion.
You see, because some parts of our bins will have just 1 layer when printed with a 0.8mm nozzle, it’s important that we use filament that has no layer adhesion issues.
I had two different filaments which I knew to be problematic, and upon pulling the bins off the build plate, the layers separated faster than a celebrity couple.
For some filaments, you’ll be able to resolve this by upping the heat or decreasing the fan speed, but for others, it’s just not going to work, and you’ll need to save this for a print where layer adhesion is less of a dealbreaker.
You definitely don’t want those layers to separate when you’re lifting a bin full of 100 tiny little screws over a nice thick carpet.
Next up, there’s bed adhesion.
As Zach mentioned, bigger boxes can get warpy, and this can lead to your bins not sitting nicely inside of the grids, or your grids not sitting great. Most of this can be resolved with the classic PLA solutions: glue sticks, turning down the fan, and an enclosure.
I strongly recommend you have these things dialed in before printing bigger bins, because unlike most PLA prints, using a brim is just not practical for a print like a Gridfinity bin, and removing that skirt would be a nightmare on something like this.
What’s more, I also had a few rolls of filament that no matter what, insisted on clogging up with all the retractions necessary to print the baseplates, leading to tons of wasted filament and a lot of frustration as I waited to have enough baseplates to start organizing my crap.
Ultimately, I’ll say that although Gridfinity seems like a great way to use up crappy filament, truthfully, I’ve found that it’s better to just commit to buying more of the good stuff.
I mean, the whole organization system is free, so what’s $20-50 on filament?
Side note: I’ve had the MOST luck with the really affordable Overture PLA you can find on Amazon (NOT their Pro version, but just the regular one or the Eco PLA that you can get for $17.99 right now).
Tip #6: Analysis Paralysis
In his video, Zach jokes around that he has ADHD 4K 120fps.
I, like many of you, have OCD 8K 1Gbps, and so Zach’s “don’t worry about analysis paralysis, just print it again if you change your mind” did little to comfort my OCD brain.
I thought about all different sorts of ways to color-code my bins, and even tried to plan a ROY-G-BIV rainbow vibe, only to realize that the modularity of this system made it inevitable that it would end up looking like my toddler’s puke after Halloween.
Instead, I decided to go with a theme-based color scheme, using a specific color for each type of tool in my gridfinity system.
You see, part of the beauty of Gridfinity is that the bins are modular and can be taken out and moved, so there’s no guarantee that you’ll want to put them back in the same place every time.
Maybe, while working on a woodworking project, you want specific tools closer to the forefront, or maybe, after a particular scolding from your wife or significant other, you’ve decided to cool it on the real man tools and put the collets further back in the drawer to save money on a divorce.
The point is, if you set colors based on the type of tool, you’ll not only avoid going bat-shit every time you see out-of-order color schemes, but also, you’ll be able to find tools faster and easier, because you’ll know what color you should be looking for – even if your eyes are full of acetone fumes and saw dust.
You could, for example, go with:
- Purple: Heating tools
- Blue: Squirty Stuffs
- Green: Pointy Bois
- Yellow: Deez Nuts
- Orange: Deez Bolts
- Red: Things that go bump in the day
Yes, I know that that list was still in color-coordinated order. No, I’m not sorry.
Yes, I made up “things that go bump in the day,” and no, I’m not going to explain the logic.
Because, of course, each Gridfinity setup is as unique, illogical, and nerdy as it’s owner. Make it your own.
Nobody else needs to understand your logic. Just tell them to appreciate the pretty colors. Art is in the eye of the beholder.
Tip #7: Size Isn’t Everything
Personally, I was initially motivated to print as big of a baseplate as I could on my CR-10, and then print smaller ones to fit in the remaining nooks and crannies.
But in the end, I actually wish that I’d gone smaller, for two reasons.
One is that I had some serious issues with nozzles clogging on specific filaments like I mentioned before.
The biggest baseplates were 7 by 7s or something like that, and I would waste 2 or 3 hours and a few dozen grams of filament before they’d clog up.
I used Stefan’s awesome tutorial for continuing failed prints to fix a couple, but a couple I failed to unfail my fail.
Then, there’s annoying stuff like warping during printing, breaking when you pull them off the baseplate, or the hot glue drying before you realize that one corner is a millimeter off, which will mean none of the bins will fit properly in that entire segment
Bonus Sub-Tip: Make sure you glue the grids in perfectly square. Slower-drying glue + patience > fast glue and millennial-like impatience.
Eventually, when I got to printing the smaller ones, I realized how nicely the Gridfinity plates pair up with one another, and the edges are designed to be half the width of the inner divisions – genius!
Considering that smaller ones print better, are less of a problem if they fail, are less of a hassle if you glue them in slightly crooked, in retrospect, I wish I’d broken up my massive drawer into lots of smaller ones, rather than trying to maximize my print bed.
Which is a good enough segue into…
Tip #8: Print 1 Part at a Time Until You’re Certain
As you’ve probably gathered from my tips above, I had a lot – and I mean a lot of print failures while I figured out the exact right settings for printing these bins.
Plus, there are always annoying print failures that happen as a natural part of 3D printing. Filament gets stuck in your feeder routy thingie.
Your filament runout sensor decides to take the day off. Your nozzle clogs. Or the 3D printing gods just decide to give you the middle finger.
I wanted to do one of those dramatic “pour out all my failed prints” slow-mo shots, but I also didn’t want my wife to leave me, so I threw out most of the failed prints before she could see how much money I’d burnt on filament.
The point is, in my excitement to Gridfinify my entire life, I went about filling up my entire print bed with as many bins of a certain color as possible, only to wake up in the morning with 700 grams of useless junk.
In retrospect, I really wish I’d just printed a few pieces at a time, taking my time to get it right, at least until I had everything dialed in perfectly.
Sure, it would have only saved me $20 or $30, but what’s another day or two to wait, especially since I have a feeling my Gridfinity setup is never going to be fully complete, and I’m going to be printing changes and improvements for many months to come.


")
