Knowing the ins and outs of your slicer of choice can mean stronger 3D prints, faster print times, less time spent in CAD customizing your models, and much, much more.
In this guide, I’m going to share a handful of lesser-known slicer settings that will help you take your 3D Prints to the next level.
Let’s dive in.
Which Slicer Are Those Settings For?
Before we dive into the actual settings, just a quick note.
To the best of my knowledge, all of these settings ARE available in Cura, PrusaSlicer, BambuSlicer, and so on, but personally, I’ve made the switch over to OrcaSlicer, formerly known as the SoftFever fork of BambuSlicer, which is a fork of PrusaSlicer, which is a fork of Slic.. you get the idea.
Whatever slicer you’re using, you should be able to find these settings, though they might be named a little differently.
If you can’t find them quickly, just remember that your slicer has a search feature. Sorry, but this video would be way too long if I showed how to navigate to the feature in every slicer out there!
Oh, and if you haven’t tried out OrcaSlicer yet – well, as you’ll see throughout this guide, it’s REALLY Slick – no pun intended – and definitely worth checking out, especially if you want to be able to monitor your printer in your slicer without needing a separate browser window.
My List of Hidden Slicer Settings You Have Never Heard About
Alright – let’s get into the settings, shall we?
Solid Infill Threshold
First things first, let’s start with one of the more practical ones, and one that I use literally ALL the time.
This feature allows you to determine at what threshold your slicer will switch from sparse infill like gyroid or grid to “solid” infill. This is great because on many models with smaller details or limbs, you may want those weaker areas to be completely filled in, without having to up the perimeters on the entire model. Simply specify the threshold
I use this a lot on my Bitcoin art, especially my Bitcoin Bull, to make the narrowest parts of the legs and the thin tail sturdier. This has made it MUCH easier to ship them around the world without damage!
Modifier areas
Speaking of wanting to make specific areas stronger, many of you probably already know about modifier areas, but basically, they allow you to add any shape – or even another object – to your model, and then “modify” that area of the primary model accordingly.
For example, you could increase perimeters only for that area, increase infill, remove top and bottom layers, do a different infill type, and much, much more.
This is a great way to add strength, save material, add mouse ears for bed adhesion, there are SO many ways you can use this, and it’s SUPER valuable if you don’t want to apply those changes to the entire model.
Negative volume modifiers
While we’re talking about modifiers, I do have to mention one that you probably know, but, For those who don’t, it’s a must.
In the same way that you can use modifiers to change settings in certain areas, you can also use negative volume modifiers to modify a model.
Don’t let the fancy terminology fool you – a negative volume modifier is just a way to cut out the difference between one shape and another.
This can be used to remove parts of a model you don’t want, deboss logos or symbols into your model, cut holes into something that doesn’t have them, or tons of other uses. This is ESPECIALLY useful if you aren’t yet very confident in CAD software.
Close Holes Slicing Mode
So that’s adding holes – but what if you want to remove them?
Not to worry, because there’s a slicer feature for that. Close Holes, which is a dropdown option under “slicing mode.”
This is one I actually discovered by accident, and spent a while trying to figure out why my holes weren’t showing up in slicing.
Basically, it get the slicer to automatically close up the X-Y holes in your model. You might wonder why you need that, but I’ve found it to come in handy for a lot of models that may have screw holes, but which I prefer to mount with a command strip, for example.
Instead of fixing the model in CAD, or having an ugly hole I don’t need, I can just click one dropdown, and the holes are gone.
Hole X-Y Compensation
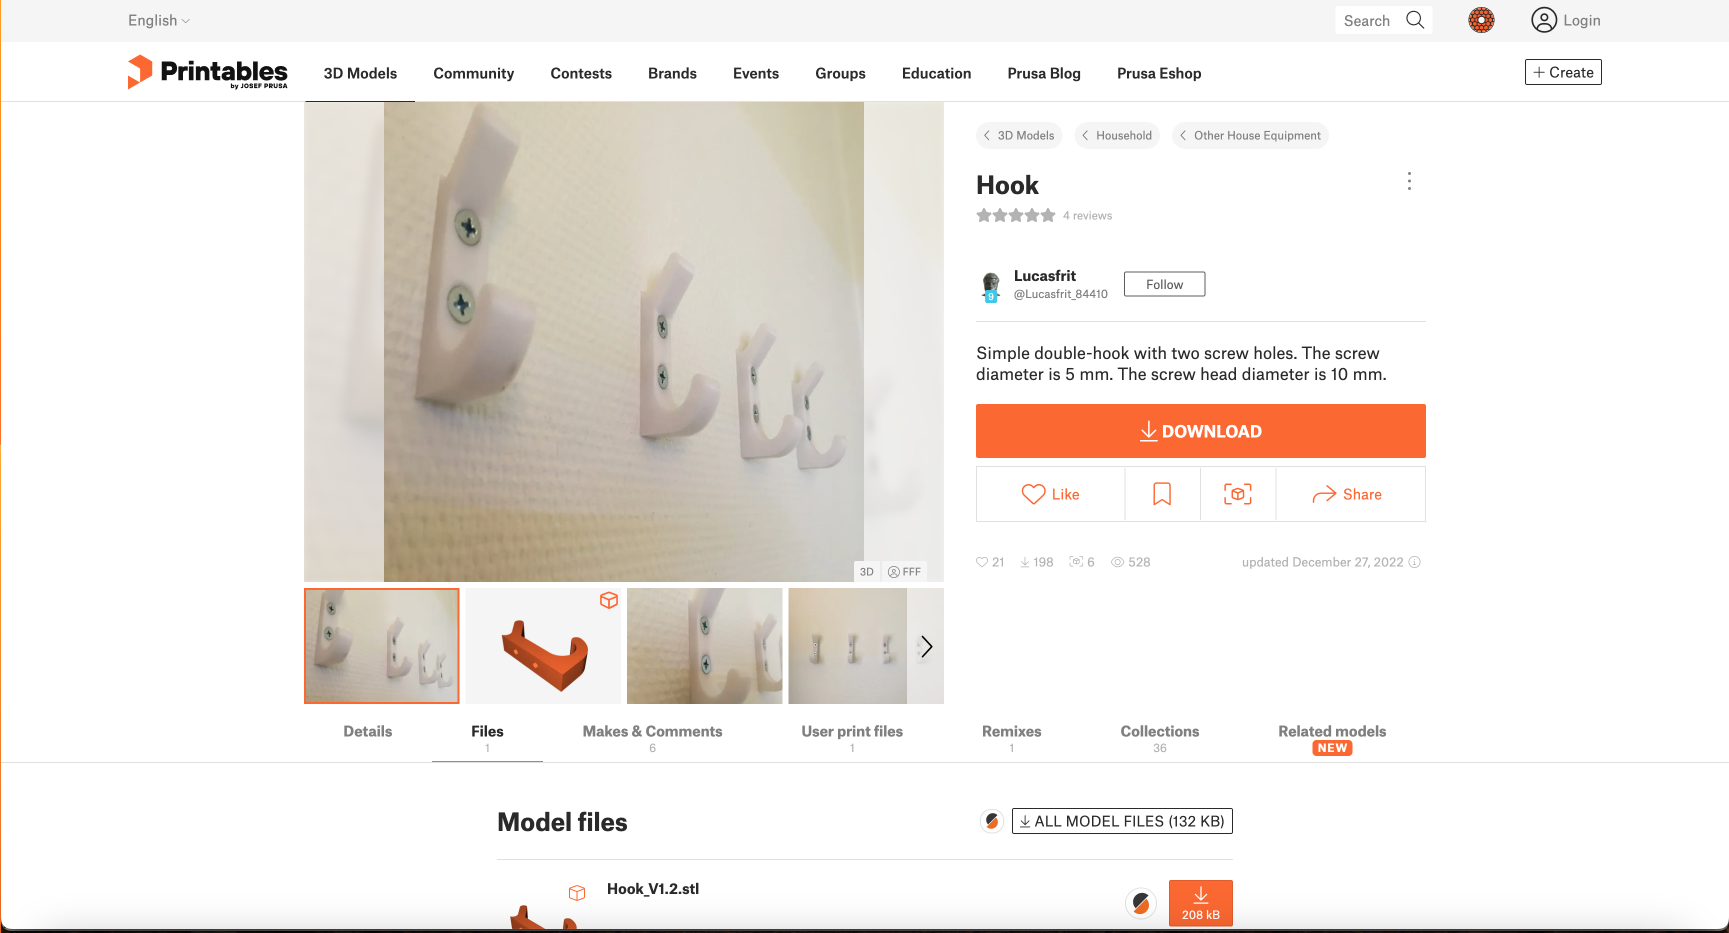
OK, we’ve added holes, removed them… but what about compensating for them? Allow me to explain. One of the challenges with 3D printing is that the printer will simplify line paths, especially for round objects, which can cause things like holes to be too tight. This was particularly problematic for me when I tried to assemble the popular Bambu spool winder.
Fortunately, you don’t need to resort to filing your holes – get your heads out of the gutter – or modifying models in CAD, because you can instead use Hole X-Y compensation.
What this does is basically widen your holes by the specified amount before slicing them.
I’ve used this feature to add a little bit of extra tolerance in models, and it saves SO much time, frustration, and broken prints!
Combine infill layers
Speaking of saving time, here’s one that I would hope most of you already know, but which, for some reason, isn’t enabled by default on any print profiles I’ve seen. Combine infill layers allows you to print infill every 2 or 3 layers, instead of on every one.
This will mean thicker layer lines, but since nobody sees the inside of your model, it means you can save a TON of time on printing, without sacrificing aesthetics. Which is a great segue to..
Variable layer height
Here’s one that I’m always surprised people don’t use more.
You may not realize it, but certain parts of your models simply don’t need small layer heights to look great. Conversely, other parts, such as spheres, need incredibly tiny layer heights to look decent.
So why not save time where it’s not needed, and invest that time where it is? That’s where variable layer heights come in.
You simply specify the tradeoff you want on a continuum between speed and quality, and the slicer will auto-calculate the necessary layer heights based on the geometry of your model.
You may just find that major swaths of your model don’t need anything more than 0.20mm, and that’s time you can save, or use better elsewhere.
Ironing
One such “elsewhere” is with the use of ironing. Ironing is a practice whereby your nozzle is “dragged” over a completed layer extremely slowly, against the grain of the previous pass. While this happens, a very small amount of filament is extruded to “fill in” the remaining gaps.
I’ll be honest: ironing doesn’t lead to a picture perfect surface, it takes quite a long time, and if it’s not dialed in, it can even make your surface look worse by scraping material to the edges.
So if you need a surface to look perfect, it’s better to have that side face the build plate. However, if that’s not an option, and/or you want the top of your model to look as good as possible, definitely check out ironing. It beats sanding your models by hand!
Cut feature
Here’s one that I’ve only recently begun using more: the cut feature.
Many of you may know that you can “cut” a model by “sinking” it onto the build plate, but recent versions of PrusaSlicer and its derivatives also offer the ability to actually cut a model on any axis, at any angle, with the option of keeping one or both of the resulting cuts.
This is super useful, and frankly, easier to do in the slicer than even the easiest-to-use of CAD programs!
Complete individual objects
In case you haven’t noticed I’m incredibly impatient, and sometimes, when I’m working on a project, such as my honeycomb storage wall, I want to install the pieces as quickly as possible.
Fortunately, I discovered “complete individual objects,” a feature which will print one object at a time before moving on to the next. In order to use this, you’ll need a few things.
First, you’ll need models that are low enough to not cause collisions with the print head when it moves on to the next one.
Second, you’ll need your slicer to know the clearance of the print head, so that it can accurately predict any collisions. 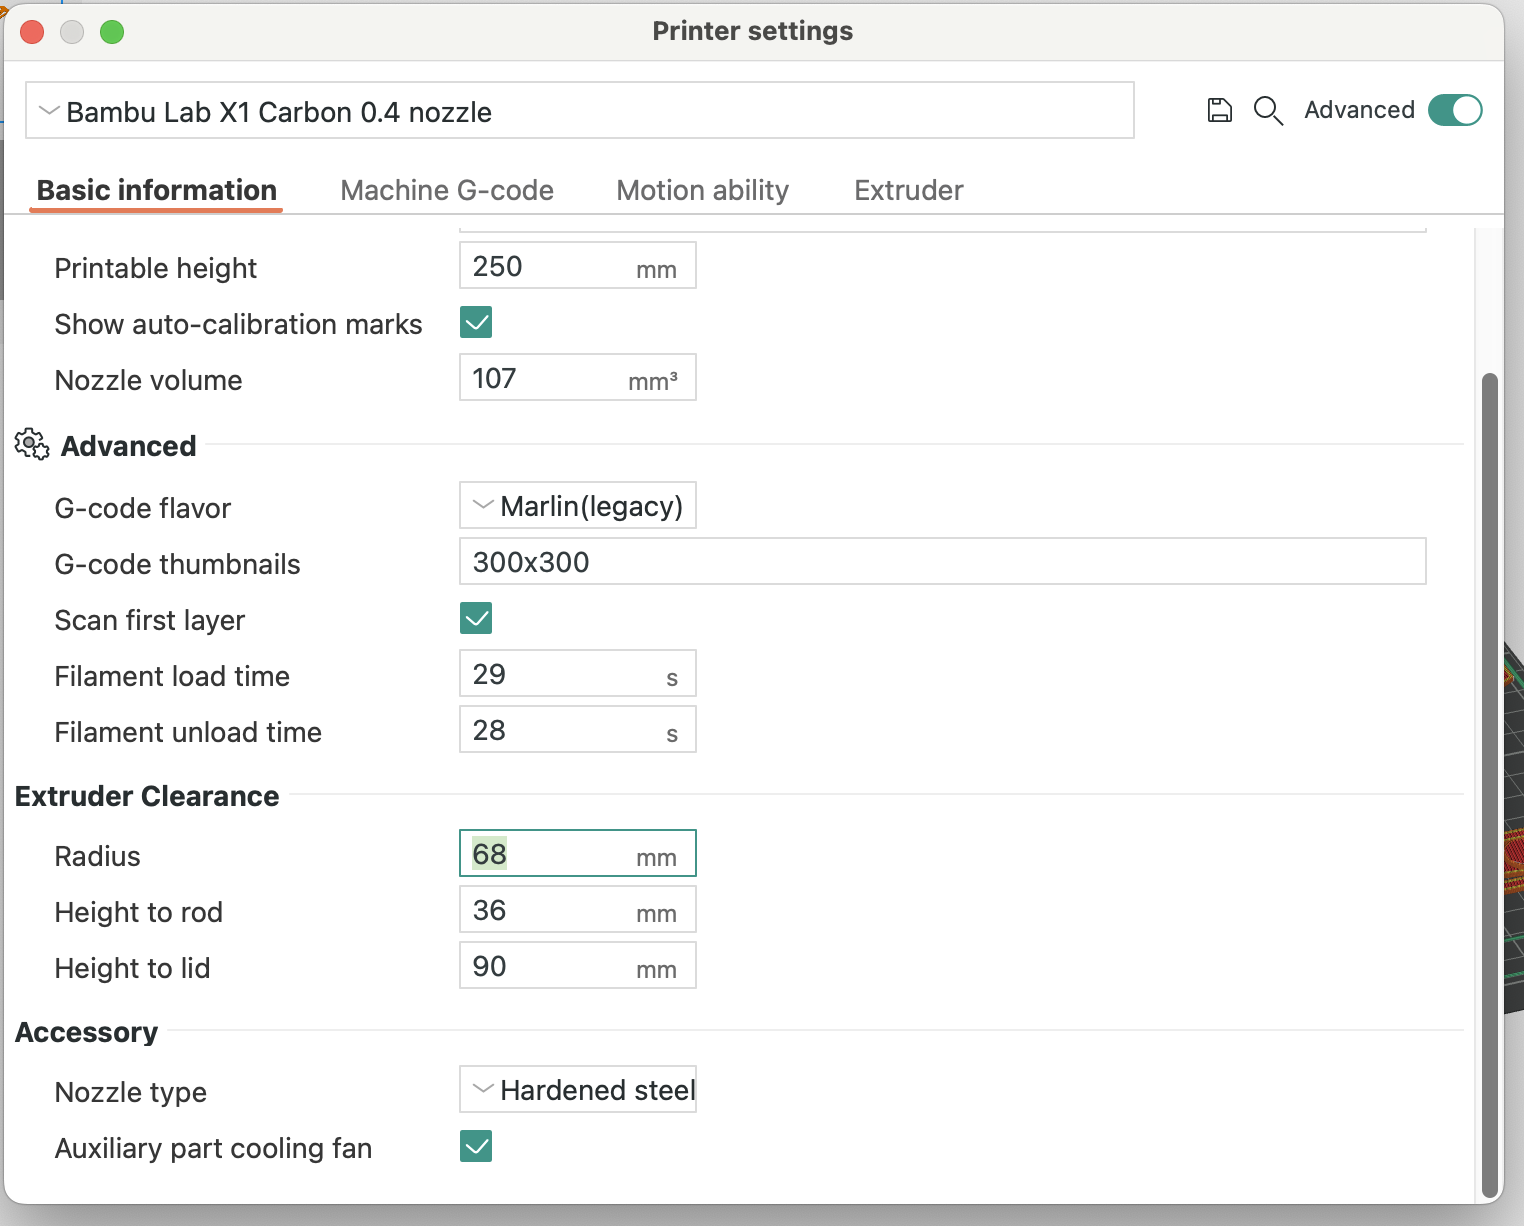
And third, you’ll need to space your models out enough so that no collisions occur.
Fortunately, all of this is either automatic, for popular printers, or easy to configure in your slicer.
Just please, do me a favor and pause the printer before you reach your hands in to snap off parts.
Per-object settings
While we’re on the topic of printing things one by one, let’s talk about configuring them one by one.
What if, for example, you have a few different objects you need to print, but you want one to have 5 perimeters and 10% infill, and another to have 50% infill and 1 perimeter?
You could, of course, use modifier shapes, but that’s slow. Instead, you can actually modify settings per object.
This used to be annoying and confusing in PrusaSlicer, with a bunch of right clicking and modifiers added into the object view, that you’d then have to click to see, but in OrcaSlicer, it’s actually really cleverly done.
Simply right click the object, hit “edit in parameter table,” and you can see and modify ALL of your parameters for ALL of your objects in one quick view. Clever, right?
