

This is the highly-anticipated Creality K1.
In many ways, it’s Creality’s answer to the Bambu Lab X1 Carbon. And it certainly feels like it, too.
So in this article, I’m going to share my experiences with this printer, point out a few things you NEED to be aware of before you buy one, and share with you some of the changes and modifications that I’ve done to make this printer significantly better.
Let’s get into it.
Introduction
First, let’s get the disclaimers out of the way: Creality did NOT sponsor this article or video, but they did provide this review unit to me free of charge in exchange for an honest review. They’ve had no say in anything I’m going to write here, and they also won’t see it before you do.
Now, I’m not going to go too deep into the specs of this machine, besides pointing out that it has a 220x220x250 build volume, a fully* enclosed form factor (insert asterisk here) and boasts speeds up to 600mm/s*… Asterisk here, as well.
Plus, as you’d expect of a printer coming out in 2023, it also has WiFi connectivity, a beautiful touch-screen interface, input shaping, and much more.
But you can read all that on Creality’s website. Instead, let’s talk a bit about the user experience.
You can watch my full recorded review below:
Unboxing & Setup
Unboxing and setting up the K1 was a breeze. Creality did a great job packing it in a massive wooden crate, and it survived Israeli customs unscathed.
They also gave very clear instructions for exactly what to do, including removing the packing materials and screws holding the build plate in place, running the initial self-check diagnostics, and printing your first test prints.
I had the printer up and running in no time, and was very impressed with the overall user experience. This was the first indication I got that – for better or worse – creality is really positioning this printer as an “it just works” machine for people who are new to 3D Printing.
My first benchy printed in 17 minutes, as promised, and although it printed in the provided white “hyper PLA,” making it hard for all of you to see the details, I can assure you that it’s basically perfect. Nice!
Hardware
Before we get into my major gripes with the printer – its software – let’s take a moment to really admire the hardware on this machine.
First, I’ll address the two elephants in the room: While the fit and finish of this machine are SUPER nice – the nicest I’ve seen from Creality by far – the build quality and materials are not quite as premium as the X1 Carbon. And since I personally do not have a Bambu Lab P1P, I can’t rightfully compare them – though you can check out the Nathan Builds Robots channel if you want to see a comparison.
With that said, I have overall been very impressed with the hardware, and this seems like a major leap forward from the other creality printers I’ve used in the past.
Yes, they have cut some corners in order to come in at a lower cost. The panels, for example, are plastic, rather than glass. The smooth rods are made of steel, not aluminum or carbon fiber. The vent fan has no HEPA or carbon filter to prevent the machine from spitting out harmful VOCs or plastic particles into the air you breathe. In fact, the enclosure is far from “fully enclosed,” with major gaps around the screen, for example.
And of course, Creality has already had to make some adjustments to these machines to resolve some design issues.
My test machine already came with a tightened extruder switch and the bowden tube configured to exit the cable chain in the middle, but I still had to move it back and forward a few links before I was able to find the right position and prevent major under-extrusion issues which were driving me crazy.
But with all that said, the hardware on this printer is pretty darn impressive given the price point.
The extruder handles high flow easily, provided you use the right material. The build plate, while not particularly premium, offers great adhesion, with or without glue stick.
Cooling is more than adequate with the combination of the auxiliary fan and the part cooling fan.
And the touch screen is very nice – though as you’ll see, it’s basically useless to me now that I’ve made some changes to the printer.
I guess the only real disappointment I’ve had with the hardware is the fact that this printer doesn’t come with a camera – and the AI camera that goes with it is not yet available.
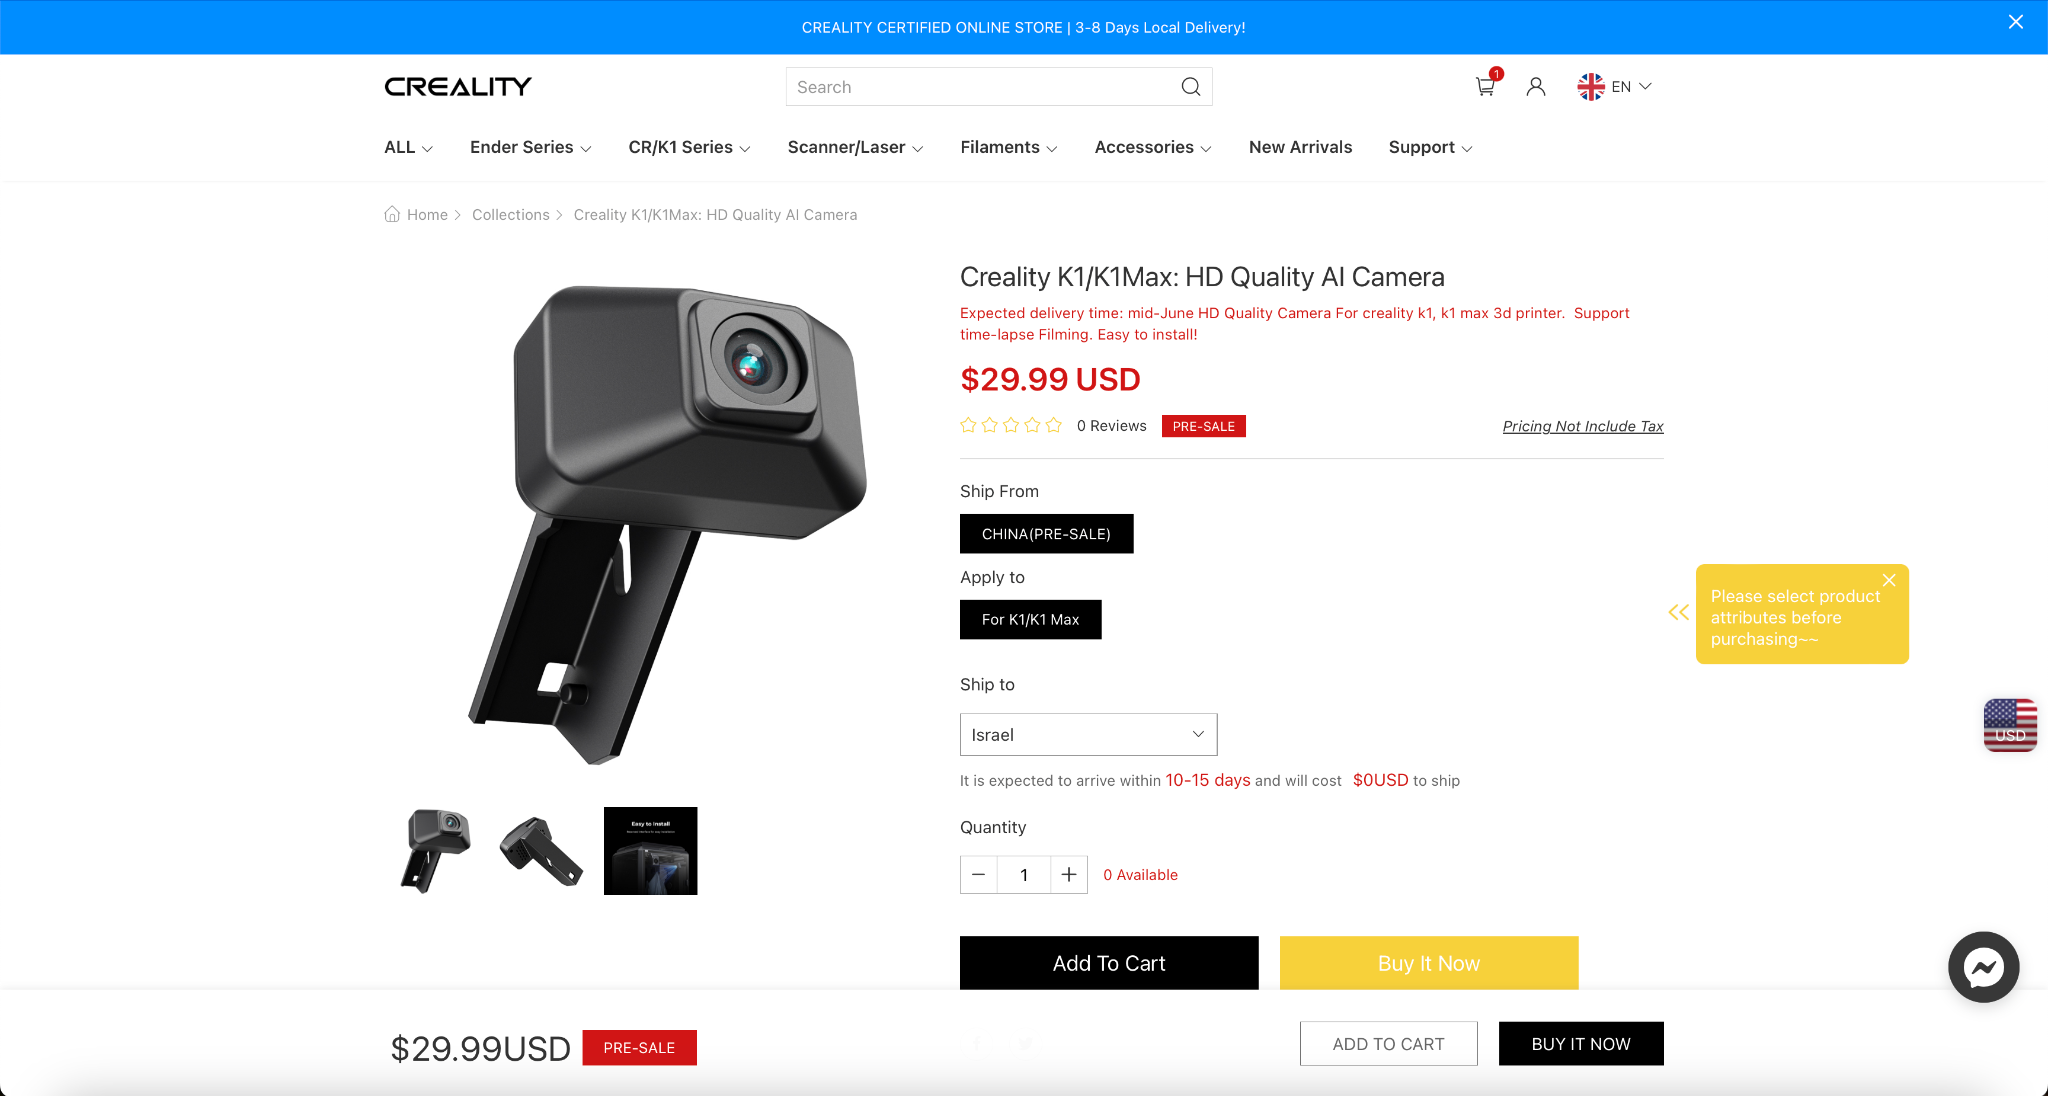
With things like local LAN printing and farm management built into the software, it’s clear that Creality wants to market these to people printing a lot, not only people who will sit and watch their printer all day, and without a camera for checking in on your prints, that’s impossible.
Now that the P1P comes with a camera and LED strip pre-installed, I think Creality would be very wise to just toss in the $30 camera with every unit going forward.
Software
Having tested some of the provided G-Code, and a quick first impression of the hardware, it was time to slice my own files.
Creality has created their own slicer, Creality Print, for the K1 and their other models, which appears to be a fork of Cura.
At the time of this writing, I was not able to find the source code shared on Creality’s GitHub page, which might be because they haven’t yet uploaded it, but at least for now, does mean that they are in violation of Cura’s open source license.
With that said, the slicer is easy enough to use, albeit somewhat basic and stripped down. I understand that with more manufacturers having their own, branded slicers – Prusa with PrusaSlicer, Bambu with Bambu Studio, Ultimaker with Cura, Creality wanted to join the party and have a vertically-integrated, branded experience throughout, and the Creality Print slicer does work fine.
The built-in profiles are great, and will lead to phenomenal prints. The cloud integration is great, and also has built-in farm management for if you have multiple Creality printers running simultaneously.
I especially love the ability to select all my printers, and send the print to them all at once. But for more advanced users such as myself, who already have filament profiles set up for their other printers, and an established workflow in another slicer, you’ll want to set up your K1 with another slicer like OrcaSlicer, which I previously did a video about.
Fortunately, Creality does not discourage this at all, in fact, they were kind enough to send me recommended config files for OrcaSlicer, though I ended up making my own profiles anyways.
Creality Print also integrates with their Creality Cloud, which then connects with their smartphone app of the same name.
Unfortunately, the nicest thing I can say about the Creality Cloud mobile app is that it works. It seems to me that it was developed by the same people who developed the AliExpress app, because it’s constantly spamming me with notifications, pop-ups, points, badges, and attempts to get me to upgrade to their premium subscription service.
This is the first sign you’re given that you are not dealing with a “premium” product, where the company expects to make most of their money on the high price of the machine, but rather, that they are hoping to sell you a lower-cost printer, and then up-sell you on future upgrades, whether that’s hardware or a subscription.
I can understand if this is part of Creality’s business model, and the way that they intend to turn a profit after selling the machine with lower margins, but for the user, it definitely leads to a bad experience – and I’ll be deleting the Creality Cloud app from my phone as soon as this review is over.
The final piece of the software ecosystem is the actual printer interface, which is an extremely stripped-down version of Fluidd, the popular Klipper client.
Side note here: At the time of writing, this is another instance where Creality has not shared their source code of the forked Fluidd version, meaning they’re in blatant violation of at least two open source licenses that I am aware of. And by the way, when I say stripped down, I mean stripped down.
Whereas Klipper itself is almost overwhelmingly customizable, Creality’s version, which you can access right through the slicer or a browser window, is so bare that it doesn’t even let you adjust Z offset or run macros like loading or unloading filament. You can basically send files, heat up the printer, home and move the axes, and cancel prints. That’s it. Creality has added all kinds of macros for things like bed leveling, meshing, print start and print end, but you can’t access or modify them in any way.
And for this reason, this review was going to be a very negative one, because at times, I couldn’t get either LAN printing or cloud printing to work at all, even within the limited confines of what it allows you to do. Fortunately, I soon discovered a way to “jailbreak” this printer, unlocking it’s full capabilities.
Upgrading the K1
After a few days of printing with Creality Print, I was frustrated and ready to give up.
Fortunately, I discovered a few videos on YouTube, including some translations of a Russian content creator’s tutorial, which explained how you can effectively “jailbreak” the K1, unlocking the full, unadulterated Fluidd interface for Klipper. This runs simultaneously alongside Creality’s stripped-down version, via another port, so you can have your cake and eat it too.
Unfortunately, the touch screen, which normally displays a beautiful animation and useful information during printing, basically becomes useless if you print directly through Fluid, so hopefully someone will figure out how to jailbreak that, too, so we can get just basic KlipperScreen on this machine.
Now that I had the full potential of the machine unlocked, I could easily work with my own slicer of choice, configuring my own profiles, and printing.
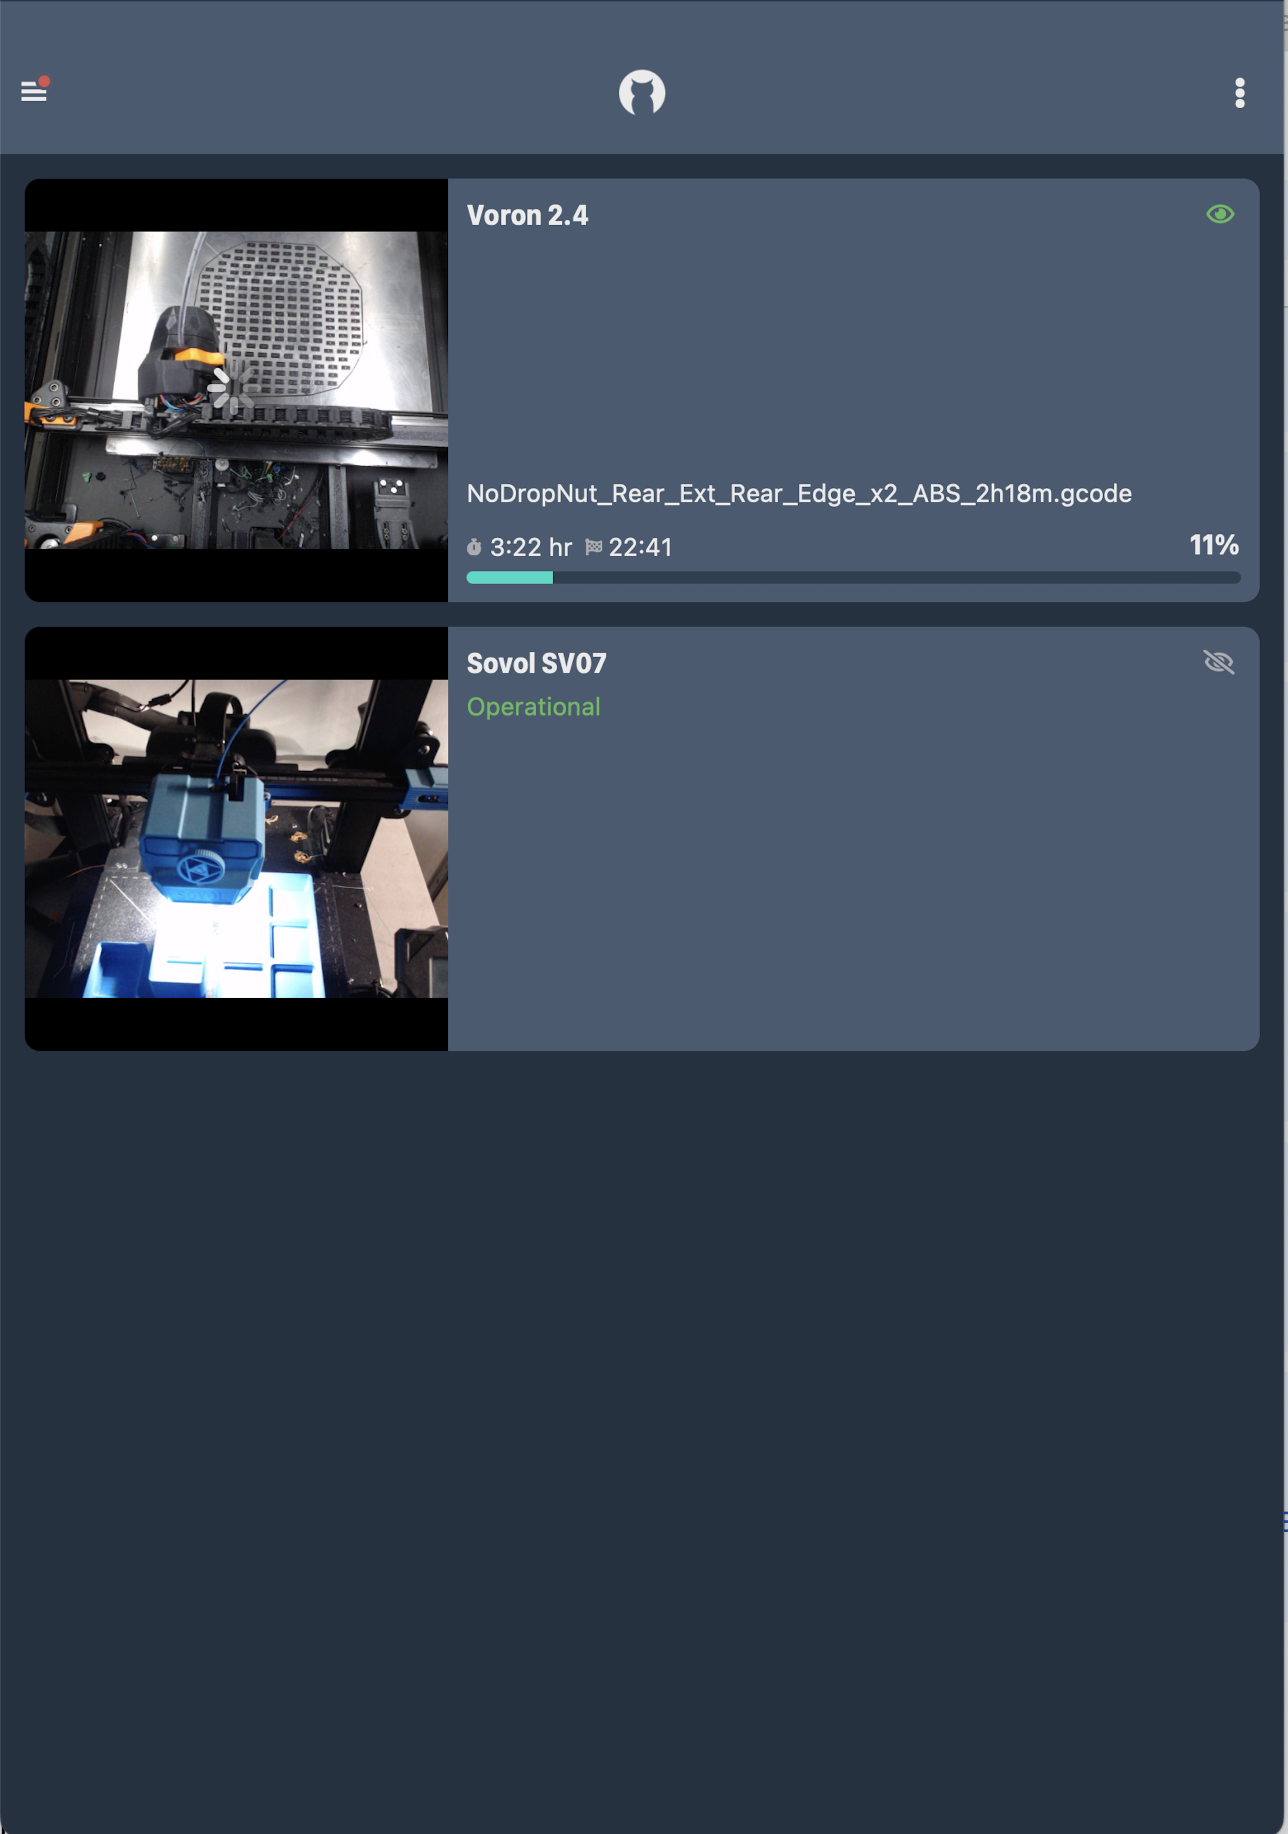
I am now able to add my preferred Klipper add-ons, such as Exclude Object, Obico, or OctoEverywhere, though a lot of those don’t make sense given the fact that there’s no camera to remotely monitor. I’m also able to use any mobile app such as MobileRaker to manage the printer via mobile, without all the spammy pop-ups of the creality app.
Strangely enough, though, I did have some major issues with things like bed leveling and meshing, and my next 10 or so prints failed miserably. It was at this point that I realized that although I was using Creality’s own macros for leveling and bed meshing, the simple fix was that I needed to set my own Z-Offset for Fluidd, as it wasn’t carried over, and their bed leveling macro does not automatically adjust it.
After I did that, however, I was able to enjoy perfect print after perfect print, with just a few failures due to bed adhesion.
In case you’re wondering, I did reach out to Creality for a comment.
They let me know that although they do not encourage beginner users to tweak and modify the printer, they have no problem with more advanced users doing whatever they want to the printer – and there was no mention of voiding warranties as a result.
On my end, if I can give a piece of feedback to Creality, it would be that they should make it easier for users to just select whichever interface they want to use, maybe even during setup.
I respect the fact that Creality wants to make a soup-to-nuts branded experience with their own software, interfaces, and so on, and they’ve made a pretty decent go of it.
But I do think that most users will quickly outgrow the software creality has provided, and want to gain full control over the hardware.
What’s more, given that this is a “weak point” of Bambu Lab printers – which are completely locked down and can’t be jailbroken in this way – Creality has a major opportunity to stand out here and attract the segment of customers who don’t want to be locked in to proprietary software.
If Creality would just make their forked versions of the various different software’s they’re using available as open source, and then give users an easy path during setup to select the full, open-source version of Fluidd or Mainsail, I think it would make this printer a LOT more appealing to folks who just want kick-ass hardware without being pigeon-holed on the software side.
Print Quality
Finally, before we part, let’s talk a bit about print quality of the K1.
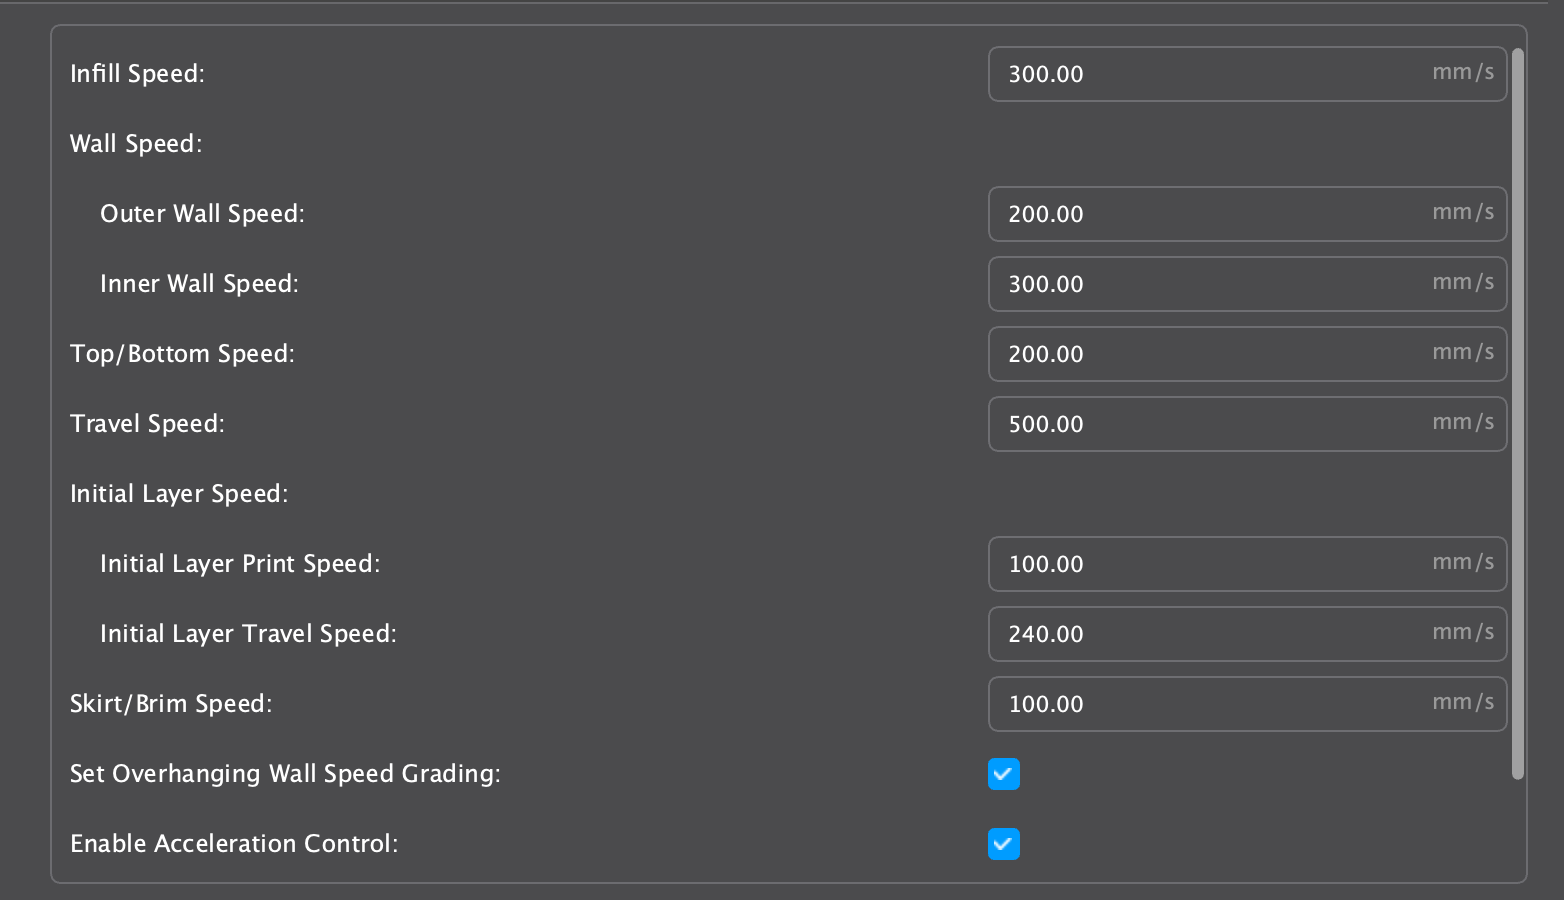
And it’s here that I’ll take a minute to note that a lot of the flashy numbers – like 20,000mm/s cubed acceleration and 600mm/s print speeds – are actually just the results achieved in Creality’s lab. In reality, the profiles you’ll get from Creality are set to print at the same 200-300mm/s that you’ll see on a Voron, Bambu Lab, or any other “fast” printer these days – so don’t be wowed by the advertising numbers.
And at those speeds, this printer did churn out absolutely beautiful parts.
The input shaping – which is powered by the fully-flushed-out Klipper – works beautifully, and the high-flow hot end doesn’t suffer from underextrusion, even with normal PLAs.
The parts that come off this printer are pretty much comparable with the Bambu Lab X1 Carbon, though I believe that a very astute eye might be able to tell the difference.
Unfortunately, my content schedule doesn’t allow me to do any in-depth comparisons, or tweak the speeds higher, but I do suspect that this machine, like the Bambu Lab X1 Carbon with it’s “Sport” and “Ludicrous” modes, could be pushed 20-50% faster than the default profiles.
Conclusion
So, what’s the final verdict? Can I recommend the Creality K1? Or are you better off going with something like the Bambu Lab P1P – though again, I haven’t personally tested it yet.
To be honest, I think that this printer suffers from a bit of an identity crisis.
On the one hand, it wants to be a competitor to the Bambu Labs products, boasting faster top speeds in the marketing materials at a significantly lower price.
On the other hand, it’s hampered by inferior software that’s full of ads and spam.
If I were Creality, I would simply double-down on the fact that they’ve used Open Source software, allowing users to really make this printer their own in a way that Bambu Lab can’t.
Hardware wise, this is a great printer – maybe the best that Creality has ever made.
And with an extra $29 camera, it’s a very solid competitor to the Bambu Lab P1P, for $70 less, with a full enclosure AND a touch screen, if only we could get that touch screen to work with KlipperScreen.
Who is this printer for?
If you – like so many generations of Creality customers – like the idea of hacking and tweaking your printer, and want it to run open-source firmware that you can customize to your heart’s content, I think that this printer – unless and until Creality patches up the exploits – is going to be a better option for you than anything from Bambu Lab.
And at $599, the high-performance hardware is an absolute bargain, and it’s going to be significantly cheaper than a full Voron build – especially if you factor in the 40+ hours it takes to build a Voron.
So if you’re on a tight budget, and every penny counts, but you still want to get in on the latest generation of super-fast CoreXY printers, the Creality K1 is going to be the best budget option out there.
However, if you don’t care much about full control over the software, and you want a printer that “just works,” with a smooth, enjoyable user experience from Slicer to Mobile App, and an ecosystem of upgrades such as the Automatic Material System, I still think that either the Bambu Lab P1P or X1 Carbon are going to be the right choice for you.
If you can afford them, these printers are still very much “best in class,” and with a larger build volume, extremely reasonably priced replacement parts, and a vibrant community of users, you simply cannot go wrong with a Bambu Lab printer these days.
That’s all for now, but I’ll see all of you on the next layer.


no, it’s not.
yea sounds like it definitely is, if for nothing else other than the modifiable software.
Great writeup, Jonathan. This, along with your videos has really helped me make up my mind which to buy when I dive into 3d printing. Keep up the excellent work.