It’s the dream of every 3D Printing enthusiast:
You see something in the physical world, scan it in seconds, and print out an exact replica on your 3D Printer, just like that.
Up until recently, this has only been possible with commercial scanners that cost tens of thousands of dollars – and tons of training – to use properly.
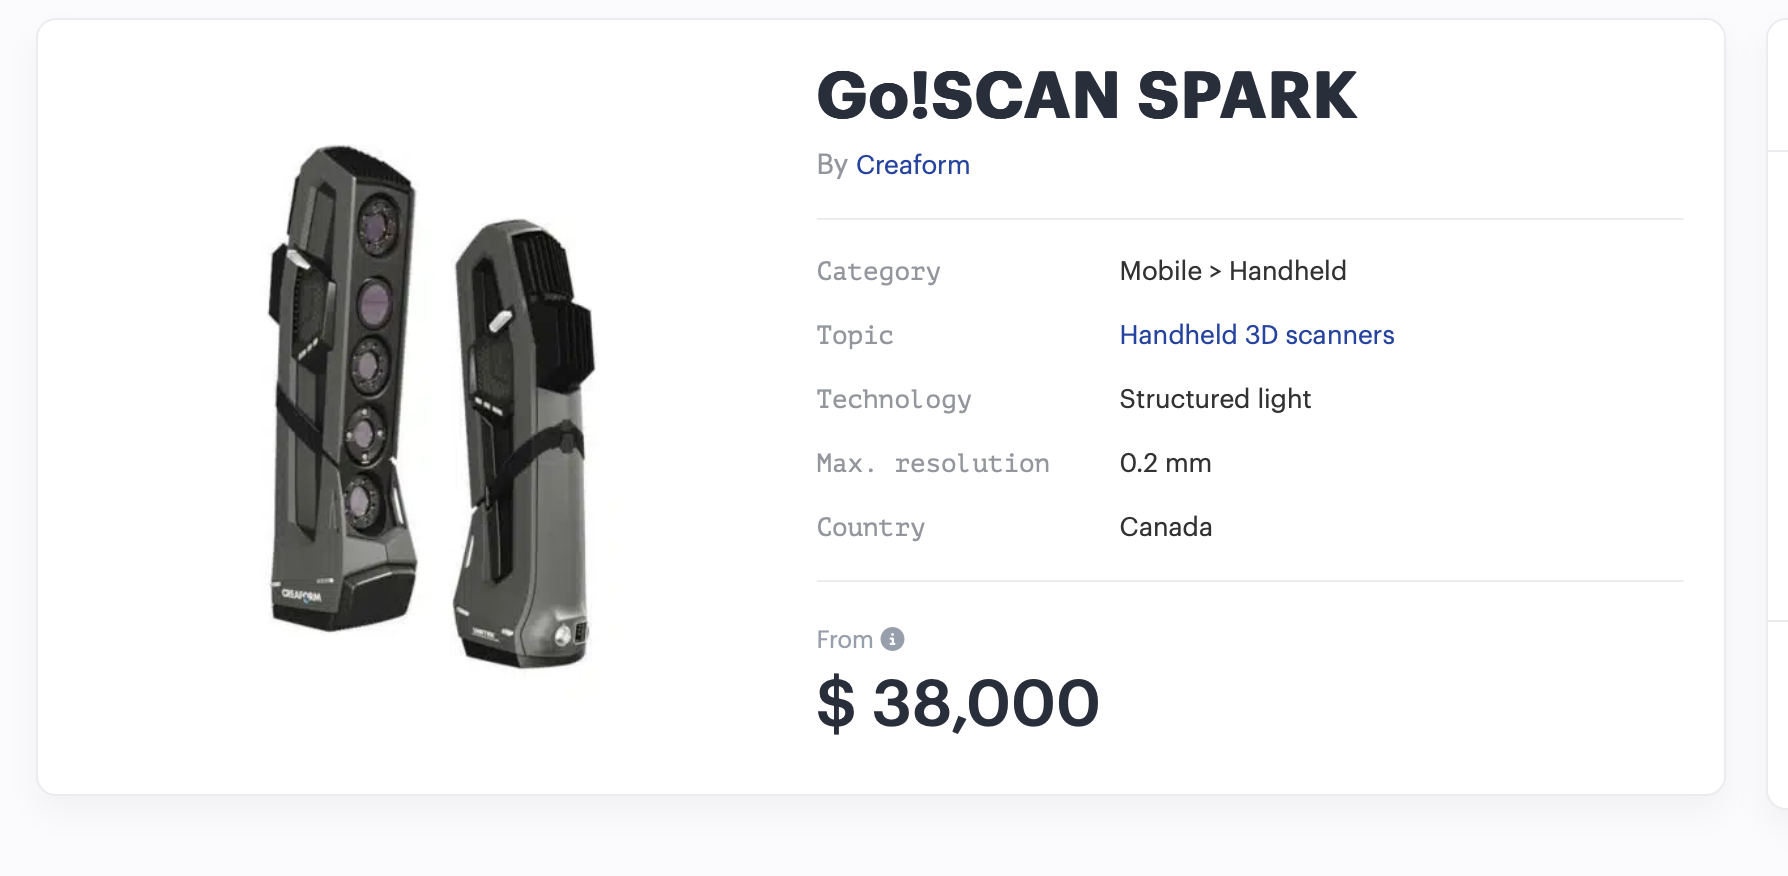
These days, all of that is changing, and just like 3D Printers have become more and more available to consumers, we’re also seeing the first wave of consumer-grade 3D Scanners hit the market, too.
But are they any good?
I tested 3 different solutions for at-home 3D Scanning, and in this article, I’m going to compare them all and tell you which one is the best.
Oh, and stick around to the end, because I’ll also answer the question that’s on everyone’s mind… should YOU get a 3D Scanner?
Let’s dive in.
The Contenders
First things first, ladies and gentlemen, let me present to you our the 3 contenders for the evening.
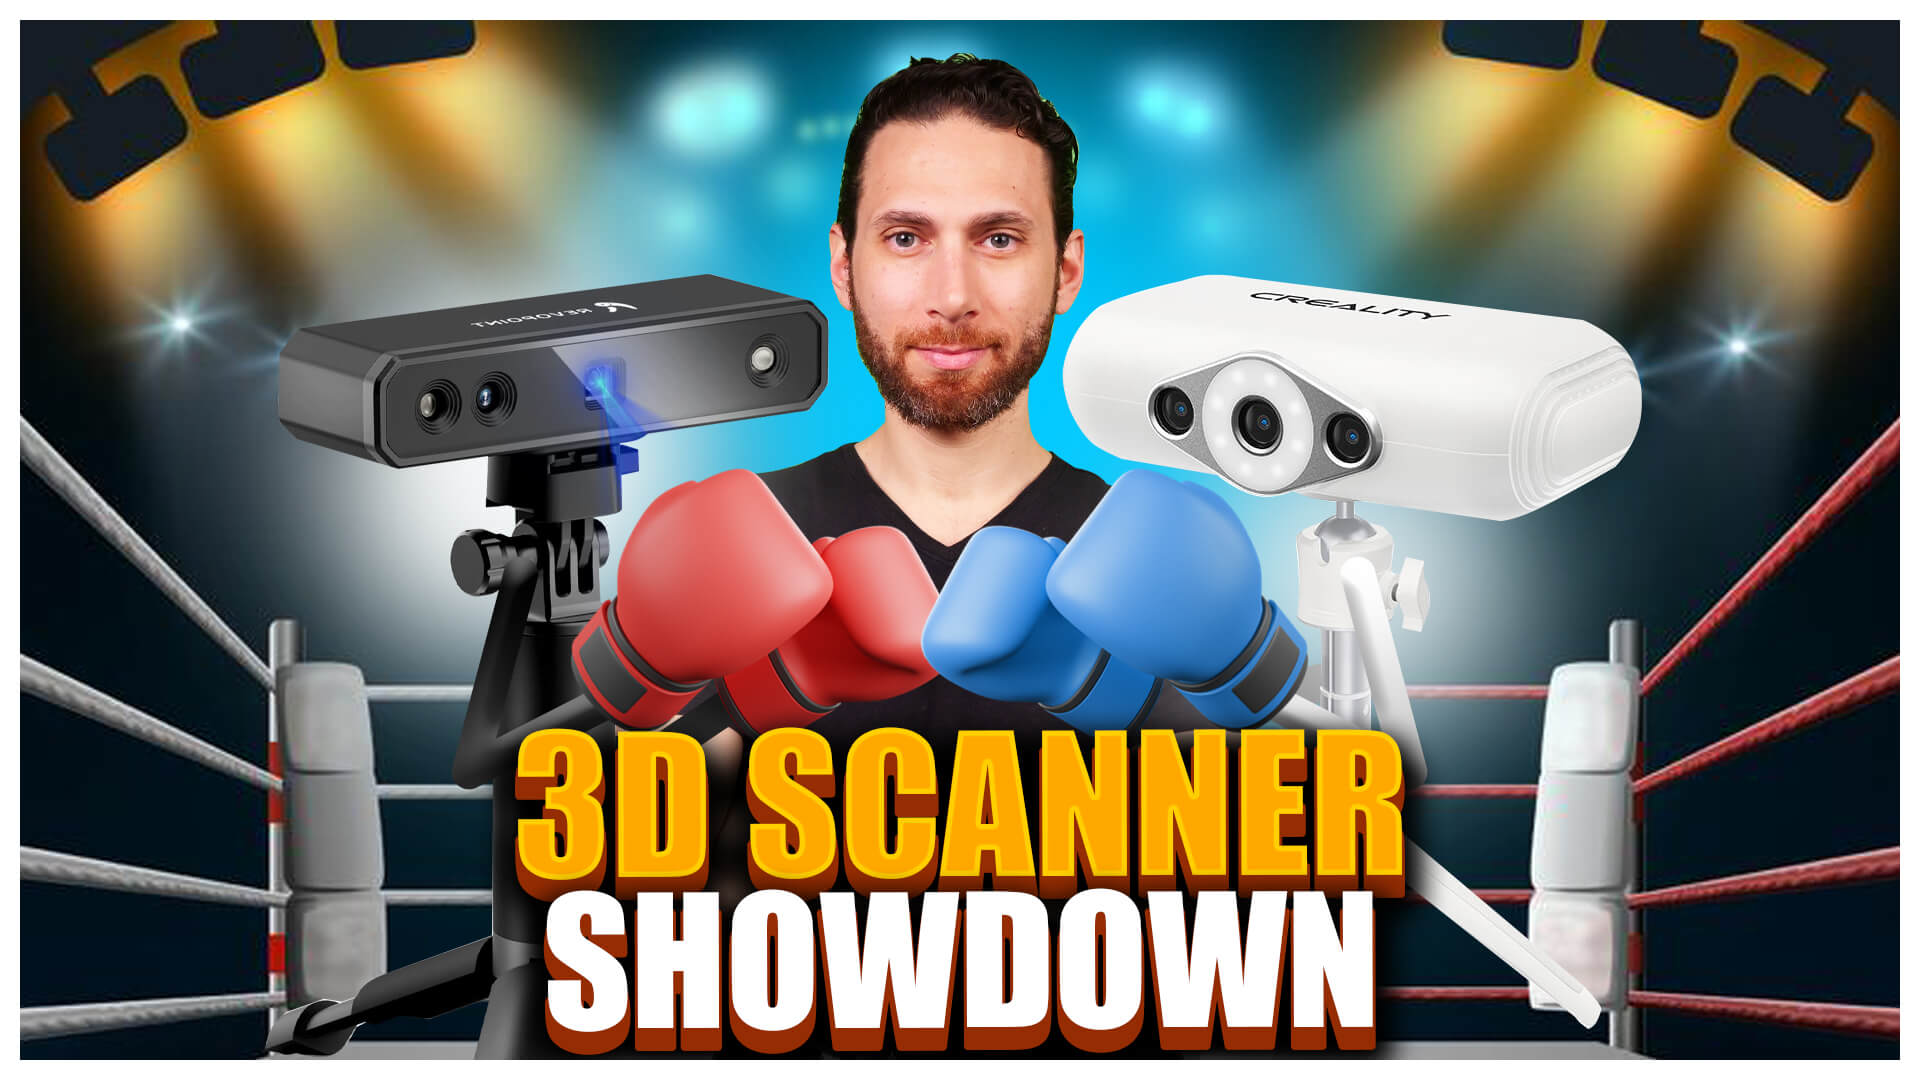
In the left corner, we have the Creality CR-Scan Lizard.
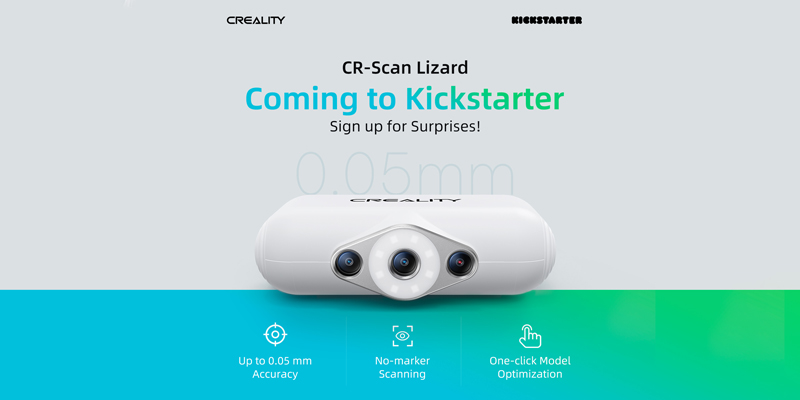
I got this scanner by backing the Kickstarter campaign , and then waiting for a very long time. we’ll get into that a little bit later…
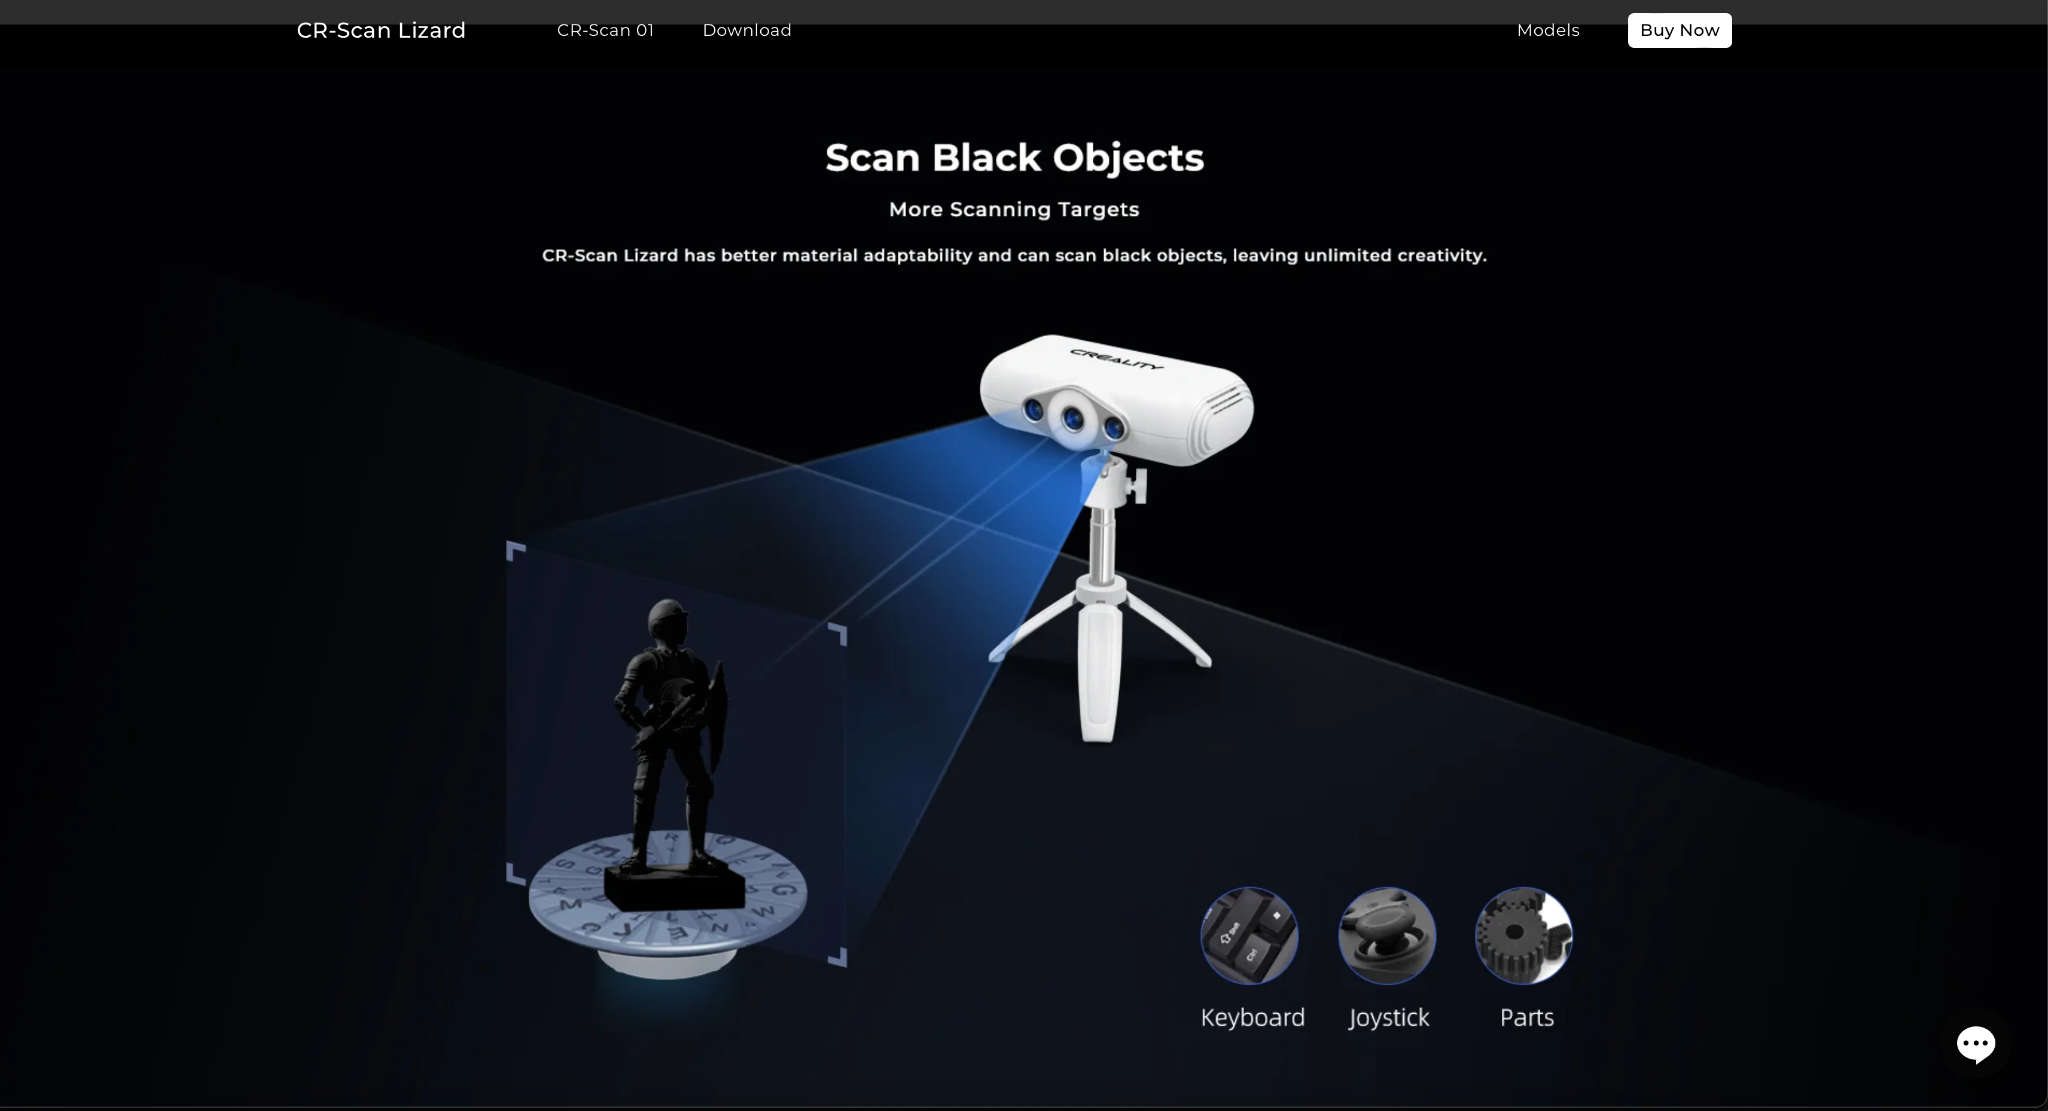
It boasts 0.05mm accuracy, the ability to scan black objects, marker-less scanning, easy-to-use software, but can it live up to the hype?
No, but, we’ll still talk about it.
In the right corner, we have the Revopoint Mini.
I originally discovered this scanner at FormNext Frankfurt, and was blown away by the quality of the scans they were showing off.
After a few months of back and forth emails, revopoint agreed to send me this unit free of charge for review, however, no money changed hands. While you could say that this makes me biased in their favor, you could also say that I would be biased towards Creality, because I’d want my money to have been well spent.
I also like to think that I am sent enough gear for review from enough different companies that I have no real incentive to prefer one over another, besides my actual experiences with their products.
The Revopoint Mini boasts 0.02mm accuracy, industrial blue light, high speed scanning, a lightweight, convenient form factor, and much, much more.
And finally, bursting in to the ring from the sidelines and throwing chairs at everyone, we have the iPhone 14 Pro Max with PolyCam Studio installed.
No, this isn’t a 3D Scanner, but with the recent advancements in mobile phone LiDar and photogrammetry, you just KNOW we had to test and compare it.
The iPhone 14 Pro Max boasts not being another device collecting dust, patented “you already own it” technology, the “always in your pocket” user experience, and, unlike all of the other contenders on this list, it is fully wireless, internet-connected, and doesn’t require a computer to use it.
By the way, I’m sure there are Android phones with LiDar, but I don’t use Android or have one, so throughout the review I’m going to be referring to the iPhone and Polycam interchangeably. You can tell me – nicely – how wrong I am in the comments below.
And now, let’s get ready to ruuumble!
Round 1: Form Factor and Ease Of Use
So, as we just mentioned, it’s going to be pretty hard to beat your iPhone when it comes to convenience. You know it, you love it, let’s not waste time on it.
Instead, let’s focus on the 2 scanners.
When you first plug them in, a few things are going to stand out at you right away. First of all, the Creality scanner not only requires a USB Cable, but also, a separate power cable – which is annoying.
And then, once you plug it in, you’ll immediately notice the extremely loud and obnoxious fan. It’s also heavy – and I wouldn’t want to get caught carrying it around all day in this massive suitcase they provided.
Compare this with the revopoint mini, which not only has just one cable, but also makes no noise whatsoever. It has a tiny form factor – a little bigger than a harmonica – and will fit nicely in your pocket – even with the included tripod and cable. Heck, you can even break down the turntable and fit THAT in your pocket, too.
There’s also a super convenient button on the back to start your scan, even though the software makes it really easy, too.
The winner of this round, with 1 point: The Revopoint Mini.
Round 2: Software
While on the surface, you might be thinking that the software isn’t a big deal, the reality is that, at least in my experience, the software is much more important than the actual hardware.
That’s because it doesn’t actually matter how good the hardware is at picking up points if the software doesn’t do a good enough job aligning them – or if it’s so frustrating to use that you don’t even want to bother with it to begin with.
And this is where we come to the first major issue with the CR-Scan Lizard.
You see, when Creality launched the kickstarter campaign, it was intended to ship with another piece of software, and from the limited time I had to play with it, it seemed to be half decent, with auto-noise removal, auto-alignment, and things like that. You can even still see it on their website.
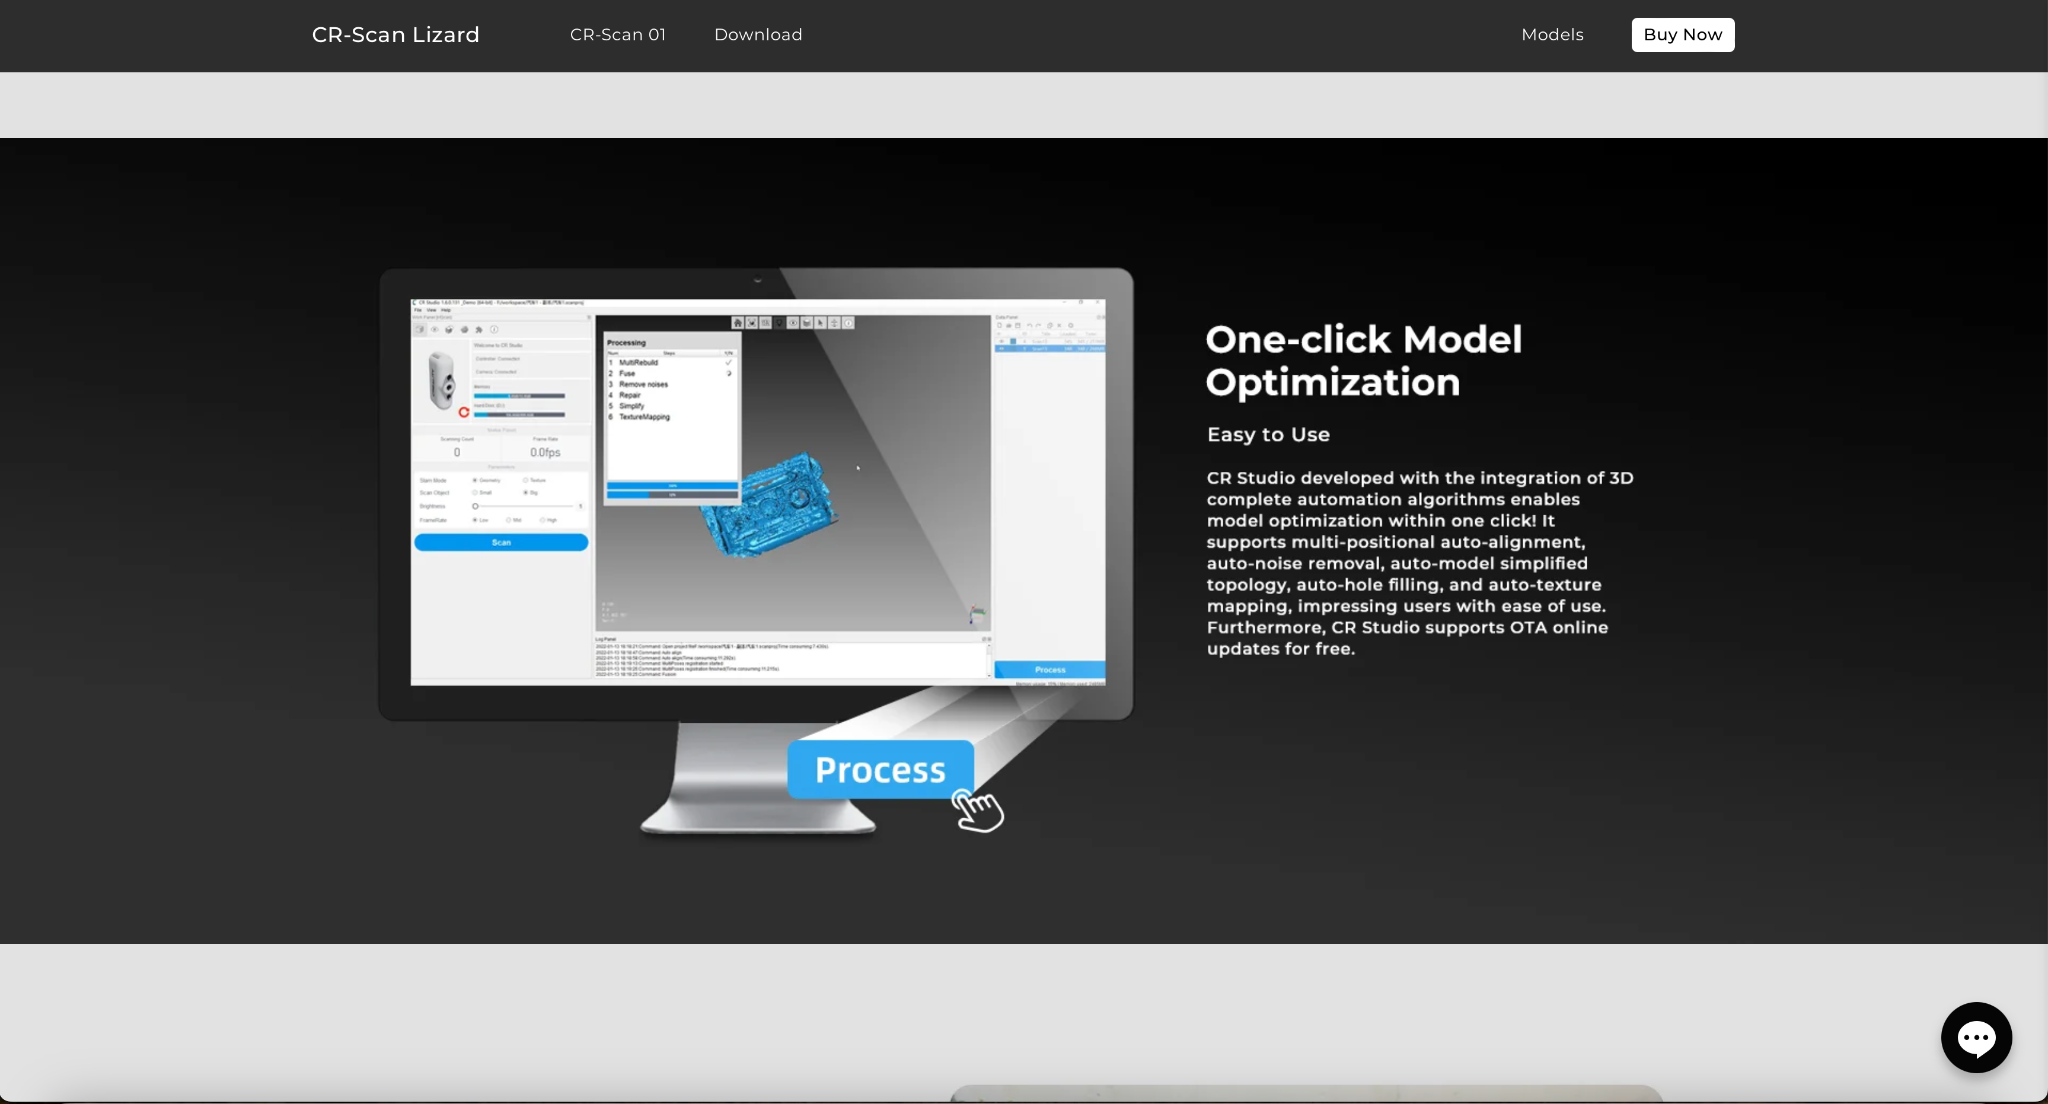
But then, before the units even shipped, another company claimed that this software infringed on their IP, 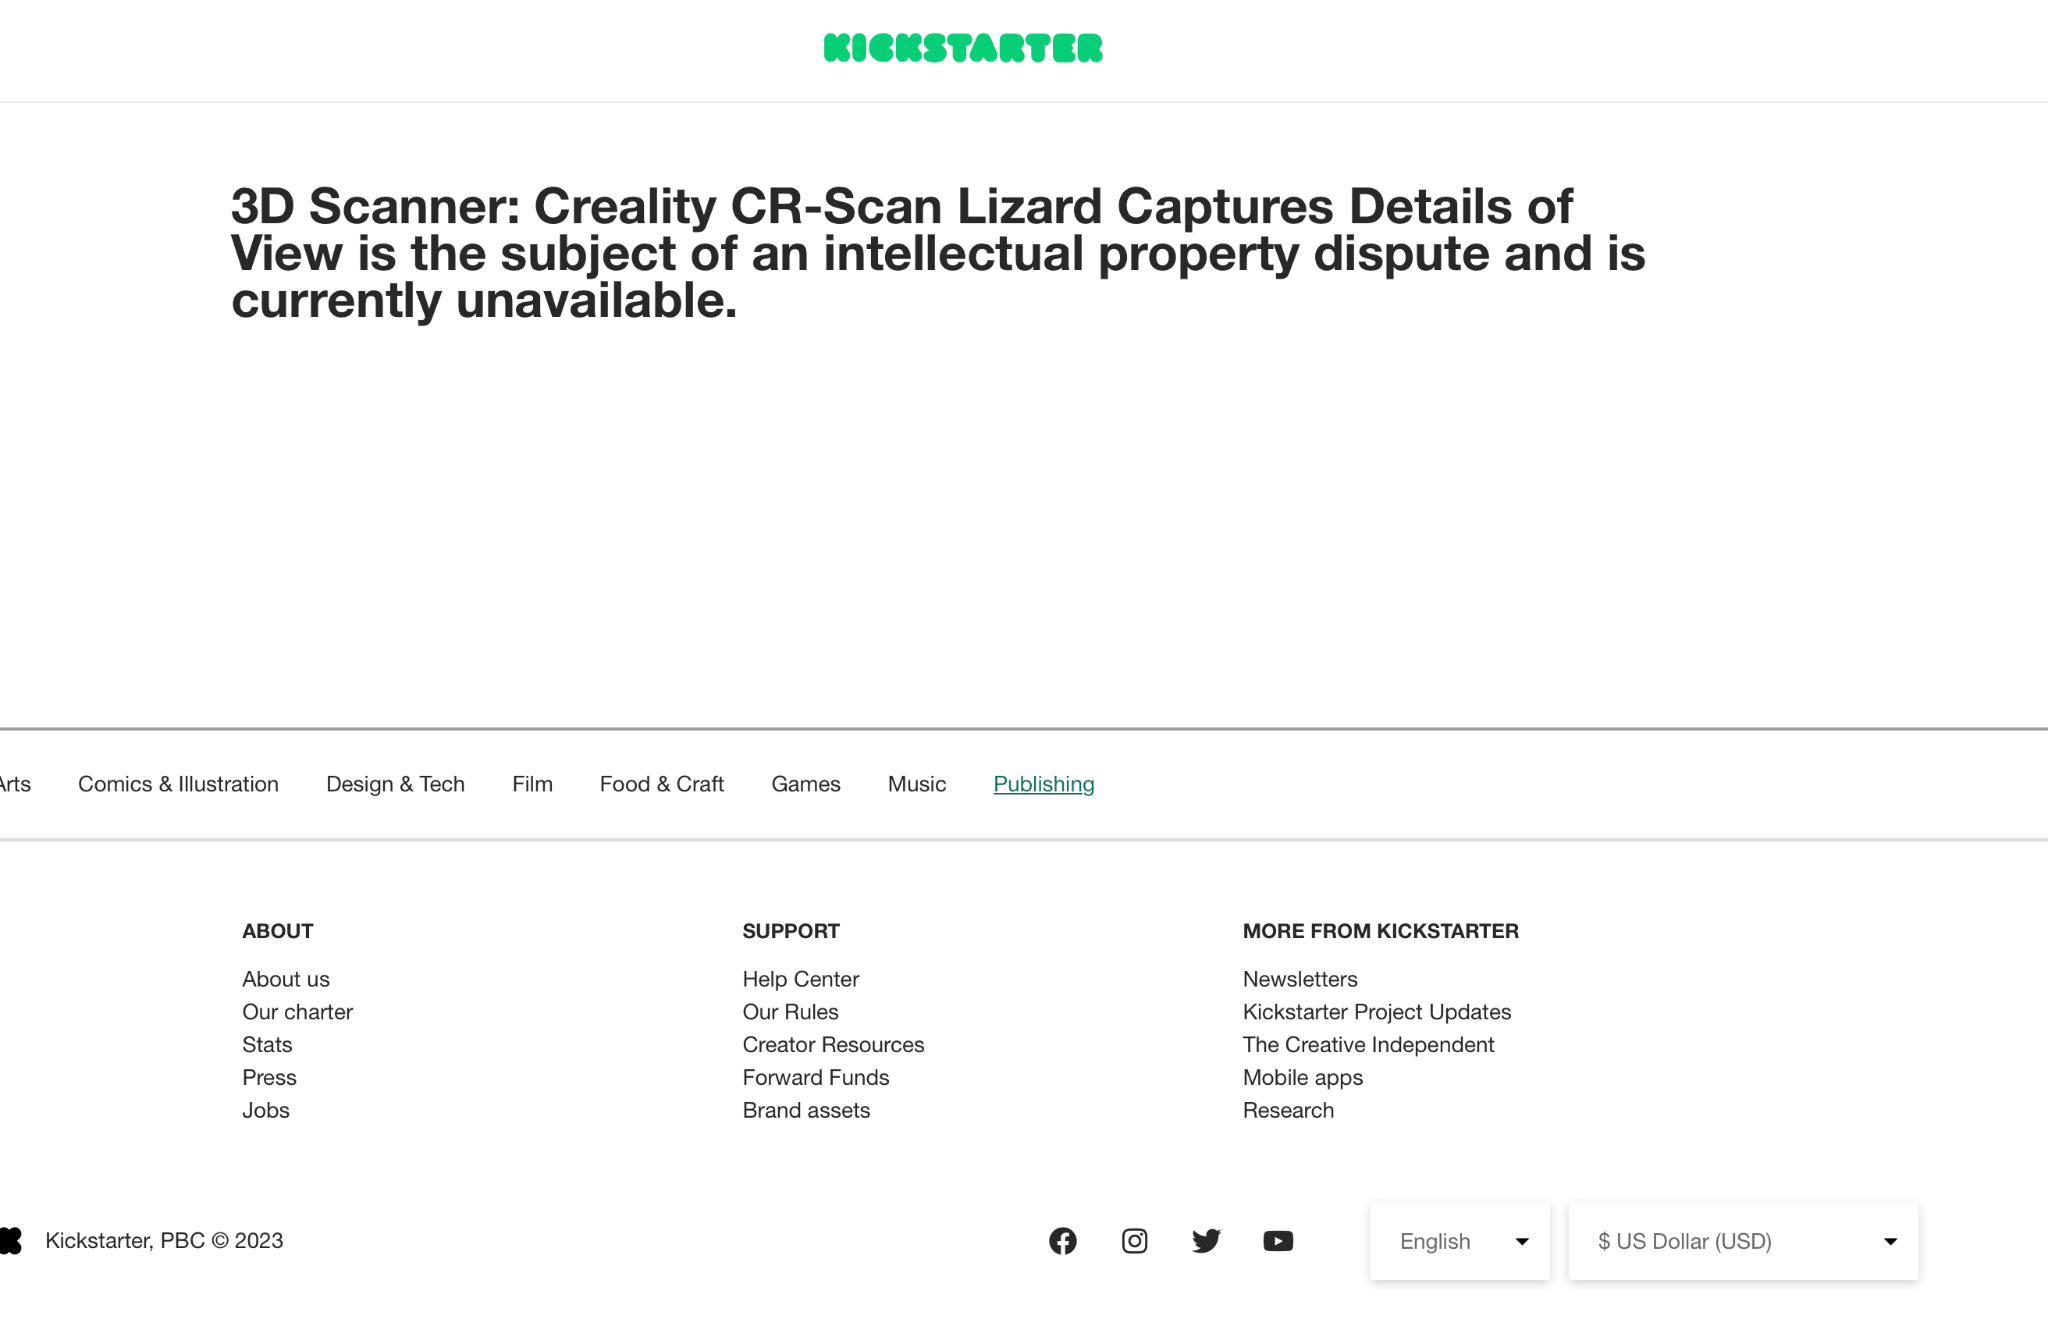 which not only caused creality to delay shipment for months and months, but also means that today, they require you to use this CR-Studio2 app.
I’ll be honest with you guys, I struggled for months to get this thing to play nicely. I needed to get some profile files from Creality, ![]() and then, it was choosing the wrong camera to scan, and then, even on the rare occasions it did work, it just wasn’t intuitive or fun to use.
and then, it was choosing the wrong camera to scan, and then, even on the rare occasions it did work, it just wasn’t intuitive or fun to use.
Which mode do I need? What’s with this wavelength on the side? Am I supposed to center it? Or get it to one direction? Don’t get me wrong, it looks amazing, it’s just that it sucks. Scans don’t align properly, there’s no clear tooltips, there isn’t nearly enough documentation explaining the different features…
Compare this with the Revoscan software, which, although extremely simple and not abundantly pretty – just works.
There are no funky menus or tabs of different scanning modes. There is manual and auto for the brightness and depth, and a button to start scanning, pause, or stop. A simple slider tells me if I’m too far or too close, and it automatically fuses all of my scans as soon as I complete them – with a shocking level of accuracy.
In my testing, Revoscan didn’t even need me to pre-scan the turntable or remove it manually in the software, despite the fact that I covered it in sublimation spray – which we’ll get to in just a second. My only REAL criticism of the RevoScan software is that while it does get the alignments right, it takes quite a while to do so.
I would venture a guess that this is because the app isn’t yet optimized for Apple Silicon, because I’m running a top of the line M1 MAX processor with silly fast graphics capabilities, and there’s no reason anything – even heavy 3D files – should take multiple minutes to process like this.
Finally, let’s talk about the iPhone, because, of course, it’s hard to beat the user experience of an iPhone app.
And indeed, the PolyCam app is SUPER simple to use. Just select if you’re scanning a room, a photo, or using LiDar, and then choose video or photos, one thing I LOVED about this app is that as you scan, it actually gives you haptic feedback as you scan new parts, kind of like when you first train the phone for FaceID, so you know – even if you don’t see the screen – that you’re doing a good job.
Polycam also has the added benefit of already being connected to a web device, making it extremely easy to share your scans with the click of a button to any app you have on your iPhone.
I’m not sure if PolyCam processes in the cloud or on device for the free trial, because you do need to keep it open while it processes, and while it said it would take only 110 seconds, I don’t know how long it took, because I had to quit the app after like 20 minutes, only to find that processing had, indeed, completed.
The winner of this round, with 1 point: Polycam. Though I’m not sure the guy who bursts in over the guard rails is eligible to win points.
Round 3: Price
We’re going to get into the scan results and conclusions in a moment, but let’s first talk about the price.
When I bought the CR-Scan Lizard, I got a special Kickstarter price with the turntable for about $450 US shipped.
Now that the Kickstarter is over, you’re looking to pay around $600 for it:
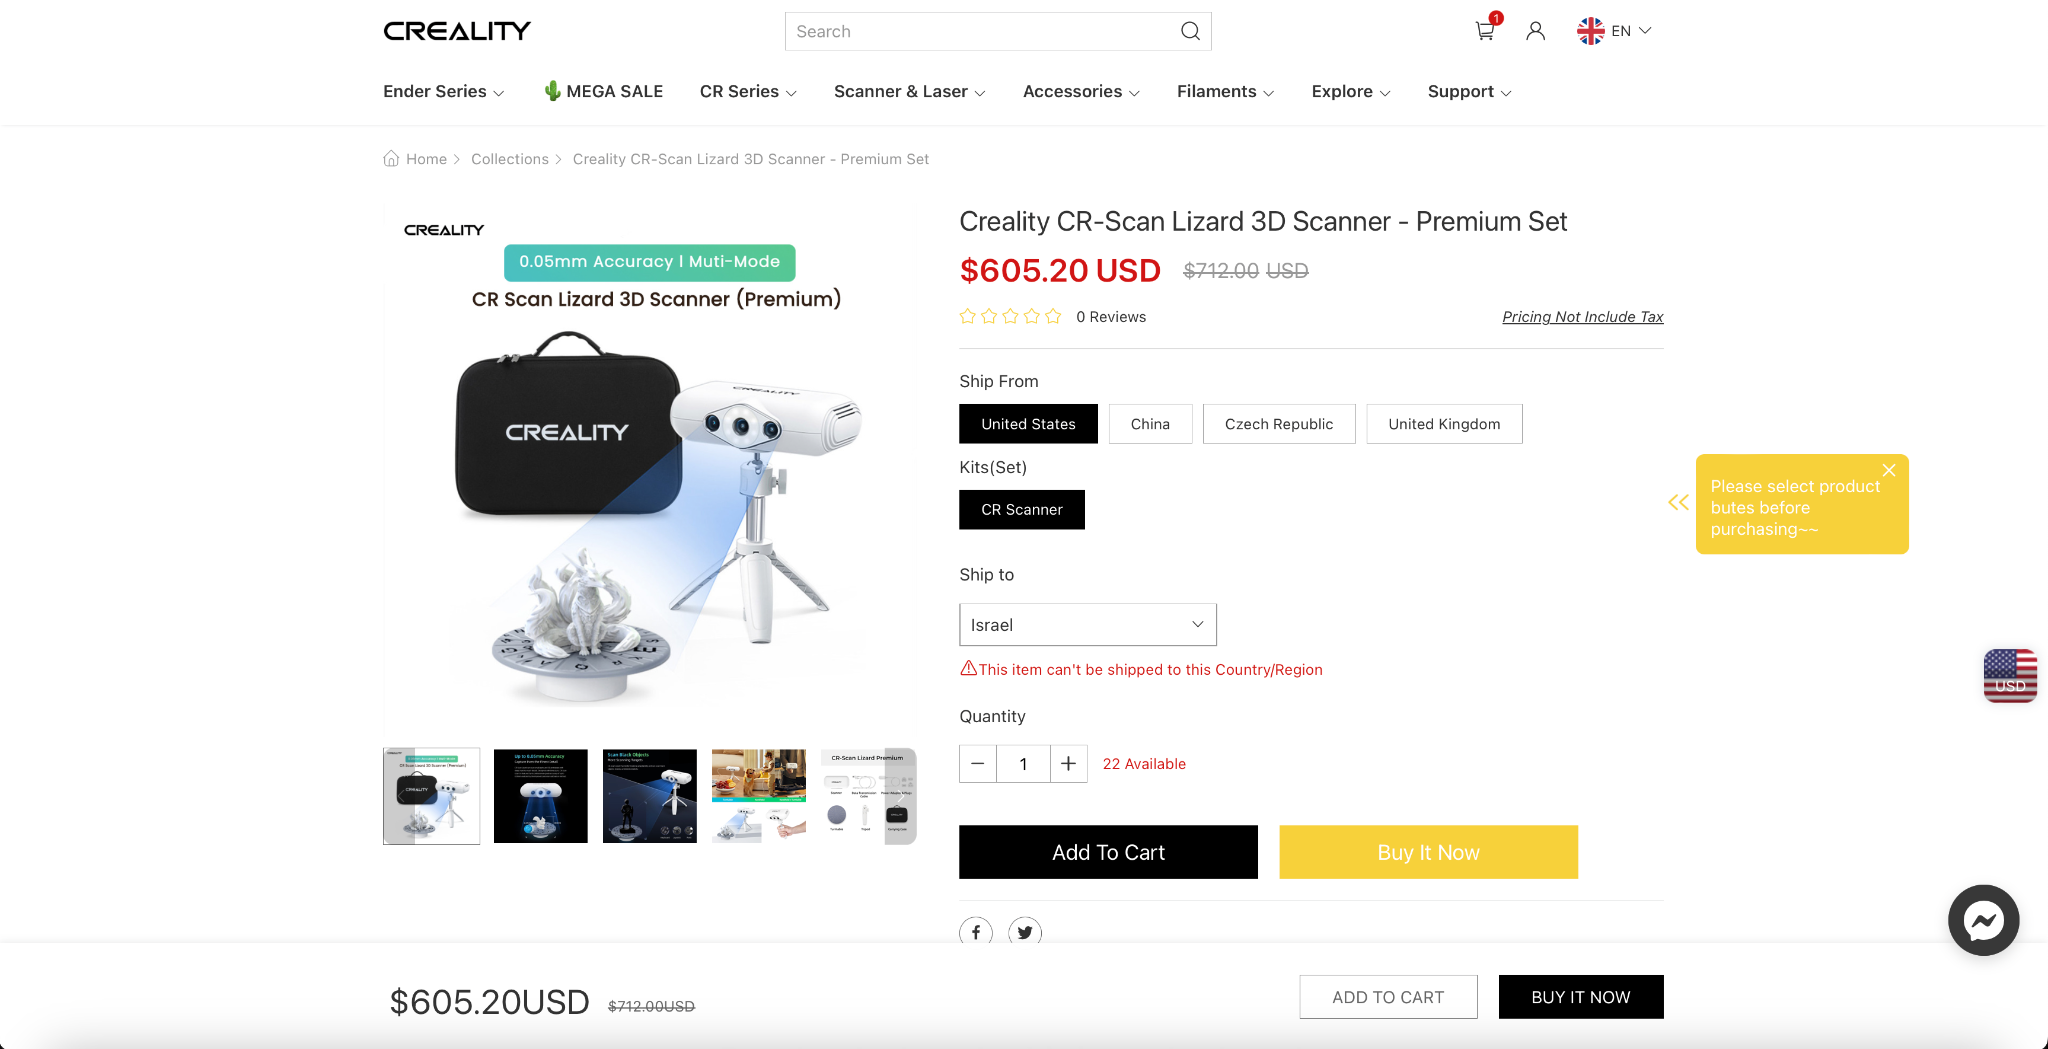
That might seem like a lot, but coming from thousands of dollars for commercial scanners, it’s really not, and it puts this product firmly in the consumer range.
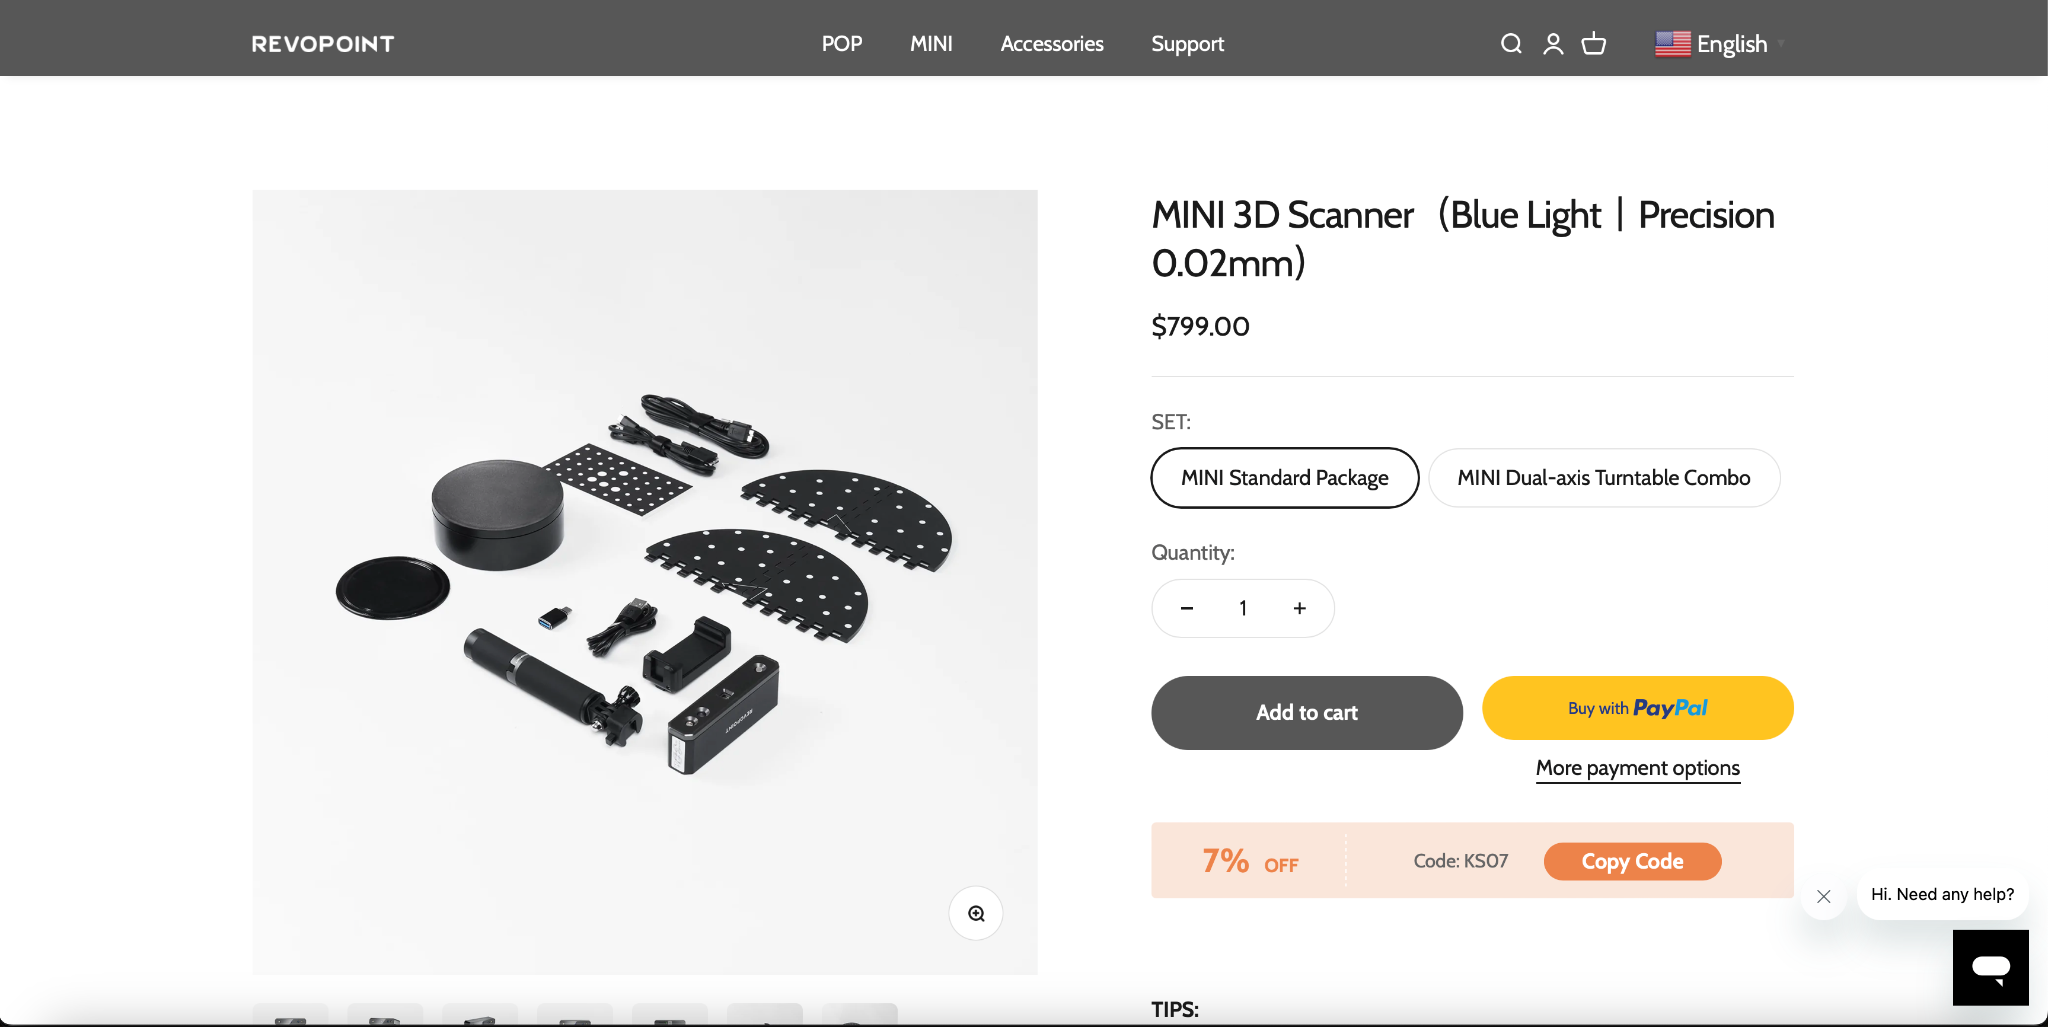
As for the Revopoint Mini, it currently retails for $799.
At a third more expensive than the CR-Scan Lizard, that might put it out of the price range of your average consumer, but, I’ll discuss why that might – or might not – be flawed thinking when we get into the conclusions.
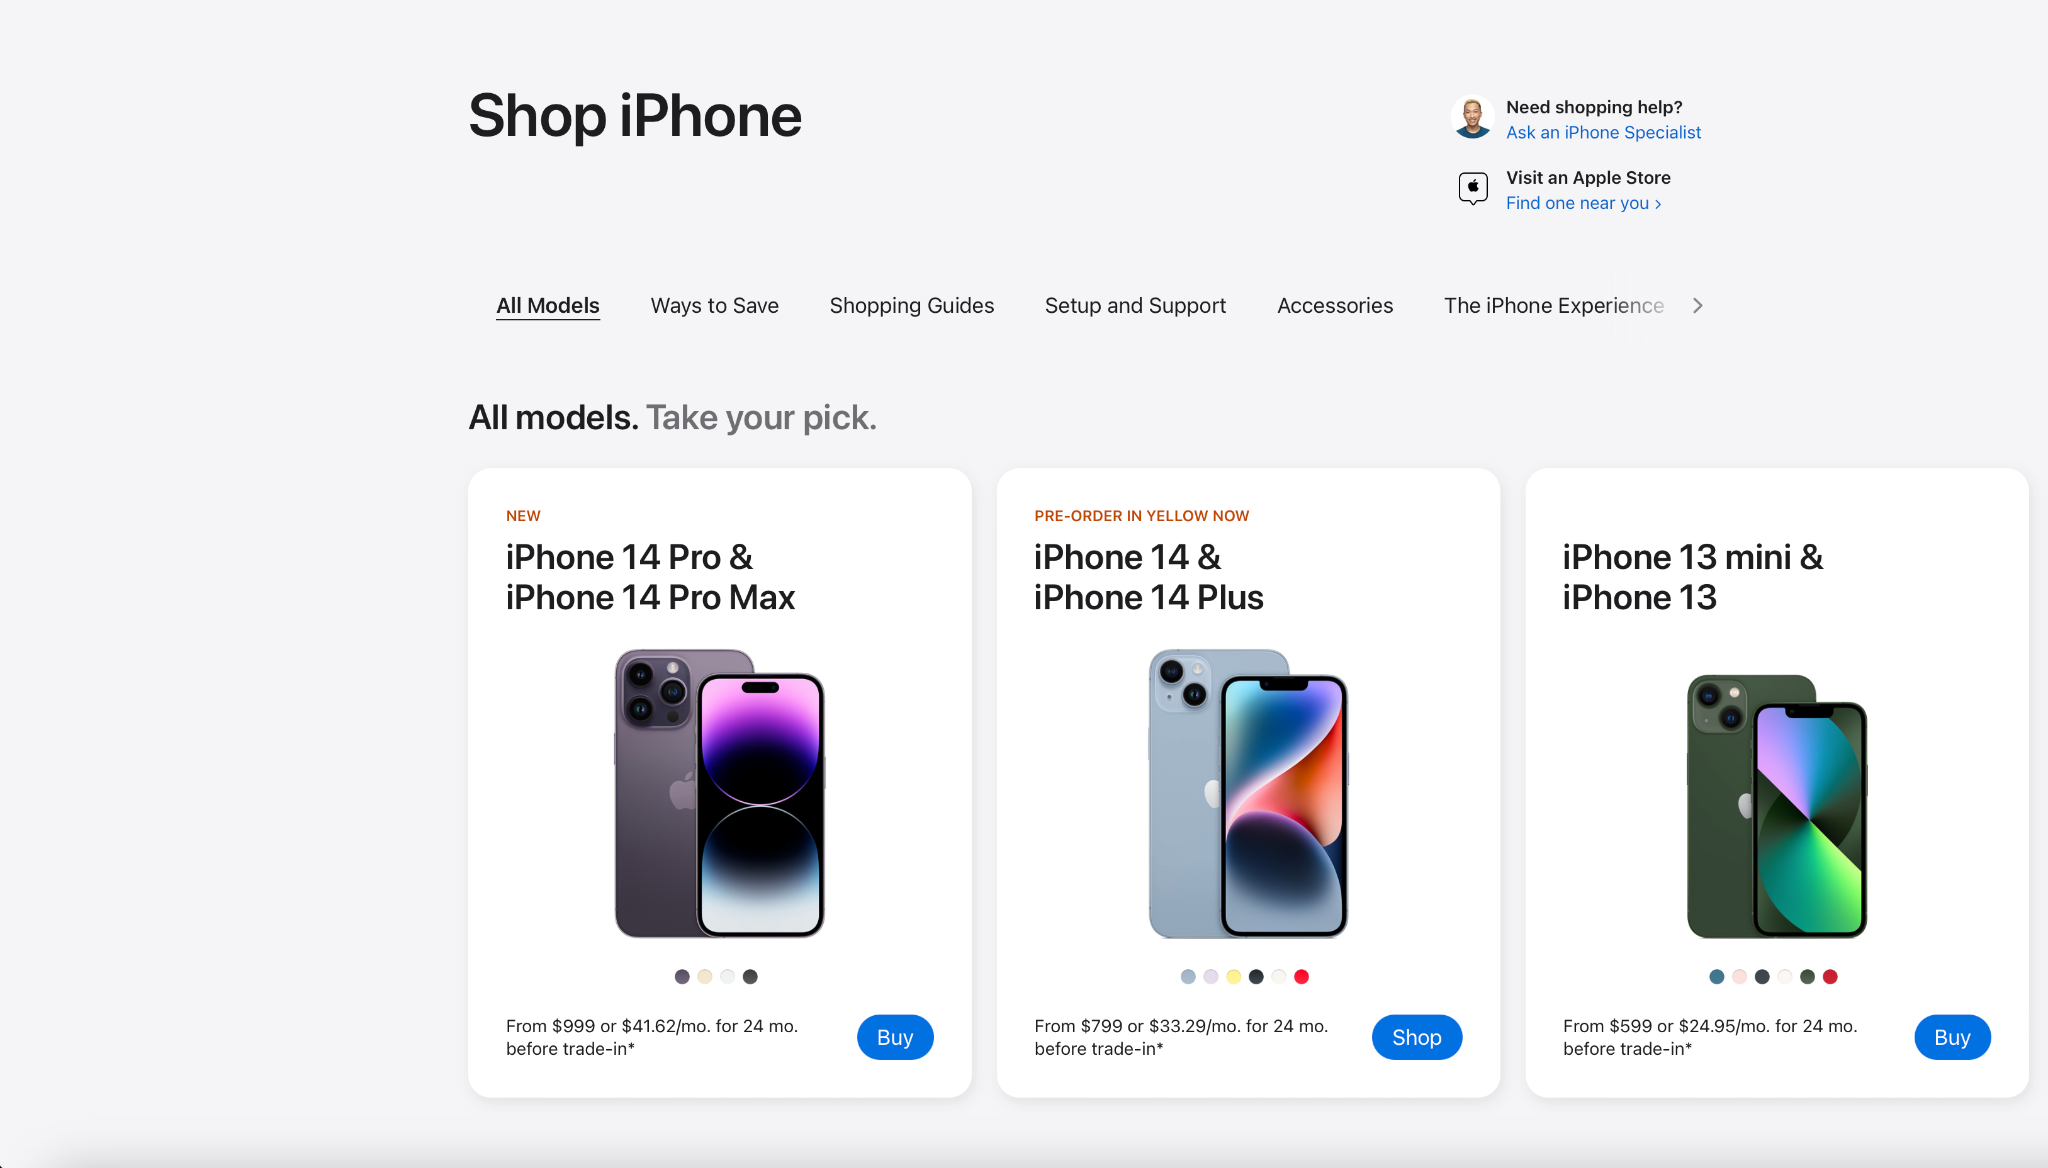
Finally, we have the iPhone and PolyCam combo, and while, on the one hand, you could argue that this option costs only $7.99 a month for 1 user with export privileges if you already have an iPhone with LiDar on it, I think it’s fairer to actually say that it costs around $200, which is the difference between the iPhone 14 PRO versus the iPhone 14 without LiDar.
In any case, the clear winner of this round is the iPhone + Polycam, but only by technicality. For our main contenders, it’s going to be the CR-Scan.
Round 4: Scan Results
Alright, let’s now talk about what matters the most – how well do they scan?
I compared these scanners on a variety of different models, ranging from extremely challenging, black electronic devices to relatively simple, brightly-colored models. With both of the dedicated scanners, despite what Creality may advertise , I found that proper sublimating spray, like this bottle I was given by ABX at Formnext, or even dry shampoo – was an absolute must.
First, let’s start out with the CR-Scan Lizard.
I’m going to put it bluntly: I hate this piece of junk. Although creality support was, as always, friendly and mostly helpful, I put off this review for months because I didn’t want to deal with the hassle of using this product.
I’m not sure if it’s the hardware or the newer version of the software after creality’s legal troubles. But they come as a package, and I don’t see a third-party alternative.
So unlike with 3D Printers, the software really is a make-or-break part of the experience here.
And this software reminds me of the sulfur pits of Yellowstone park, truly beautiful and colorful, but when you actually get in and try to use it, it STINKS, and you generally don’t want to go back.
Honestly, I have neither the time nor the desire to spend additional hours of my life trying to get a half-decent, printable model out of this thing, so if you were hoping for me to do some kind of test of dimensional accuracy, yeah no.
Up next, let’s check out what Polycam had to offer.
While it does get points for effort, the Polycam scan has the major disadvantage of including everything that the LiDar captured, meaning that I would need to manually go in and remove the surface I filmed on in software like Maya or Blender.
And if I were going to do that, I could probably just model some of this stuff myself. And that’s only the beginning, because the Polycam scan also is significantly lower quality, with jagged curves, warped surfaces, and much less fine detail than the other scans.
In the end, Polycam’s model reminds me of my 2 year old’s daycare drawings. They’re nice and all, and I really want to encourage them, but if we’re being perfectly honest, I have no real use for them.
Finally, let’s talk about the most expensive option on the list – the Revopoint mini.
As I said before, I figured out after many rounds of testing that sublimating spray was, as Revopoint makes clear on their website, an absolute must for darker objects. So once I applied it, did the Revopoint mini actually deliver?
Yeah! I’m a little bit shocked to admit it after my months-long battle with the CR-Scan Lizard, but after doing 4 or 5 scans of this complicated camera, I had a half-decent rough draft.
And while I could’ve done a few more scans and slathered on some more sublimating spray, I was starting to worry that I’d never be able to find my camera under all of it.
So instead, I opted to test out the “auto mesh” and “fill holes” features of the software. And to my surprise, the resulting model was really good!
Good enough that I’m actually going to use it for an upcoming project where I print my own camera accessories, so stay tuned for that.
Strictly by using the Auto brightness and Auto depth features, with NO manual tweaking, I was able to reproduce my success on a wide range of objects, including silk PLA with lots of details.
All in all, I think it’s pretty clear that we have a knockout in the 4th round, and while I don’t really know how boxing works, I’m pretty sure that if one guy gets knocked out, all the points in the world don’t matter, right?
The winner: The Revopoint Mini!
Post-Fight: Should You Buy a 3D Scanner?
With the fight over, and our champion cooling off in the locker room, let me now do what all commentators do, and give their drawn-out opinions on something they don’t know all that much about in order to keep the audience watching.
I think the question on everyone’s mind right now Jim is this: should you actually buy a 3D scanner?
Given the fact that the only useable option on this list is the $799 Revopoint mini, I’m going to have to say that for the average hobbyist, the answer is “no.”
With things like Onshape being free for consumer use, and millions of models available on sites like Printables, Thangs, and GrabCAD, the reality is that for everything but the most complicated or personalized objects, you can either download readily-available models or create your own for free, and what’s more, doing so is a valuable learning experience that will serve you as you create more of your own models for 3D Printing.
With that said, your time is valuable, and modeling something you can’t find online from scratch can take a full day of work.
Plus, I can easily think of a number of things that would basically pay for the cost of this scanner, if you needed them. My dad, for example, has these custom orthotics in his shoes, which are made of polycarbonate, need replacing every few years, and cost, like, $250 a pair.
If I use this scanner to scan his existing ones, and then produce new ones for him for 3 pairs of shoes, I’ve pretty much paid for the scanner. The same is true of a lot of little projects around the house.
At the same time, $799 is a lot of money, and I remember feeling that even the $450 I spent on the CR-Scan was a bit of a frivolous expense.
So while I really, really like the Revopoint Mini as someone who works in 3D Printing for a living now, and I probably could even justify paying $799 for it just for enhancing my projects on this blog, I have to be honest and admit, I don’t think I could justify paying $799 for this product just for casual at-home use.
Don’t get me wrong – it’s a GREAT value, but something tells me that like every other piece of technology that shifts from industry to consumer grade, this is only the beginning, and we’re going to see the prices of these scanners come down over the next 5 years or so.
I don’t think we’re THAT far away from the point where a great scanner really will be a somewhat negligible expense of $300-400 – much like many of the high-quality, entry-level 3D Printers today.
The bottom line?
If you have a specific use case right now and regularly need to scan things you can’t find online, the Revopoint Mini is an awesome product at an incredible price.
For the casual enthusiasts and everyone else, I think it’s worth waiting a few years to see where prices land.
