This little 3D printer just might change the world.
Seriously.
So, I’ve been playing around with this pre-production LDO Positron V3 for about a week now, and in this review, I’m going to give you my first impressions, an overview of what the heck this thing is… and why I think it’s going to change not only the 3D printing space, but possibly, the world.
What is The LDO Positron?
First things first, let’s talk about what this thing is, and how it came to be.
I mean… obviously, it’s a 3D printer…. even though it doesn’t look anything like one. In the vein of RepRap, it’s both open source, and relies on a lot of 3D printed parts.
But it has one, major, defining characteristic, and no, it’s not the fact that it’s upside down.
THIS 3D printer is portable.
And not just “let’s put a handle on our small printer and toss it in the trunk” portable. Like, really portable. “Let’s throw it in a suitcase and fly to another country” portable. Which, by the way, I’m planning on doing in an upcoming video – so get subscribed if you don’t want to miss that.
Now, I’d be remiss if I didn’t give a little bit of history and credit where it’s due. The idea for this printer, and the initial designs and prototypes, come from a fellow content creator named KRALYN. His guiding design principle, as I understand it, was to develop a 3D printer so small, so portable, that it could fit into a filament box. Yeah. One of these.
That was a couple of years ago. Since then, LDO’s brilliant team, in collaboration with Kralyn himself, have taken the concept and really run with it, upgrading it to this latest V3 version. They’ve changed a lot – from the bed type, to the heater block, to the belts, and just generally many aspects of the design, all in their effort to turn it into a product that can be produced at a medium scale, in the same way they mass produce their Voron kits. And that’s exactly the plan: in the coming months, LDO, through their worldwide reseller network, will begin offering these printers as kits, which you’ll need to print out the plastic pieces for, and build on your own.
By the way, now is probably a good time to mention, and feel free to skip this chapter if you don’t care about the disclaimers: LDO was kind enough to send me this kit, customized to my favorite colors, free of charge, after hearing that my family and I had left Israel at the beginning of the war.
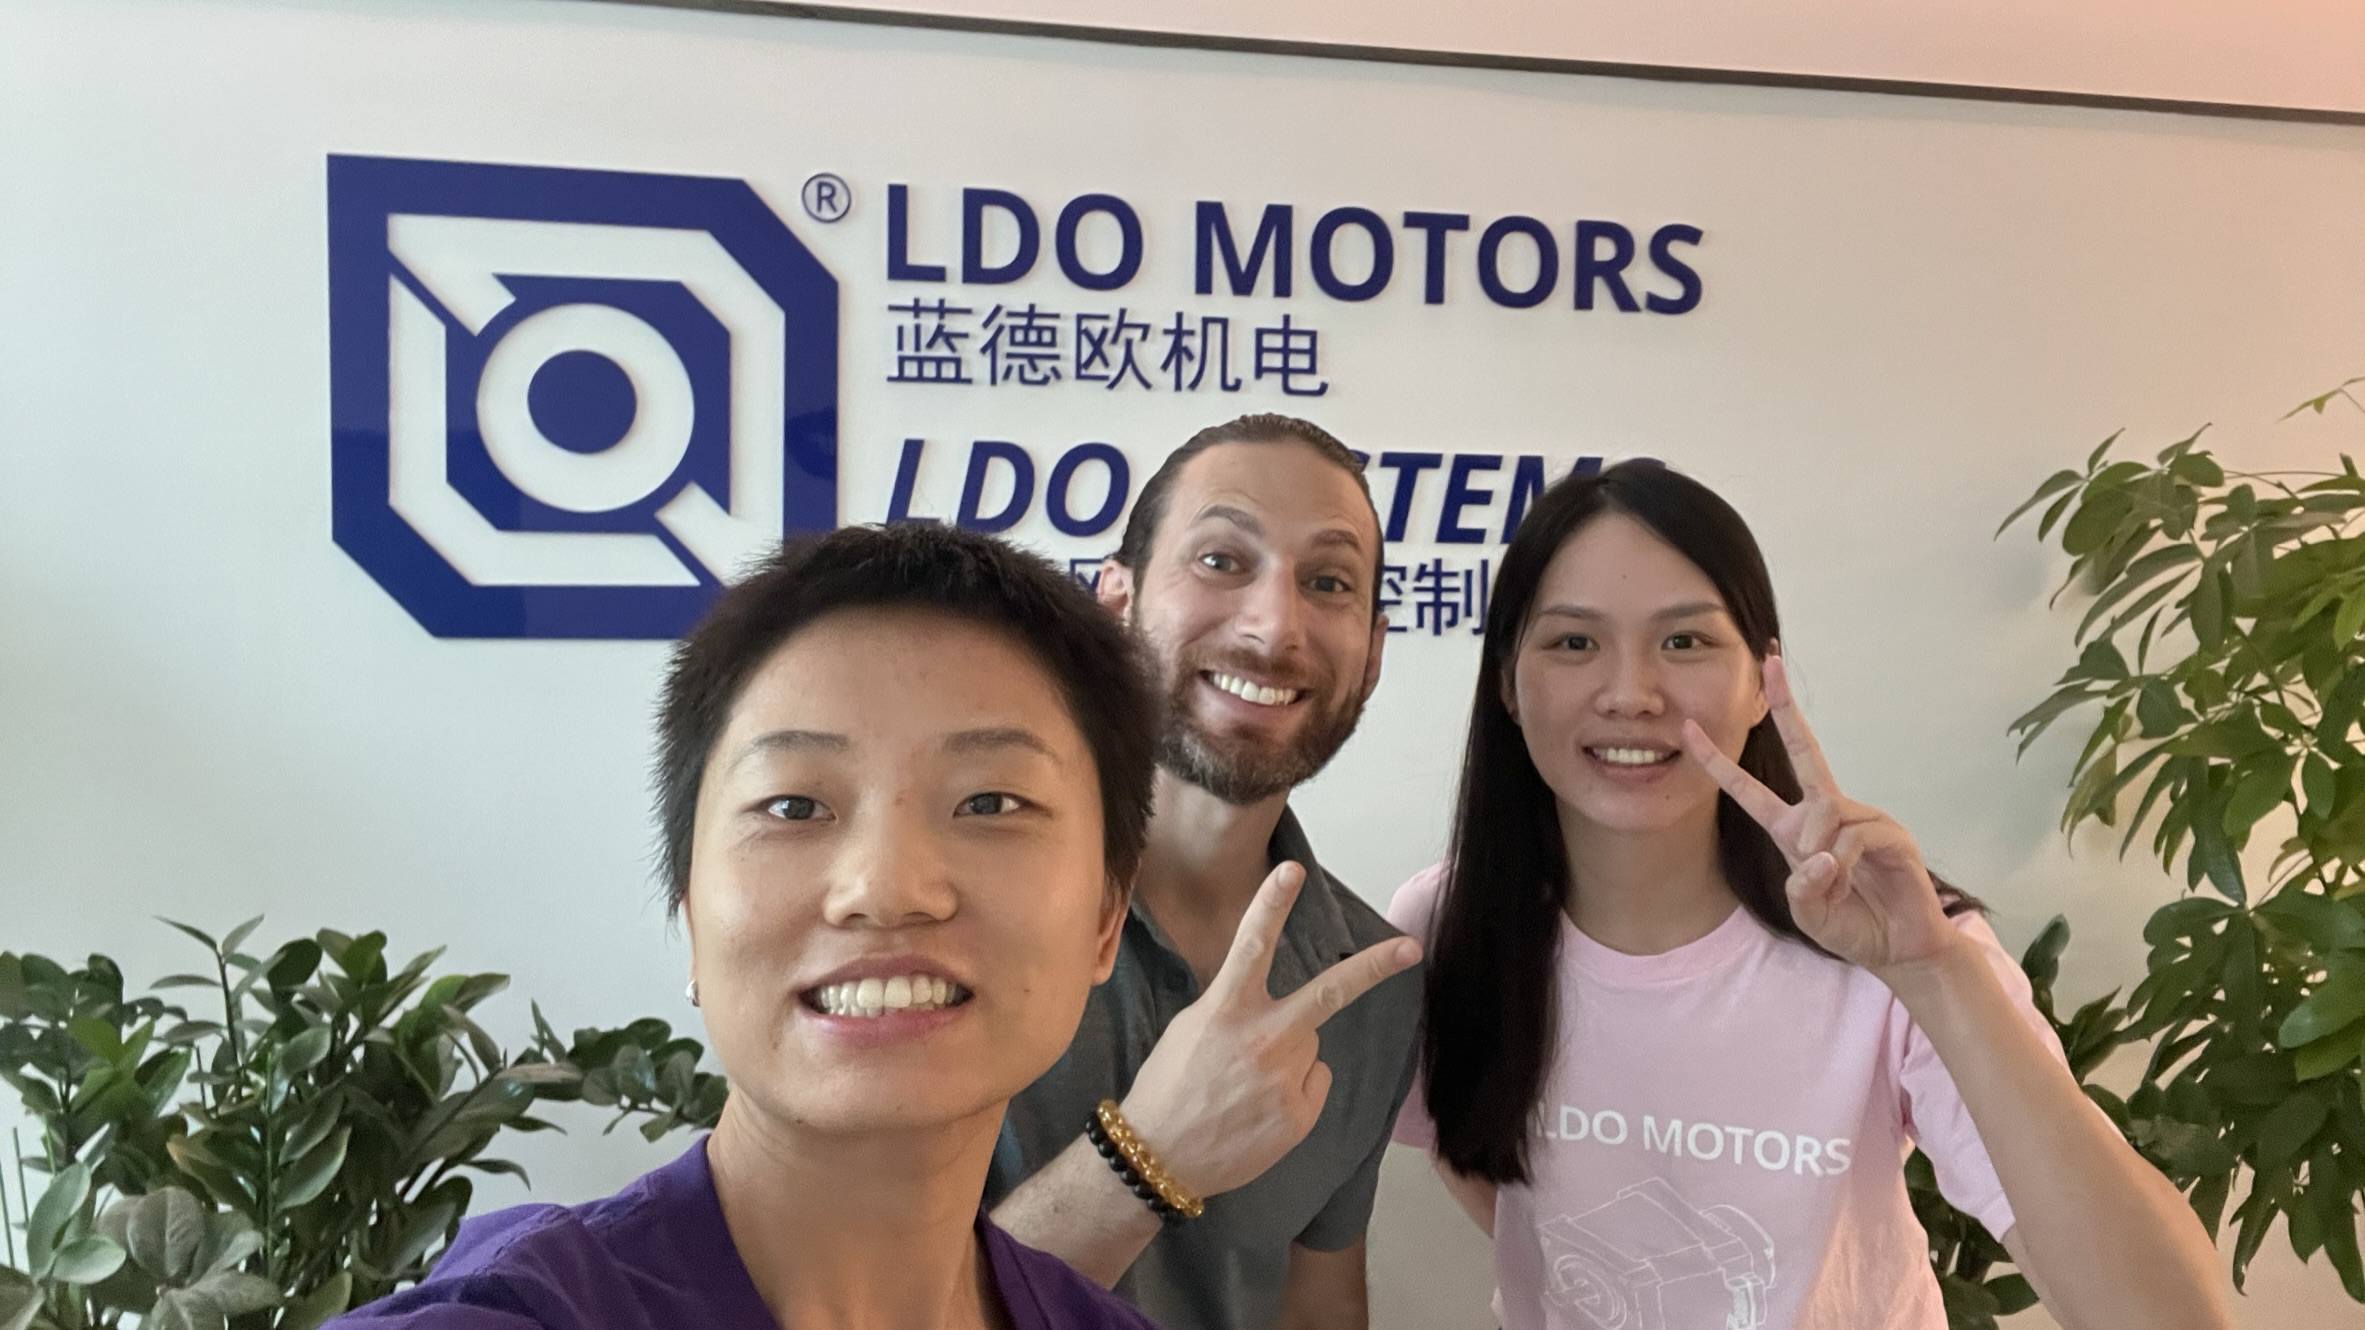
They’ve never paid me anything, and won’t see any part of this video before you do, but I do feel obligated to let you know that I have a major soft spot for LDO, both personally, and because my two favorite printers, including my first ever sponsored printer, came from them. I’m still going to try to be as objective as possible, but this shouldn’t be construed as a “review” either way. I haven’t had nearly enough time to actually play around with this thing yet.
What Are The Specs?
OK, so, it’s a portable printer… but what are the specs? It probably only churns out tiny, slow, and low quality prints… right?
Actually, no.
For reasons we’ll get into shortly, this printer has a LOT to offer.
First, there’s the print volume, which is a shocking 180x185x180mm. That’s almost exactly the same as both the Prusa Mini and the Bambu Lab A1 Mini… and 33% bigger than the Voron 0.2 in every dimension… meaning that the total volume is about 240% bigger than the most portable Voron available.
Then, there’s the speed. The official specs state that this printer can print at up to 250mm/s, with a travel speed of 350mm/s… but, as with all “top numbers,” for reasons we’ll get into later, you’re unlikely to actually print that fast. Acceleration values are an impressive 9,800mm/s^2.
The printer features a bowden tube setup, rather than a direct drive extruder, as well as a ceramic, 90-degree hot end with a capricorn bowden tube, so it can only reach 250°C. The bed is a custom made glass sheet with heating elements on the perimeters, which can reach a reported 90°C.
On the software side, this printer runs Klipper natively, meaning you get vibration compensation, pressure advance, and even a slick touch-screen interface.
Overall, the entire printer weighs between 2700 and 3100g. Which leads us to…
How Practical Is It?
OK, so, as you can tell from the specs, this printer is not just some gimmick or novelty proof-of-concept. It’s a serious printer, that can deliver serious performance, and serious results.
But how practical is it really? Well, there are a few considerations. First, there’s the actual portability. Sure, the initial design challenge was to create a printer that can fit in a filament box, but given both the price and the fact that the entire bed is glass, you’re unlikely to actually do that in the thin cardboard. Instead, you’ll probably want to carry this printer around in a much larger, much heavier pelican case like the one LDO plans to include. An in case you’re wondering, this bad boy weighs in at 5.85kg, and has dimensions of 38x31x17.5cm.
So, no, I’m probably not going to just “toss” this thing into my backpack next to my laptop, but that certainly won’t stop me from carrying it with me on public transportation, strapping it to my shoulder on a scooter, or even tossing it into my suitcase for my upcoming international flight. As someone who has tossed many 
different 3D printers into the trunk of my car for a weekend at my in-laws, I can say that this is MUCH more practical than any of the other printers I’ve owned.
But that’s just one element of practicality. The second element is deployment speed. Currently, it takes me 3-4 minutes to fold or unfold the printer, including connecting all of the electronics… but I’ve seen Kralyn do it in under 90 seconds, and I’m confident that with practice, I’ll be able to achieve the same. It’s important to note that there are no tools required to fold or unfold the printer… or to adjust things like bed leveling… but it CAN be challenging, though not impossible, to maintain the same Z-height every time you fold and unfold the printer… so it might be fair to include a few more minutes for calibrations into the setup time figure.

That may seem like a lot of time in an era where you can unfold and deploy a DJI drone in 15 seconds, but it’s really not. I’d say that being able to set up a 3D printer pretty much anywhere in under 5 minutes is pretty astounding – and super practical.
Finally, there’s footprint. This printer, once set up, is TINY for it’s build volume, especially since the filament spool can be set up somewhere nearby like the floor. Which leads me to a discussion of why it’s upside down…
Now, let’s answer the question on everyone’s mind…
Why Is It Upside Down?

Based on everything I’ve said so far, you’re probably thinking: “ok, great, but, uh, why is it upside down? What does that have to do with practicality and portability?” And that’s the interesting part. It turns out, the upside-down design is precisely the reason that this printer can do what it does.
You see, unlike other, bigger, heavier, and non-collapsible 3d printers like the Prusa Mini or the Voron 0.2, this printer does not have a rigid frame attached to the base. It also weighs between 1/3 and 1/2 as much as those printers.
So in order to achieve maximum stability, and therefore better print quality at higher speeds, the printer takes advantage of the same principle that sports cars do. It lowers the center of gravity, by putting the heaviest components such as the tool head and motors, on the bottom, rather than the top. With this one design choice, it effectively eliminates the need for a heavy, rigid frame.
But, of course, that presents it’s own unique set of challenges.
What’s It Like Printing Upside Down?
Like most of you, this was my first experience with upside down printing, and I had a lot of questions.
First and foremost, how is bed adhesion? Don’t your prints fall off the bed? Surprisingly, they do not. Bed adhesion on the heated glass is surprisingly good, and while I was concerned about prints detaching by themselves after cooling, I left the printer overnight and was surprised to find my print still dangling there safely. (Note, though, that I haven’t had time to do any truly heavy prints, so I’ll need to report back on that later).
The second thing that’s different is, of course, overhangs. As you can imagine, because the forces of gravity are working in our favor, rather than against us, overhangs on this printer are superb.
In a past review, I tested the overhang performance of the Bambu Lab P1S, taking advantage of an open enclosure AND the powerful Auxiliary cooling fan, but was only able to achieve around 50 degree overhangs consistently. On the positron, I was able to surpass an unheard-of 60 degrees! Just imagine the amount of support material you can save with this thing.
So you probably won’t be surprised to hear, then, that the positron also excels at bridging. Here you can see a comparison between the Positron and the Bambu Lab P1S with door and top cover open. This is absolutely STELLAR bridging performance, and it comes down to the fact that the nozzle is basically acting as a support as you print out your bridges. Pretty cool.
Other than that, printing upside down is pretty much the same. It can be a little confusing to remember what is the front vs. the back if you’re trying to orient your print in a specific way to face the cooling fan, but that’s no big deal. Also, thanks to the glass bed, inspecting first layers is a breeze.
Those are a lot of positives, but there are of course a few downsides. First, removing things like purge lines without getting your oily fingers on the bed can be a bit trickier, and it might be wise to carry a little scraper with this printer.
But that inconvenience pales in comparison to the BIG downside: failed prints. Inevitably, there ARE going to be some print failures, whether it’s things getting knocked off the bed, layer shifts, or spaghetti.. and when that happens, you’re looking at some tricky cleanup. During my overhang test, the print popped off the bed, which is to be expected when testing overhangs, but the resulting spaghetti ended up getting into all of the belts, pulleys, and mechanisms, and then grinding into the pulleys even further. Fortunately, things kept running very smoothly after that, and I think that this problem could be solved by just shipping a brush, or better yet, a combination brush and scraper, with this printer, so that cleanup isn’t such a big deal.
What Are The Drawbacks?
While we’re on the topic of drawbacks, let’s talk a bit more about some of the challenges that LDO and Kralyn have faced with this printer, and what that means in terms of drawbacks you’ll experience if you pick one up.
First, there’s the oozing issue. When a print starts, oozing is a major problem. This doesn’t interfere with bed leveling, since there is a separate bed leveling sensor, but it can interfere with your first layer. I’m not sure what the solution could be for this, as it’s probably to do with the 90 degree hot-end and thermal expansion… but I can’t help but think that it could be fixed by a adding a gradual retraction as the extruder heats into the PRINT_START macro? Or, better yet, adding a simple silicone brush to the corner of the bed, like the Bambu Lab A1 Series has.
Second, in my testing, I found that the tool-head CANBUS cable can get stuck under the gantry, which is a recipe for disaster. This can be solved by clipping or zip-tieing it to the Bowden tube, or just tucking it behind – but ideally, I’d like to see this kit ship with a cable that is closer in length to that of the bowden tube, and included clips, since zip-ties aren’t so aesthetically pleasing, and can’t be removed when folding down the printer.
Third. While the motion system is certainly capable of quite fast printing, it does seem to me like the heater block may be underpowered for actually taking advantage of that speed.
When I try to print PLA at 220C, the heater block exerts 100% power, but it still can’t reach to 220C, because rapidly-flowing filament is just wicking away too much heat. It gets stuck at 215 or 216, and if you go too fast, it can drop down even further, causing the firmware to shut down the printer. Printing at 210 seems to solve this issue, though I suppose you could also just slow down.
I also, so far, haven’t been able to get PETG to print properly, for the same reason; the heater just can’t seem to maintain even 240C. That’s a BIG drawback that NEEDS to be addressed if this printer is going to meet its full potential, so I’ve let LDO motors know about this, as well as all of these drawbacks, in hopes that they can address it before the positron kits go into production. They did tell me that they’ve been testing this hot-end without issue for about a year, so I suspect this might be a one-off issue with mine.
Fourth, there’s the issue of replacement parts. To make this printer perform as it does, LDO and Kralyn have had to rely on quite a few proprietary parts. Unlike a Voron, which is mostly off-the-shelf components, this has both a custom-made hot-end and a custom heated bed.
That’s fine if it’s done in the interest of creating a better product – as it certainly has been here – but if you’re a RepRap purist, or concerned about becoming too dependent on LDO for replacement parts, you may want to wait until third-party replacement parts become available… assuming this printer is enough of a commercial success to justify it.
And Fifth, there’s the price. LDO is planning an MSRP of $700 for this kit, and that’s, at least at first glance, a pretty steep investment for a printer you need to 3D print and assemble yourself – especially when you can pick up a Bambu Lab A1 Mini for just $299.
But I don’t think that these two printers are actually competing for the same market segment – and that’s a great segue into…
Who Is The Positron For, and Why Is It A Big Deal?
So, who is this printer for…and should you buy one?
Well, I think that there are a few obvious, and a few less obvious demographics that will want to pick up this printer.
First of all, if you’re the “voron” type, the kind of person who loves building a 3D printer from a box of parts, and you want to explore the cutting-edge innovations in 3D printer… you probably don’t need me to tell you that you’re going to want this printer.
Second, if you’re someone who needs a truly portable, reliable 3D printer that can weather the abuse of being thrown into a taxi, I genuinely do think that this is the 3D printer you’ve been waiting for – especially if and when LDO begins to offer a plug-and-play version. Whether you’re the type of person who travels for work, but wants to maintain the hobby on-the-go, or someone who actually needs to 3D print things on-the-go FOR work… this printer offers an unprecedented level of freedom and portability, which will take 3D printing to places it’s never been before.
At the beginning of the article, I made the very bold claim that I think this printer might change the world, and I stand by that. You see, while I don’t think the positron is going to really move the needle of hobbyist 3D printing for people like you and I, I do think that there is going to be a HUGE market for this 3D printer – and given the amount of time and money they’ve invested into developing this product, I’m pretty sure LDO feels the same way.
Here are a few examples.
First, imagine an aid worker, doctor, veterinarian, engineer, or other professional who travels to remote places in Asia, Africa, or South America, from village to village, and could benefit from being able to literally 3D print the exact replacement part, prosthetic, cast, or container they need for a specific problem.
Companies like DJI and Zipline have been valued in the billions of dollars because they offer the potential of being able to quickly deliver things like medication and replacement parts to remote population centers in the developing world… but imagine being able to 3D print them on site, whether that’s a village, an oil rig, a boat, a jungle, or the front-lines of a war. With this printer – and perhaps a solar panel and battery setup – you can do just that… and I wouldn’t be surprised if governments, militaries, and NGOs become the primary customers for this printer and the future generations of it.
As for the price, this printer isn’t cheap, but I think it’s important to remember two things. First, DIY printer kits in general, and LDO printer kits even more so, are not competing on price. They are cutting-edge technology, competing on quality, and targeting an entirely different audience than mass-produced printers from the likes of Bambu Lab. With that frame of mind, the price makes a lot more sense, and in fact, this printer, at $700 for the compete kit, is competitive with LDO’s own Voron 0.2, but offers a much larger print volume, and the HUGE added benefit of being fully portable.
The second consideration is to remember that it’s still very early days for these types of kits. Just as the first laptops – or, more poignantly right now, the first generation Apple Vision Pro – were wildly expensive, heavy, and suffered from imperfect performance, the Positron V3 is, despite it’s name, the first of it’s kind to be commercially produced for a wider audience.
I have no doubt that if this product is successful, there will be future revisions, upgrade, and improvements that both drive down the price and weight, while driving up the performance. But in order for that to happen, enough people have to be willing to put up with a few hiccups, and signal their interest in owning such a printer.
