You’ve probably heard 3D Printing content creators like myself say it before – and it’s worth saying again:
If you’re not designing your own, custom parts to solve unique problems, you’re only getting a FRACTION of the benefit out of your 3D Printer.
But where to begin? Well, in this guide, I’m going to compare and contrast two of the MAJOR “free” options available to makers, share which one I use for what, and explain why YOU might want to do the same.
Let’s dive in.
Background
Part of what makes 3D Printing so empowering is the ability to make anything – at any quantity, right in your home.
No longer do you have to hope and pray that enough people have the same problem as you to justify someone making a commercial solution, you can download and print solutions yourself, or, if nobody else has done it exactly the way that you want it done, you can design and print your OWN solution to your own unique problems.
That, of course, means that you need to first learn how to use 3D design software, and I’ll be honest, this can be daunting when you’re first starting out.
Shortly after I got my first 3D Printer, I spent literally days researching online and trying to figure out which program I should invest the time into learning.
Even if you narrow it down to only the free solutions, you still have half a dozen or more options to choose from, from FreeCAD, to TinkerCAD, and Blender, not to mention the “free for maker” options like OnShape and Fusion360.
Mesh Modeling: Blender
At first, I spent a few weeks learning about Blender, which is actually a professional-grade 3D animation software.
While Blender is often used to create lifelike CGI effects and animated movies, it can also be used to create renderings, or, with a few settings adjustments and aftermarket plugins, it can be used to create 3D models for engineering.
Now, let me first get something out of the way and say that yes, you technically CAN do ANYTHING in Blender, especially with different types of third party plugins.
And quite frankly, if you’re looking to do “organic” models or “artistic” ones, it’s probably going to be easier to do them in Blender.
That’s because unlike many of the other software’s being used for CAD modeling, Blender, at it’s core, is a mesh modeling program. This means that it literally allows you to build and modify your models on the granular level, down to the individual points, lines, and faces.
While this gives you a tremendous amount of freedom – and the ability to create beautiful works of art without necessarily having set “dimensions” in mind – it also gives you lots of opportunities to screw everything up beyond repair in the process.
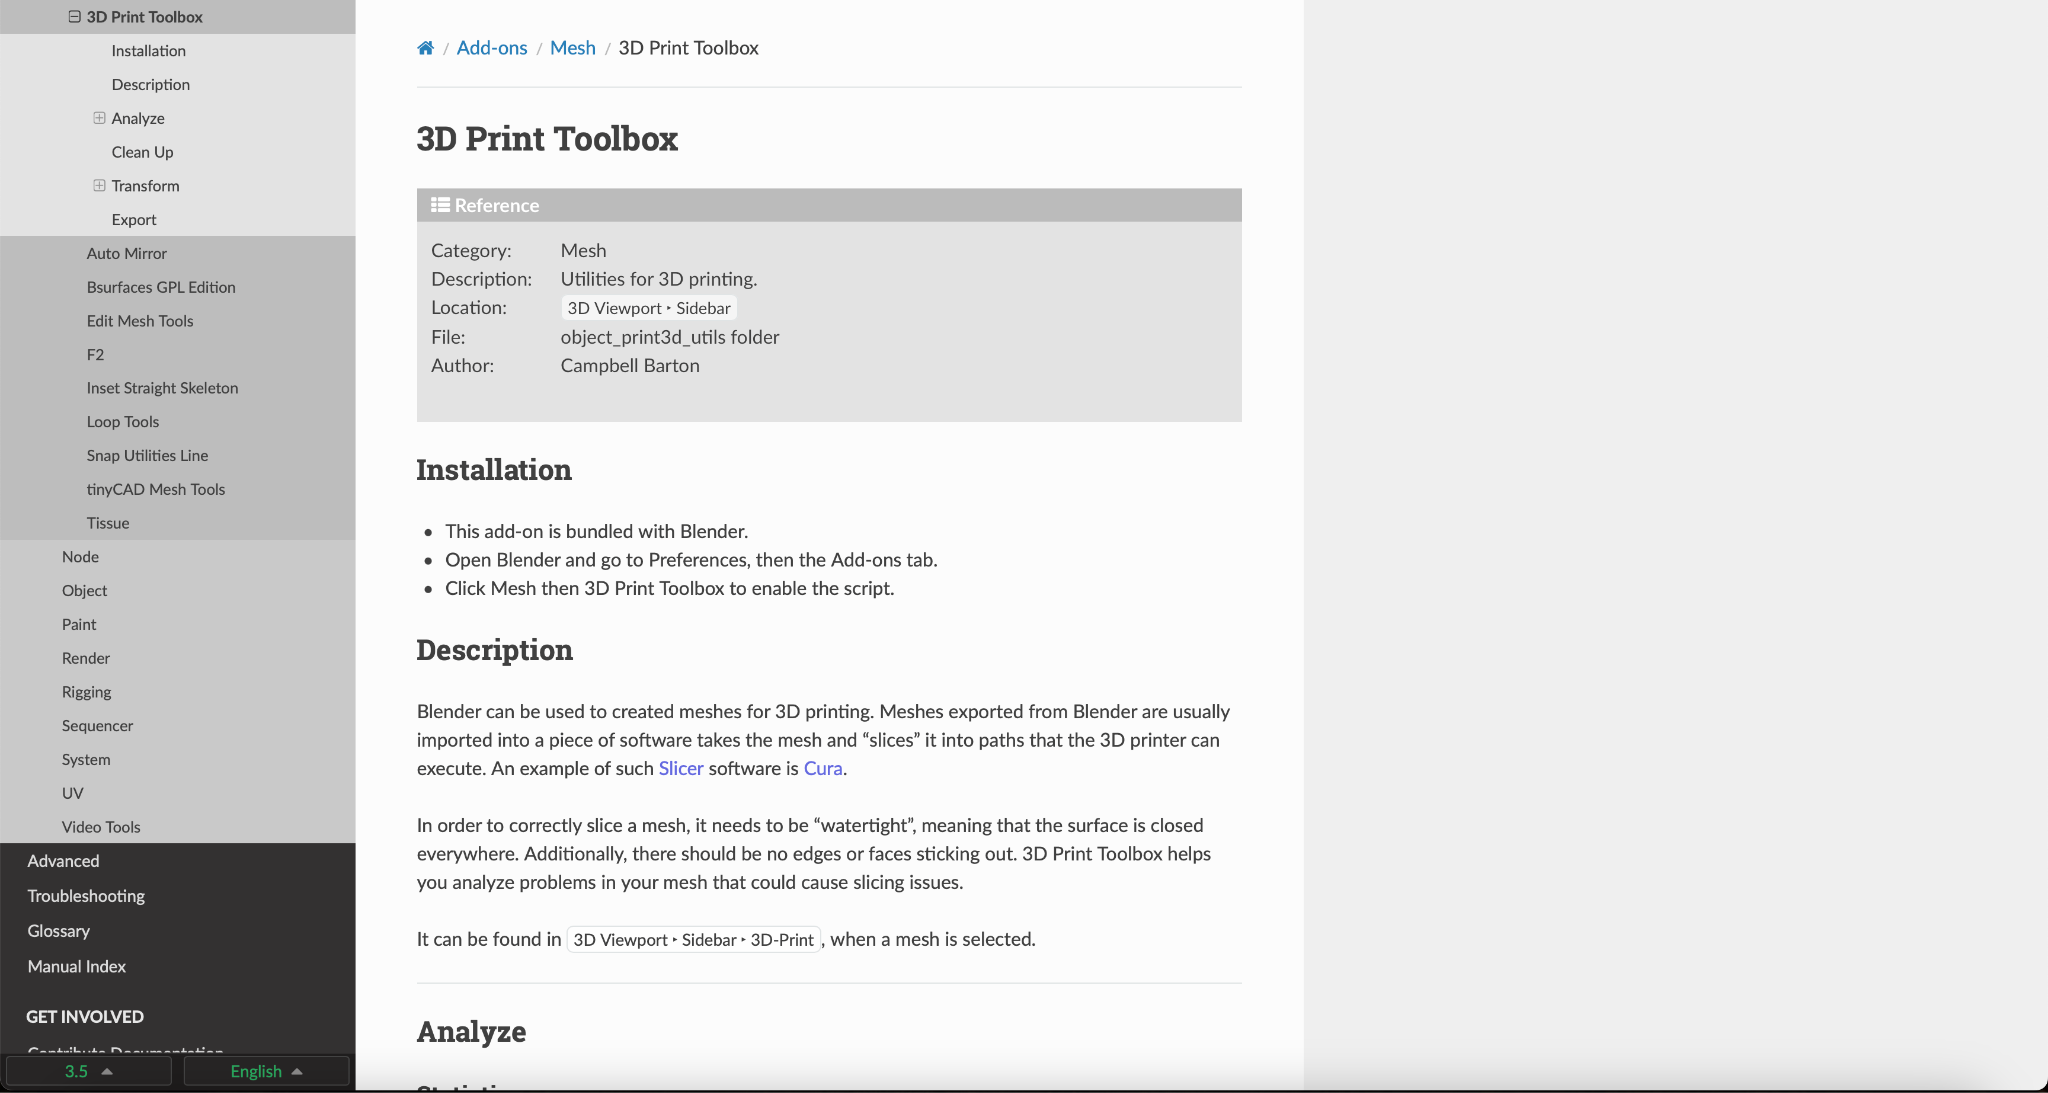
You see, in order for your Slicer software to create coherent gcode for your printer to actually print, you must first create models that are “manifold,” or, in other words, water-tight, with no little gaps between points or lines.
This means that one SINGLE point being out of place or duplicated – even in a way that you can’t see with your eyes – is enough to make an entire model un-usable. It also means that you are responsible for making sure that everything stays “manifold” as you modify geometry throughout your design process.
This, for me, is a massive pain in the neck, and I can’t tell you how many COUNTLESS hours of my life I’ve wasted trying to figure out why my models won’t slice properly.
Maybe I’m just bad at mesh modeling, but I feel like 9 out of 10 of my designs get messed up, and at least half of those get so messed up that I have to throw them out and start over.
Don’t get me wrong, though: Mesh modeling CAN be incredibly valuable for us in our 3D printing tool kit. But we’ll talk about that towards the end of the video.
For now, let’s talk about ANOTHER type of 3D modeling software, and that’s:
Parametric CAD Software: Onshape
You’ve probably heard or seen people talking about Parametric CAD software such as Fusion360 or SolidWorks Before.
At their core, a lot of these programs work very similar, so let me first start out by explaining what they are, and then, I’ll explain why I’ve chosen to use one very specific one, called OnShape.
As the name suggests, Parametric CAD software is a class of program used for doing Computer Aided Design using parameters. Instead of, say, a “brushing” tool that you’d use to literally “sculpt” your designs – we’re not going to be covering that type of design software in this video because it’s a whole third category that I haven’t even BEGUN to explore personally – parametric design software uses as it’s foundation a series of sketches, which are driven by parameters.
You want the base of your model to be 10cm by 15cm, you draw that out, and specify those parameters. Then, you “extrude” them into a 3D model, after which you do all sorts of other processes like fillets, chamfers, booleans (this isn’t going to be a tutorial of the software, but let me know in the comments below if you’d like to see more content like that).
There are a lot of benefits to this workflow, and as a relative newbie to it, I’m sure I’m not going to give you a comprehensive list here. But for me, personally, there are 3 that really stand out.
First, there’s the fact that I never have to worry about manifold geometry. Because these types of programs are designed and developed for engineering purposes, they simply won’t let me do anything that would make my models funky or unusable.
The second reason, and perhaps my favorite, is that making changes is a cinch. You see, it’s inevitable that in the process of designing something, you’re going to need a few rounds of designing, prototyping, and revising before you get it right. In the past, when I used Blender, this was tricky, and opened the door up to completely destroying my model when I tried to tweak something as simple as a chamfer or a filet.
With parametric design software, however, it’s as simple as going back to the original sketch or function where I defined that parameter, and changing the value. The entire set of subsequent steps, whether that’s extrusions, filets, booleans, or even other parts that depend on this part – they’re all updated immediately.
Now keep in mind that, as I said, I’m a beginner. I’ve only recently switched over to OnShape, and so I don’t yet know how to use things like load analysis, or complex assemblies, or the million other features that I’m pretty sure it has for designing complex engineering projects.
Why OnShape (Sponsored Segment)
Why, then, did I choose OnShape? Why not FreeCad, TinkerCAD, or something simpler?
Well, to be honest, it all started out when I got frustrated with Blender and all of my projects becoming non-manifold. I dug in to various tutorials, and tried my hand at Fusion360 but it didn’t behave nicely on my M1 Max, and I just didn’t understand the workflow very well.
So imagine my excitement when Michael Laws over at Teaching Tech began his series of OnShape Tutorials, starting with a video explaining why, in his unbiased opinion, OnShape was the BEST free option out there.
I’ll link to that video – and the entire tutorial series – below, but basically, it had to do with the fact that
1. OnShape is and always will be free and unrestricted for non-commercial use, and they vow never to change that or try to make money off of makers like their competitors recently have started doing.
2. OnShape is browser-based, so you don’t have to worry about saving or backing up your work, it works great on your phone or tablet, and you can collaborate on documents with others like a Google Doc. (That last one has really come in handy recently for some upcoming projects, which members of our discord have been really instrumental in helping me realize).
3. Many people, myself included, find that it’s just easier to use and less overwhelming.
So, yes, OnShape DID sponsor a video on my channel, but to be honest, I would recommend OnShape one way or another, and I actually reached out to them to let them know how much I love the product, and how much I’d love to be able to talk about it more on the channel.
Which One Should You Use?
So, which one should you use? Well, that’s a bit complicated.
I WISH that I could tell you that there were just one software that you could use for all your 3D design needs, but that’s simply not true. At least, probably not.
And while it might be a pain in the neck to learn the basics of two different apps, the reality is is that it’s probably going to be faster than trying to find workarounds that make one app do everything you need.
You see, each one of these apps has it’s own strong points and weaknesses. So I’d love to just quickly go through particular use-cases, and let you all know which software I, personally, would use for the job.
First, let’s start out with designing your own precise models or solutions.
This could be anything from a holder or bracket for something, a cover, or even something more complicated, like a multi-part phone print-in-place assembly.
For me, the answer is clear: I would use OnShape for just about ANY original design that needs precise dimensions.
While you could, of course, create complex assemblies in Blender, the ease-of-use of the parametric workflow, plus the ability to collaborate online with others if you get stuck on features you don’t yet know how to use, make OnShape the absolute way to go. Not to mention that you won’t have to worry about manifold geometry… (have you noticed that I’m traumatized by non-manifold geometry yet?)
If, though, as I said before, all I wanted to do was make tweaks to an existing STL, such as making it a few millimeters longer in one area, or removing the text someone put on there, I admit that I would still find that easier to do in Blender.
While OnShape does allow you to import ready-made 3D files and modify them using booleans, extrusions, or even create sketches off of them, it’s not nearly as fast or as easy as popping the STL into blender, highlighting the element you want to stretch out, and dragging it along the appropriate axis.
The same goes for performing a limited dissolve on text. Quite frankly, this type of thing is simply not what a powerful program like OnShape was designed to do.
Finally, let’s talk about organic designs, such as a Voronoi or low poly animal, or a life-like Hamburger, for example. For these types of more “artistic” things, you’ll probably be better off using Blender.
Not only can you use Blender without knowing specific parameters or dimensions like you need in OnShape, but the library of modifiers, functions, and features available to you in Blender is going to be much richer.
Don’t get me wrong: unlike OnShape, you’re looking up at a VERY stiff learning curve with Blender, but if it’s organic models you’re looking to create, I just don’t think you’re going to be as happy in OnShape.
So there you have it – and now you see why it may still be worth learning the basics of both OnShape and Blender.
While your needs and goals for what you want to design and print might be different, personally, I don’t do any organic modeling anymore – and so, I’ve switched over to OnShape for about 90-95% of my 3D Design Needs, and 100% of my “from scratch” design work.
With that said, I still pop open Blender from time to time, to modify an existing STL, for example. To be clear: you definitely CAN use OnShape to modify STLs, and so I think that if you only have time to learn ONE, I’d make it OnShape.
But if you, like me, enjoy learning a diverse set of tools so that you are better equipped to make your creations come to life, it’s probably worth your time to learn a little bit about Blender, too.