
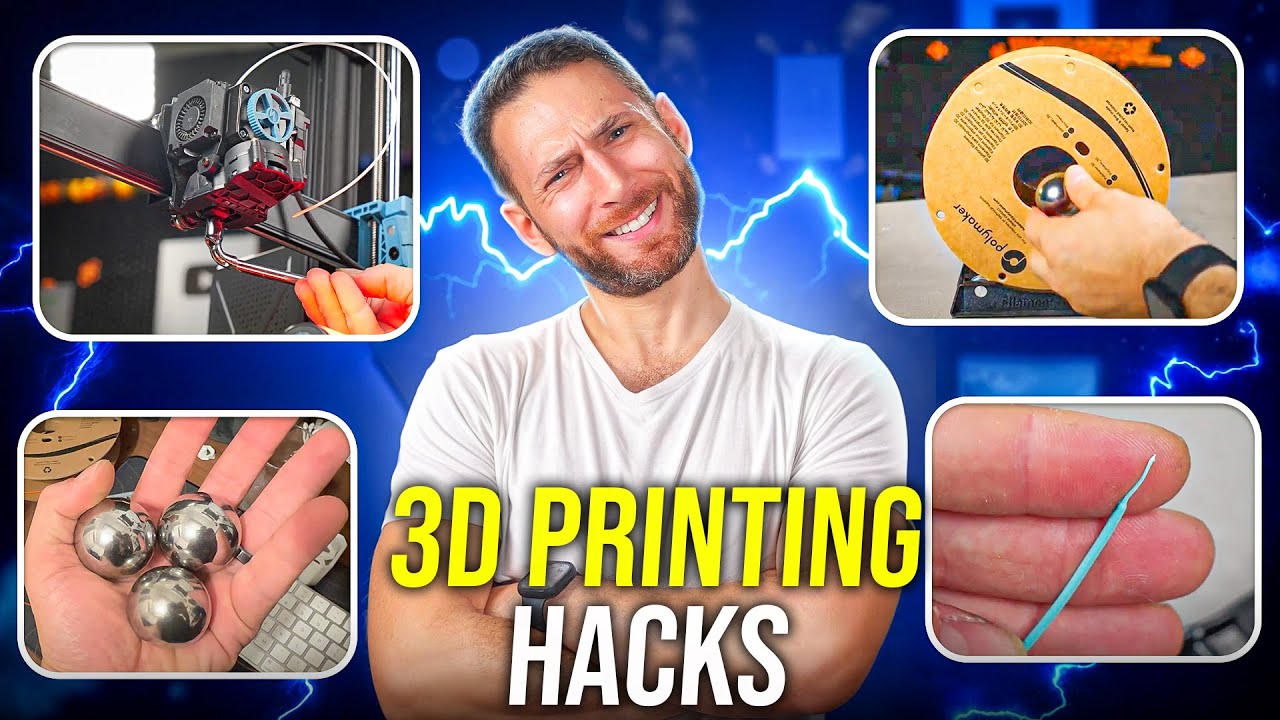
For the last few months, I’ve been making a list of my favorite 3D Printing tricks, hacks, and tips developed over YEARS of 3D printing experience.
From silly little things I do that save me a second here and there, to clever strategies for overcoming some of 3D printing’s most annoying hurdles – here they are.
Let’s get after it!
How To Dry Your Filament, FAST!
Have you ever had a roll of filament that you want to print with, but it’s water-logged and in dire need of dehydration? Sure, you could put it in a normal filament dryer, and wait 4-8 hours (HA!). Or, you could spend $1,800 on a DryWise In-Line Filament Dryer, which will thoroughly dry the material as you print. But unless you’re running a business, that’s probably not an economically viable option.
Instead, allow me to share a surprising trick that I discovered thanks to Igor of My Tech Fun…. Microwave it.
Seriously. I know what you’re thinking. But as I discovered in my filament recycling journey, it actually works UNBELIEVABLY well – better than most filament dryers – and it’s FAST. Personally, I recommend cycles of 30-45 seconds on high, after which you check both the inside and outside temperature, followed by a 2-5 minute cool-down period between cycles.
But before you burn your house down, a few important things to know.
#1. I’m not responsible for any injury or property damage as a result of you watching my videos.
#2. DO NOT do this with carbon fiber filaments, as they WILL arc, catch fire, and cause a disaster.
#3. If your filament has an RFID tag, you need to remove that tag first, for the same reason. Some modern microwaves like my combination oven microwave actually tolerate large metal objects, but even those sometimes arc due to the size and geometry of the RFID tag.
#4. Carefully monitor the filament, and keep your hand on the cancel button. Regularly check the inside of the filament, especially if you’re using cardboard spools, because those soak up a lot of water, and can then give your filament an unwanted steam bath, resulting in the inner layers fusing together. If you wait till the outside of the filament melts, it’s already too late. And,
#5. You probably shouldn’t be doing this in the microwave you use for food, but since I know you’re going to anyways – I certainly do – you probably should stick to non-toxic plastics like PLA and PETG. But since I also know some of you are still going to try ABS and Nylon… you should at least clean the microwave after and leave it open to ventilate itself after. Hopefully, we’re not actually melting the plastic, just vaporizing the water inside… so fumes and VOCs should be limited, but, I mean… it can’t be GOOD for you.
The Double-Glue Trick
Here’s another one for the impatient among us. A lot of times, in 3D printing or just “making” in general, we need to glue something. Unfortunately, with a few exceptions, it seems like there’s often an inverse relationship between curing time and strength. The fastest-drying glues, like Hot Glue, are extremely weak, and the strongest ones, like Masonry glue or rubber cement, take quite a while to fully cure. That’s why I use what I call “The Double Glue Trick”
It’s pretty simple, really. I apply my “stronger” glue, and then leave room for a “weaker,” more temporary glue to hold things in place while the former cures. This can be hot glue, CA Glue + Activator, or even double-sided tape.
This provides a number of benefits over clamping. First of all, it allows you to continue assembly, without clamps interfering. It also works for oddly shaped objects that would be difficult to clamp. It doesn’t run the risk of shifting later on, since your “fast” glue holds it in place. Furthermore, you don’t run the risk of damaging or scratching the part like you do with some clamps. And finally, it allows you to just forget about it, rather than having to go back and take off the clamps.
Enjoy!
The Cold Pull
As some of you may know, I print a lot of DIY Recycled filament, which means I get more clogs in my nozzles than just about anyone on earth. Sure, sometimes, an acupuncture needle or shoving a hot rod down your extruder will do the job, but sometimes, it won’t – especially with the rising popularity of CHT nozzles, which can get some truly biblical clogs. And so, while it’s already a pretty well known tactic, for those of you who DON’T know, I feel like I am very qualified to teach you…. the art… of the cold pull.
Step 1. Clog your nozzle. Check
Step 2. Heat the extruder up to max temperature, and try to purge. Many clogs can be resolved by heat, but even if yours cannot, it will help the material flow around the clog.
Step 3. Allow the nozzle to cool to somewhere between 90-100°C. I’ll teach you a tip in just a second for speeding this up.
Step 4. Pull like your life depends on it. Ok maybe not that hard. and gradually. You can pull using the extruder, or your hand, or both, but make sure you’re not putting excess force on your gantry. For particularly stubborn clogs, like with these increasingly popular integrated-heatbreak designs, I often prefer to take the nozzle out and hold it with a pair of pliers, just to avoid damaging the gantry or punching the top of the printer when it releases
If you do this successfully, you will see not only the end geometry of your nozzle, but also, hopefully, the clog. Just have a look at these beauties… I told you I get a lot of clogs. If you’re NOT successful, there ARE some specialized “cleaning” filaments from companies like eSun and 3DFuel, which are apparently designed to make cold pulls more successful. Additionally, I sometimes like to combine this technique with the acupuncture needle, basically heating up and melting the filament in the nozzle, then using the needle to dislodge the clog and push it into the molten plastic, which will hopefully solidify around it and pull it out.
The Conduction Cool Down Trick
Now that we know the cold pull trick, let’s talk for just a second about Heat. 3D Printing involves lots of heat – heat on the nozzle, heat on the build plate. Heat from your significant other when they discover how much you spend on 3D printing…. But a lot of times, we then need to get rid of the heat. Say, for example, you just tried to load your printer at 250°C, and discovered a clog… so want to do a cold pull at 90°C.. Or you loaded filament, but now the nozzle will need to cool down before it can safely probe the bed. Or, perhaps a more frequent example, your print just finished, and you want to let the build plate cool so that you can remove the parts without them warping. What do you do? Wait a few minutes like a grown adult with functioning impulse control? Pff…
Instead, I have a clever little hack I call The Conduction Cool Down trick. Basically, I take a metal object, for example my stainless steel shelves, in the case of a build plate, or a nozzle wrench, in the case of a nozzle, and I press it up against the hot object. Because of science reasons, this transfers the heat away from our hot object faster, saving us a minute or two, so we can get back to printing.
A Note on Spool Orientation
OK, this is a silly little one, but, something that not everyone knows. Unlike toilet paper, which should only ever be oriented in this fashion unless you’re a sociopath who just wants to watch the world burn, there is no one correct orientation for filament spools. In some cases, a spool should be oriented thusly, whereas in others, thusly. Sometimes, it doesn’t even matter. It depends on how the printer is pulling filament, where you anticipate friction, and sometimes, even the weight of the spool… more on that in a second. In any case, I recommend experimenting with this in each of the places you put filament, i.e. in your various dryers, etc, to see which way works best – and don’t forget to pull some filament through the bowden tube and see how it goes. I’ve had plenty of prints fail because the bowden tube creeped up the spool and somehow jammed the filament.
The Spool Weight Trick
A second ago, I mentioned that the weight of a spool can influence orientation and how it rolls. A lightweight, nearly empty spool can get picked up or knocked over, resulting in a mess or a failed print. This is especially true in some older AMS systems, which do not have a spring-loaded depressor to keep the spools in place – but it also can be a problem if printing from a separate spoolholder or a reprack.
Fortunately, I learned this really cool trick from Courtney over at Filament Stories. She recommended picking up some big, heavy, steel balls (giggity) to place inside your spools. This works great, but those steel balls aren’t cheap, so I’ve found another way to do this, which doubles as a means of keeping your more expensive filaments dry when they’re bagged or in the dry box. Simply print these in-spool desiccant containers, fill them up with desiccant – or screws, or anything, really, and place them in the middles of your spools. By the way, if you want some really good extra effective desiccant, Slice Engineering sells it in this cannister for the same reason. Either way, No more spool seizures to worry about.
Bonus: Feeding Filament Into Long Bowden Tubes Quickly
Hold up, as we were editing this video, I actually found another one, though full disclosure, I haven’t been able to try it yet because I’m still waiting on some of the parts. So, you know how 3D printers are getting bigger? Well in most of these machines, that means much longer bowden tubes… and while the latest printers like the Sovol SV08 Max have built-in filament buffer feeder thingies, a lot of them don’t… and that’s where this little tool slash hack is super useful. It’s a hand-held, battery-powered filament feeder that pushes your filament through a tube. Just pinch the filament, and the pinching action activates the motor, loading the filament and saving you tons of time, especially if you’re loading a tool changer with numerous filaments.
I’ll be honest, I actually had this idea a while back while talking to a guest on a podcast, but I don’t have the CAD skills to execute on it… Actually, I’m considering doing a 30 Day CAD challenge, where I take you guys along on a journey of trying to become a better designer… but I’m trying to convince the folks at OnShape that it would be a video you guys would watch… So drop a comment below to let me know if that’s a video you’d like to see.
Oh, and, last call on this shirt design and the other benchy one… we’re going to be sunsetting it at the end of August to make way for new designs, so if you want one, now’s your chance!
The 222 Trick
OK, one last one, and this is definitely a very silly, stupid one that will only save you milliseconds, but it also saves you having to think. Whenever I need to preheat a printer which doesn’t have an automatic load or unload, I like to tap “222” instead of trying to find 230 or 250 or whatever with my fat fingers. I know, it’s dumb, but I like it.
Conclusion
I’d love to know: what are YOUR silly little tips and tricks for making your 3D printing workflow more enjoyable?
I welcome you to comment down below, or join our Discord server, where we share this type of stuff all the time.
That’s all for now, but I’ll see all of you on the next layer.


